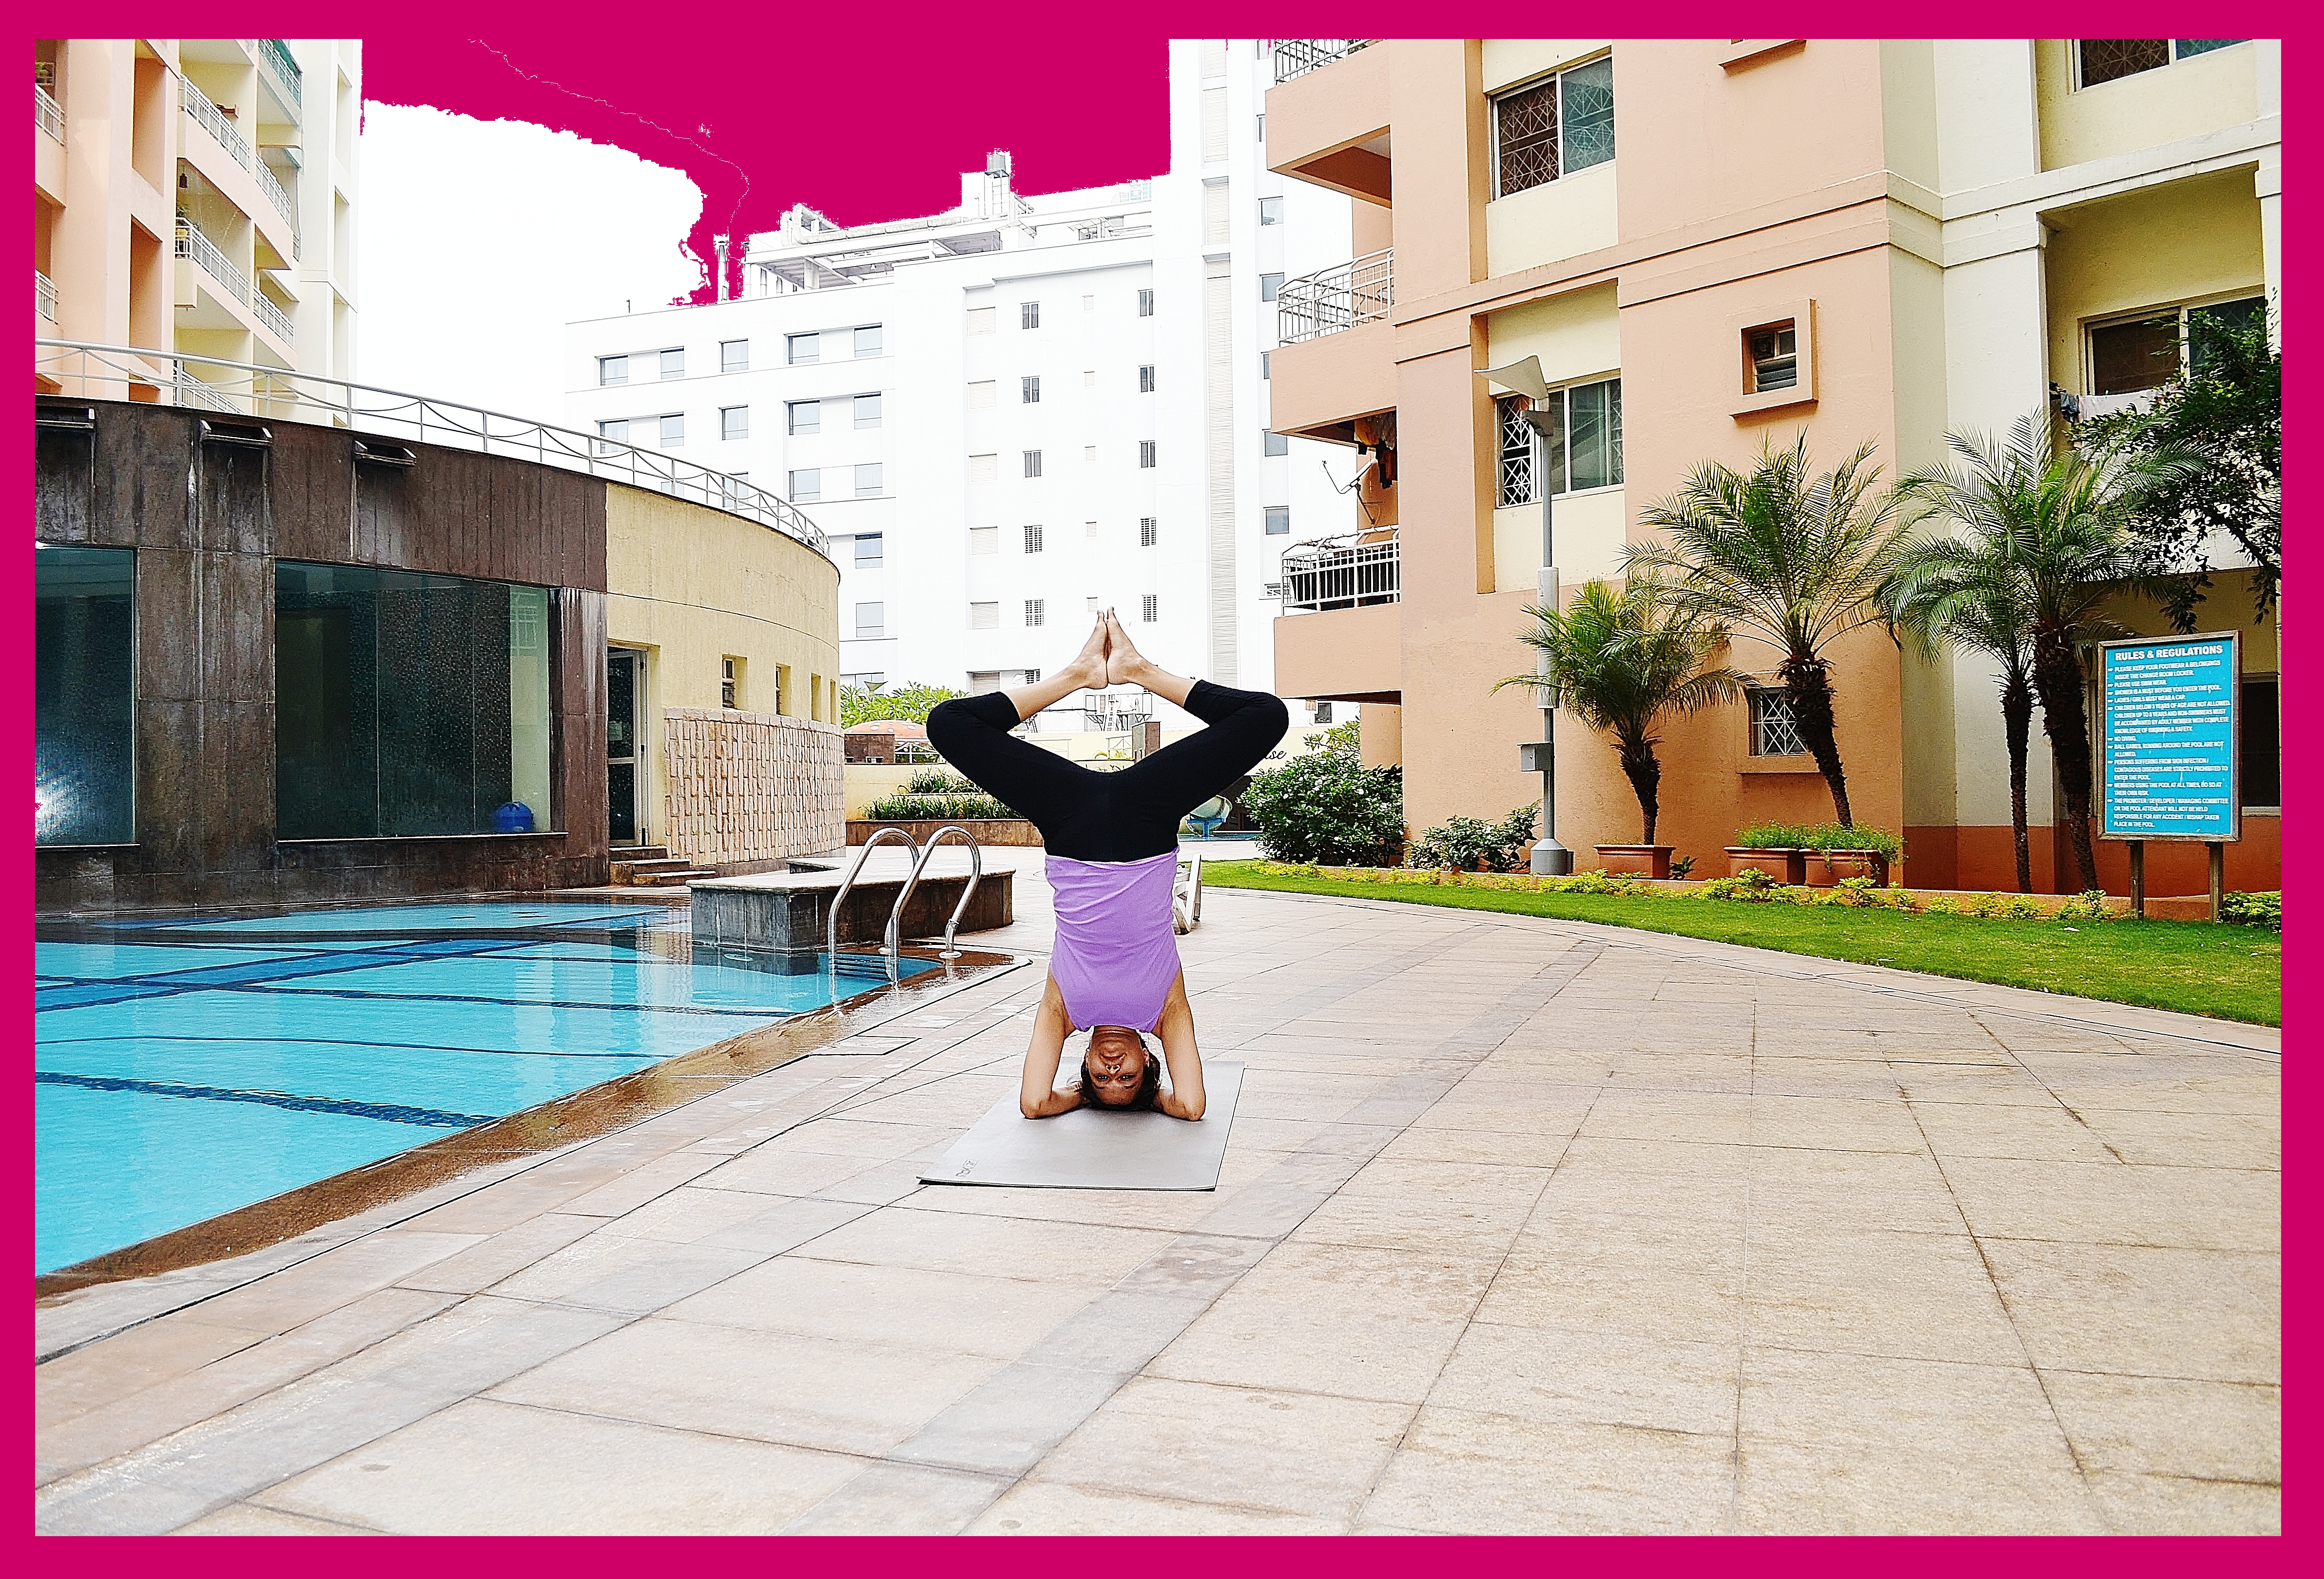
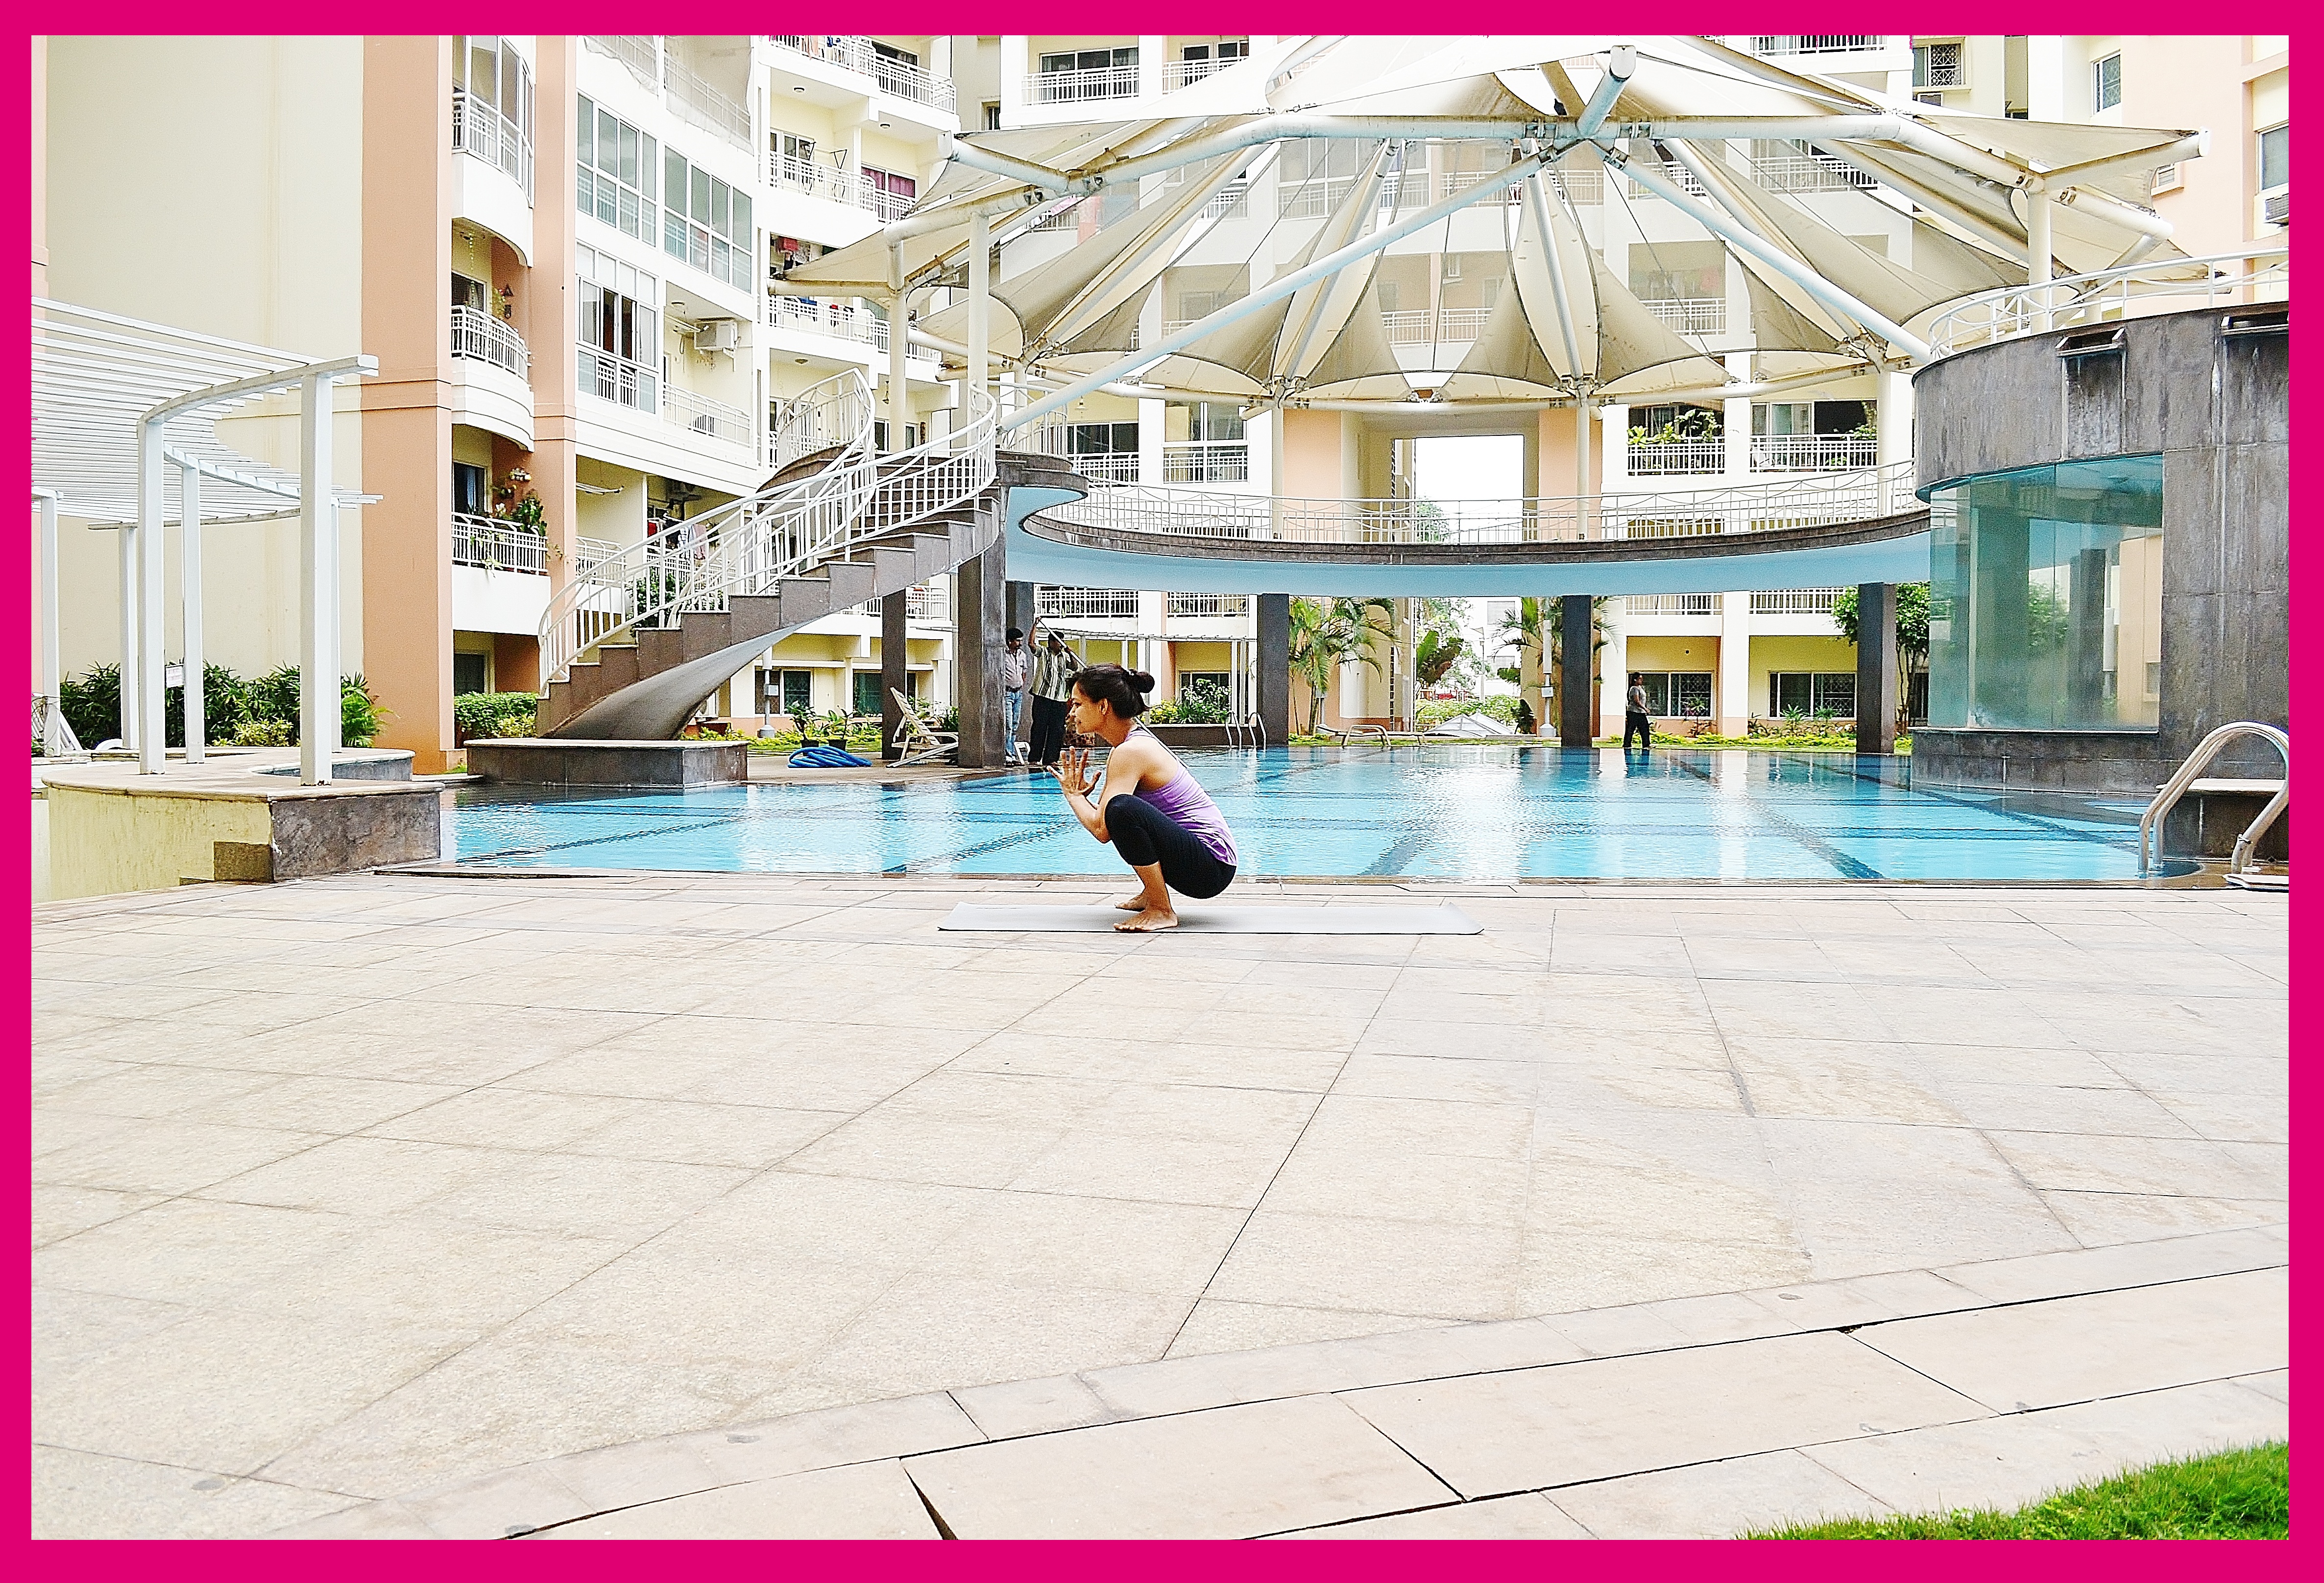
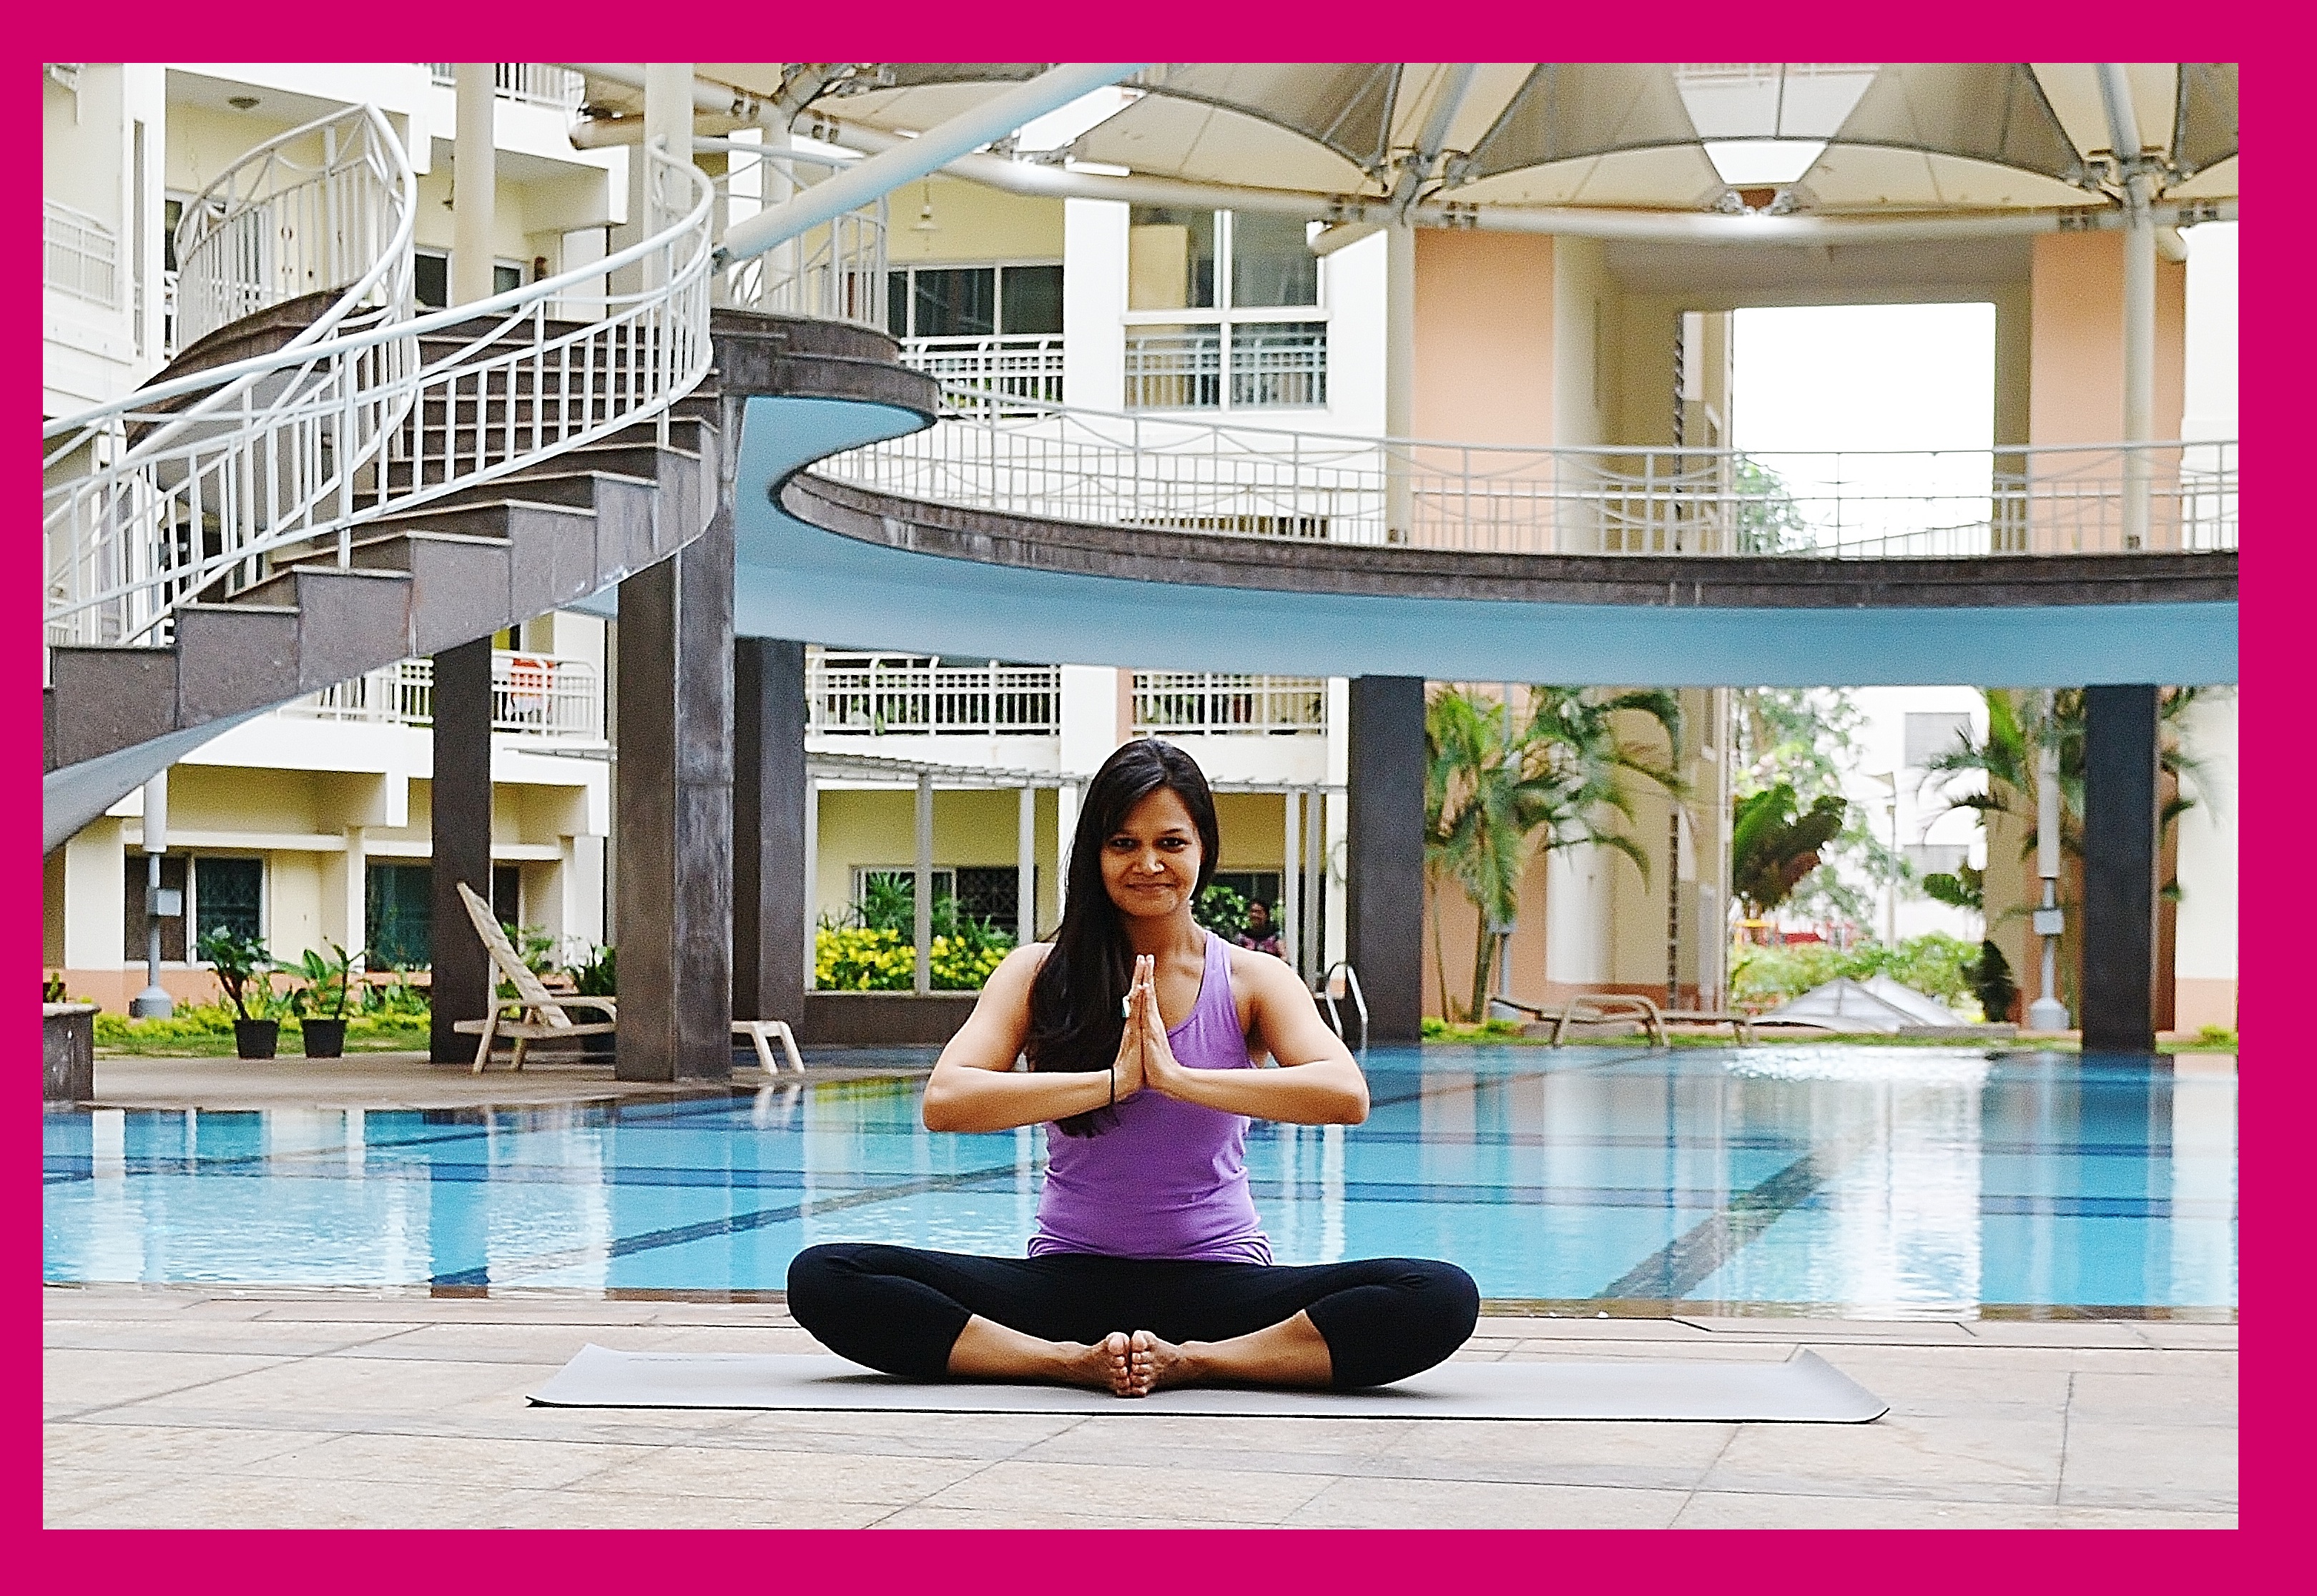
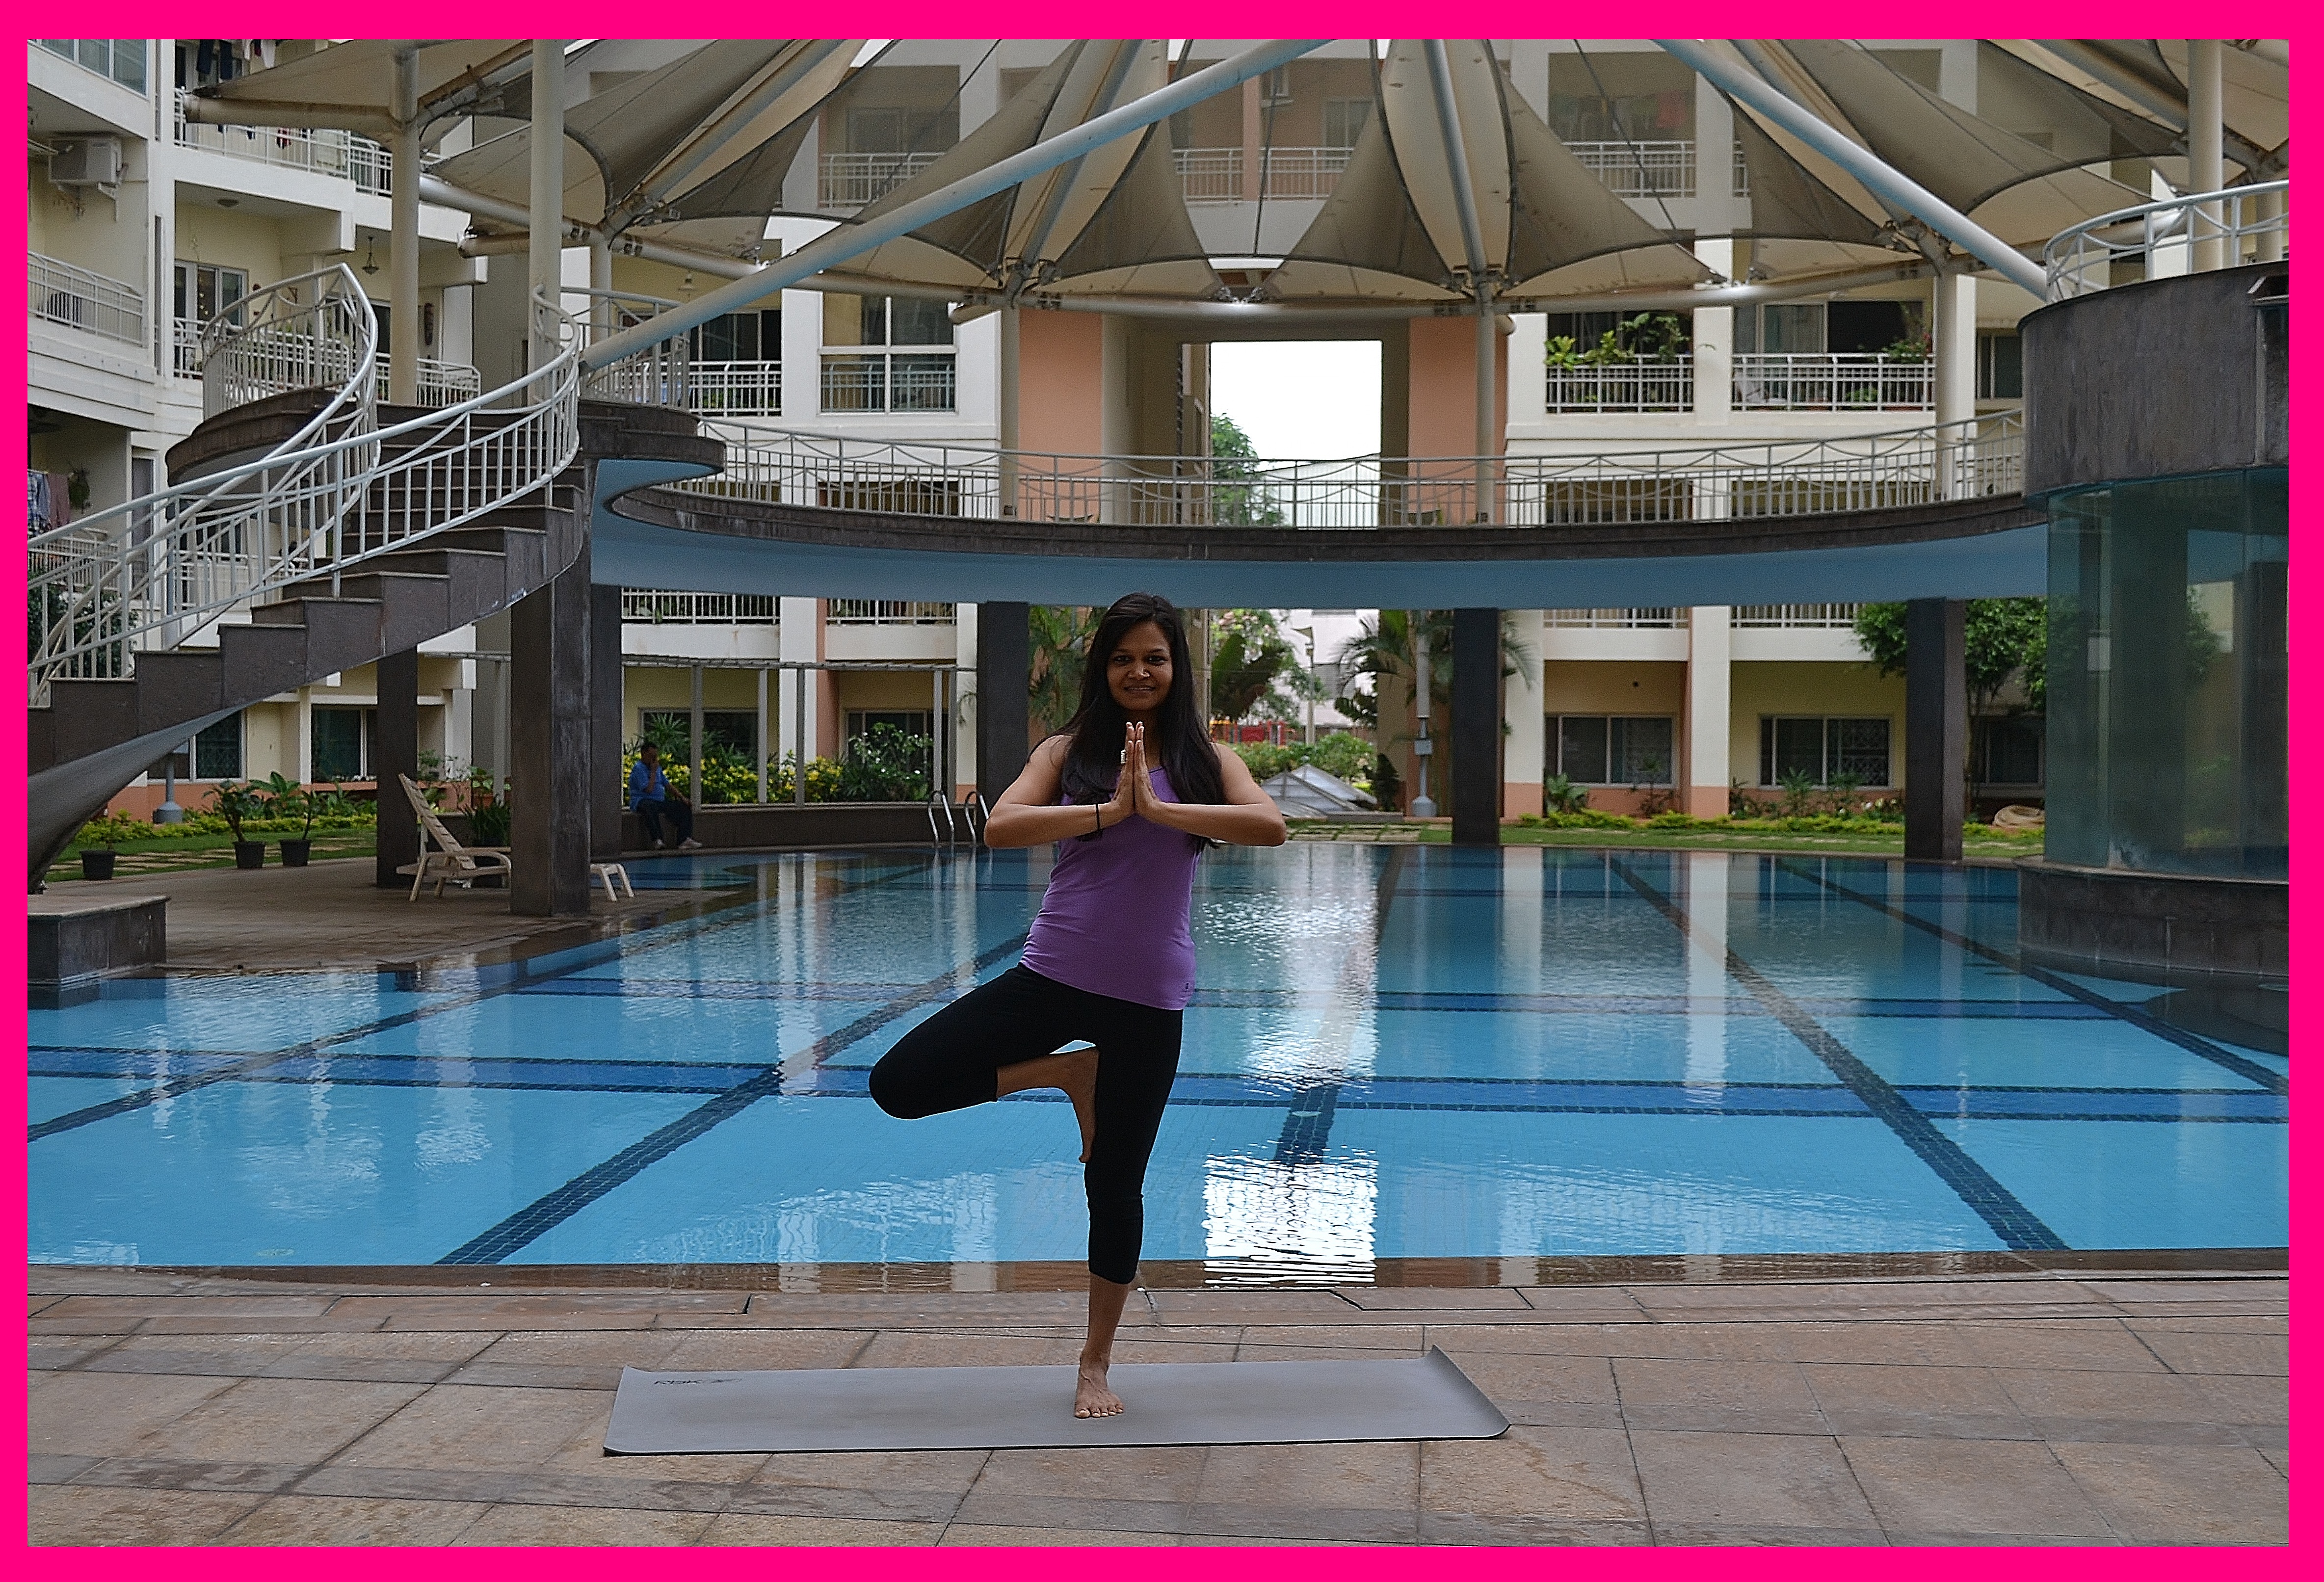
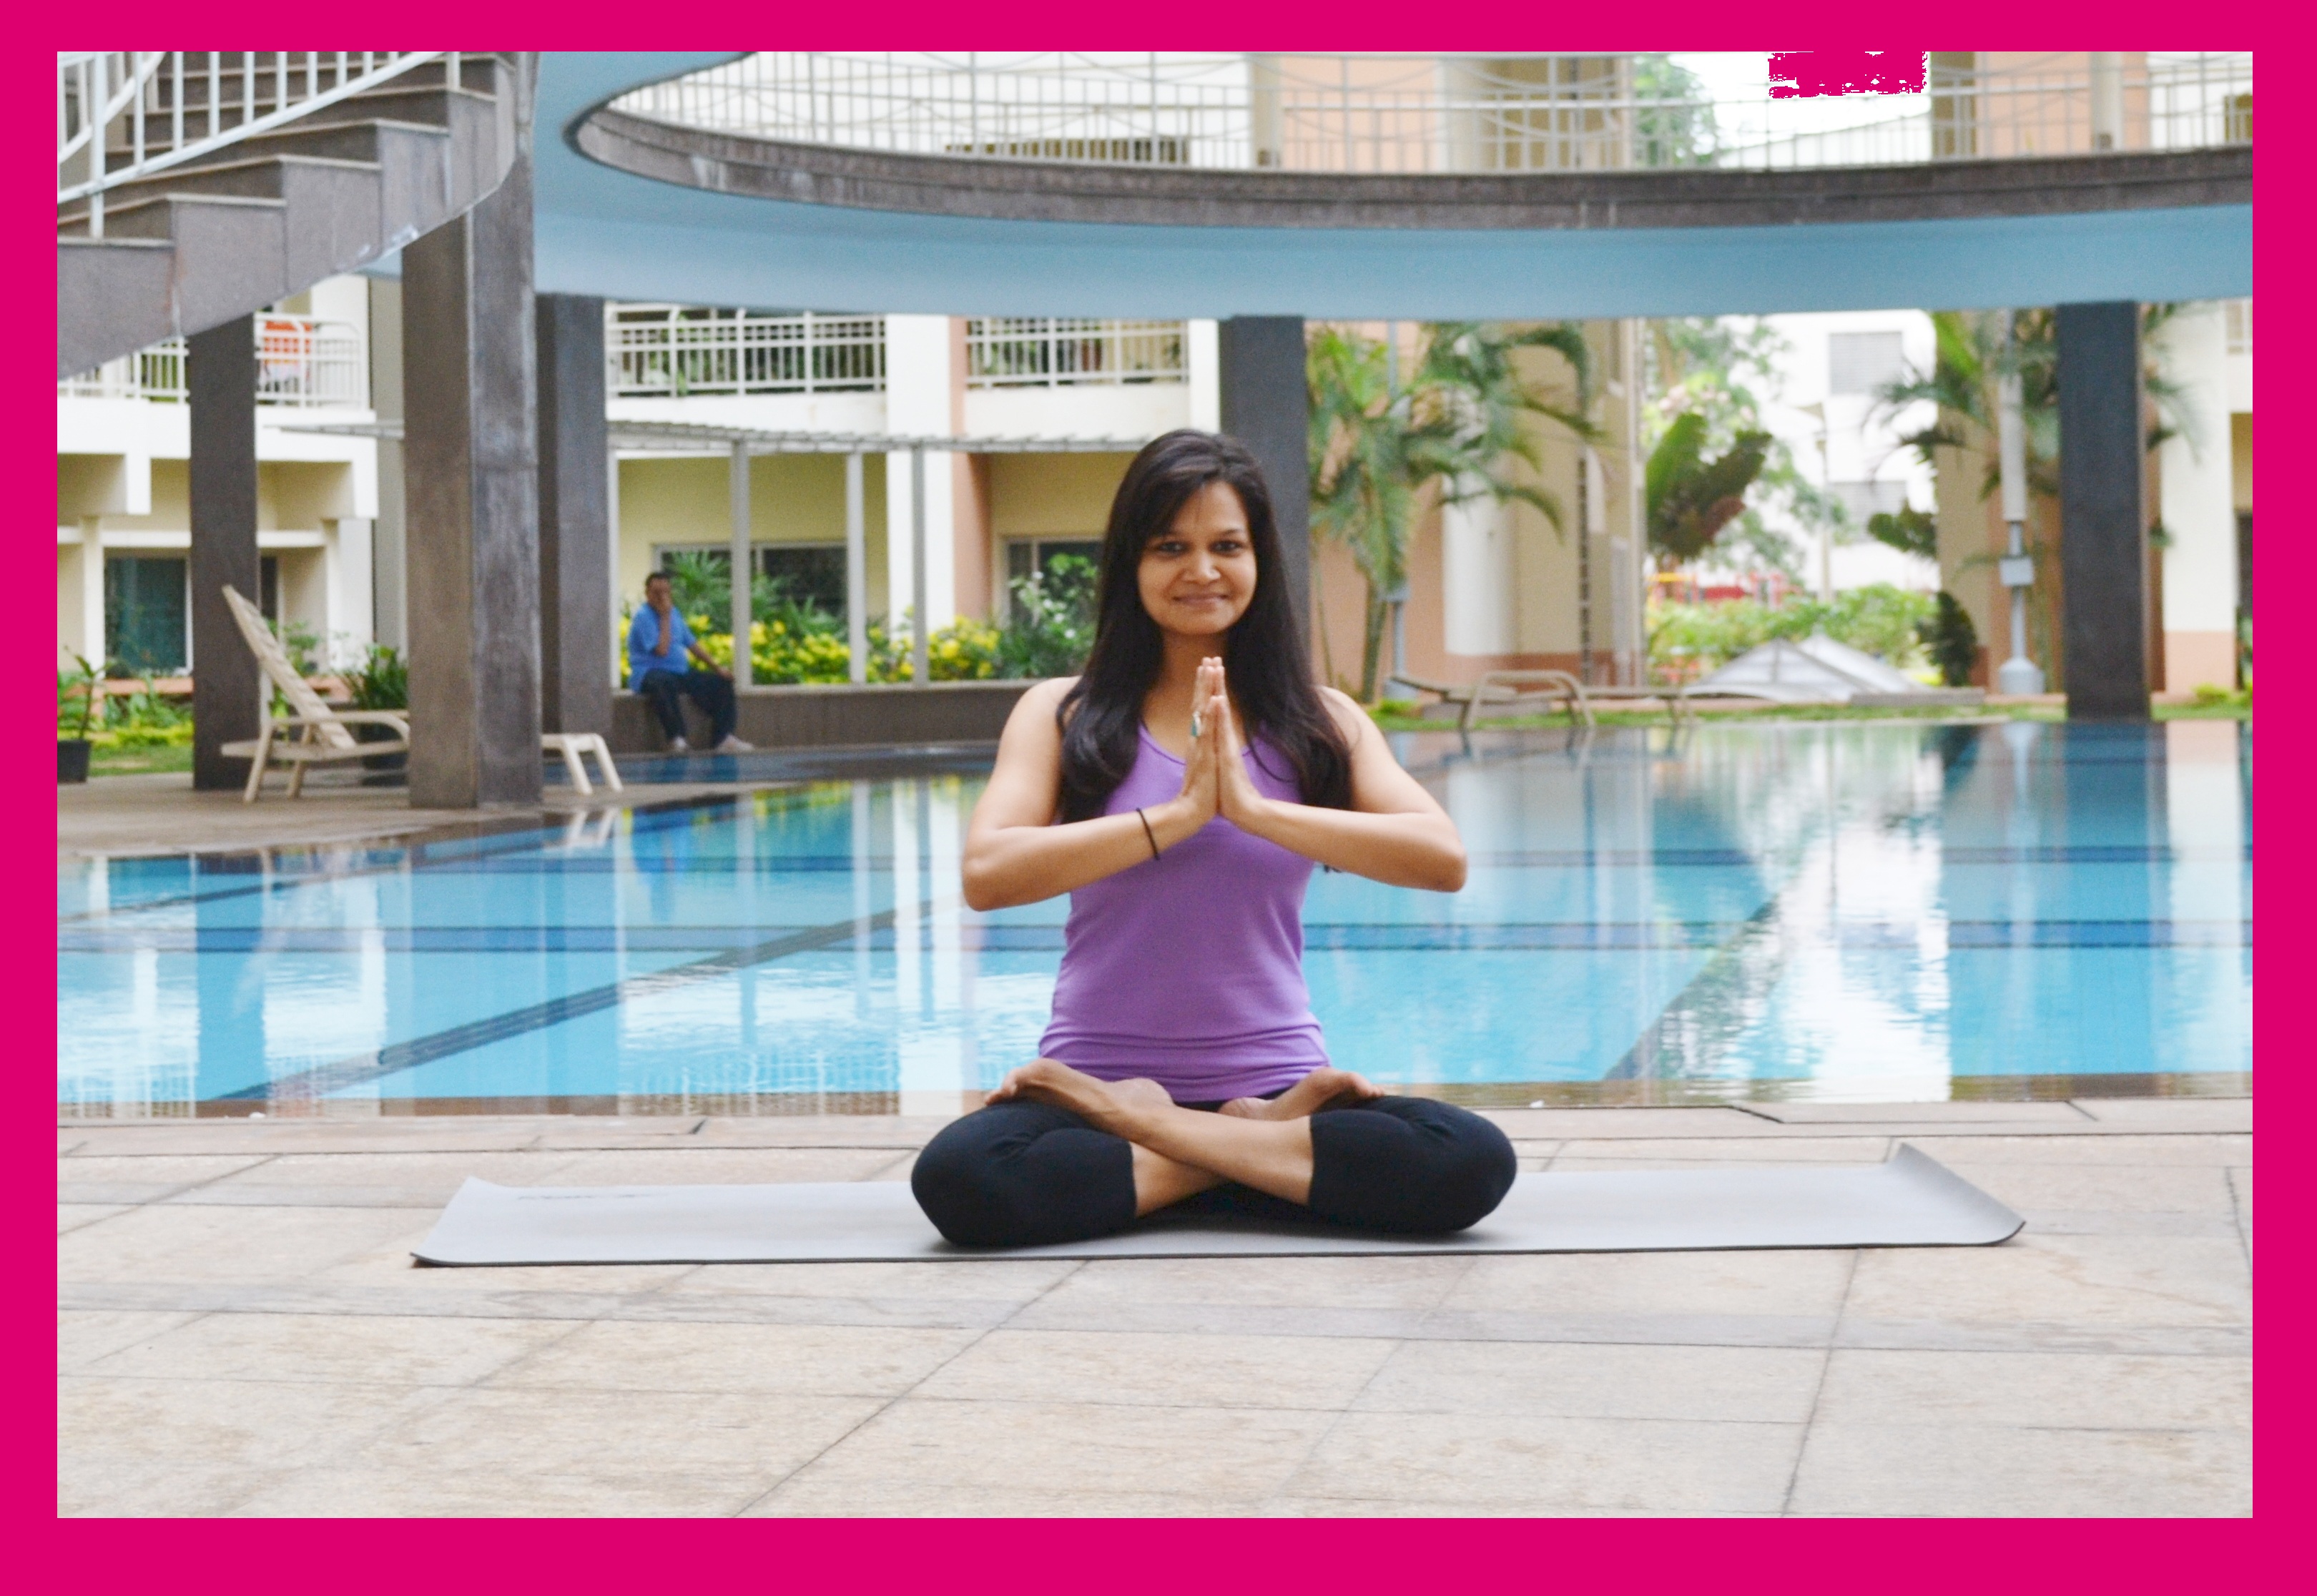
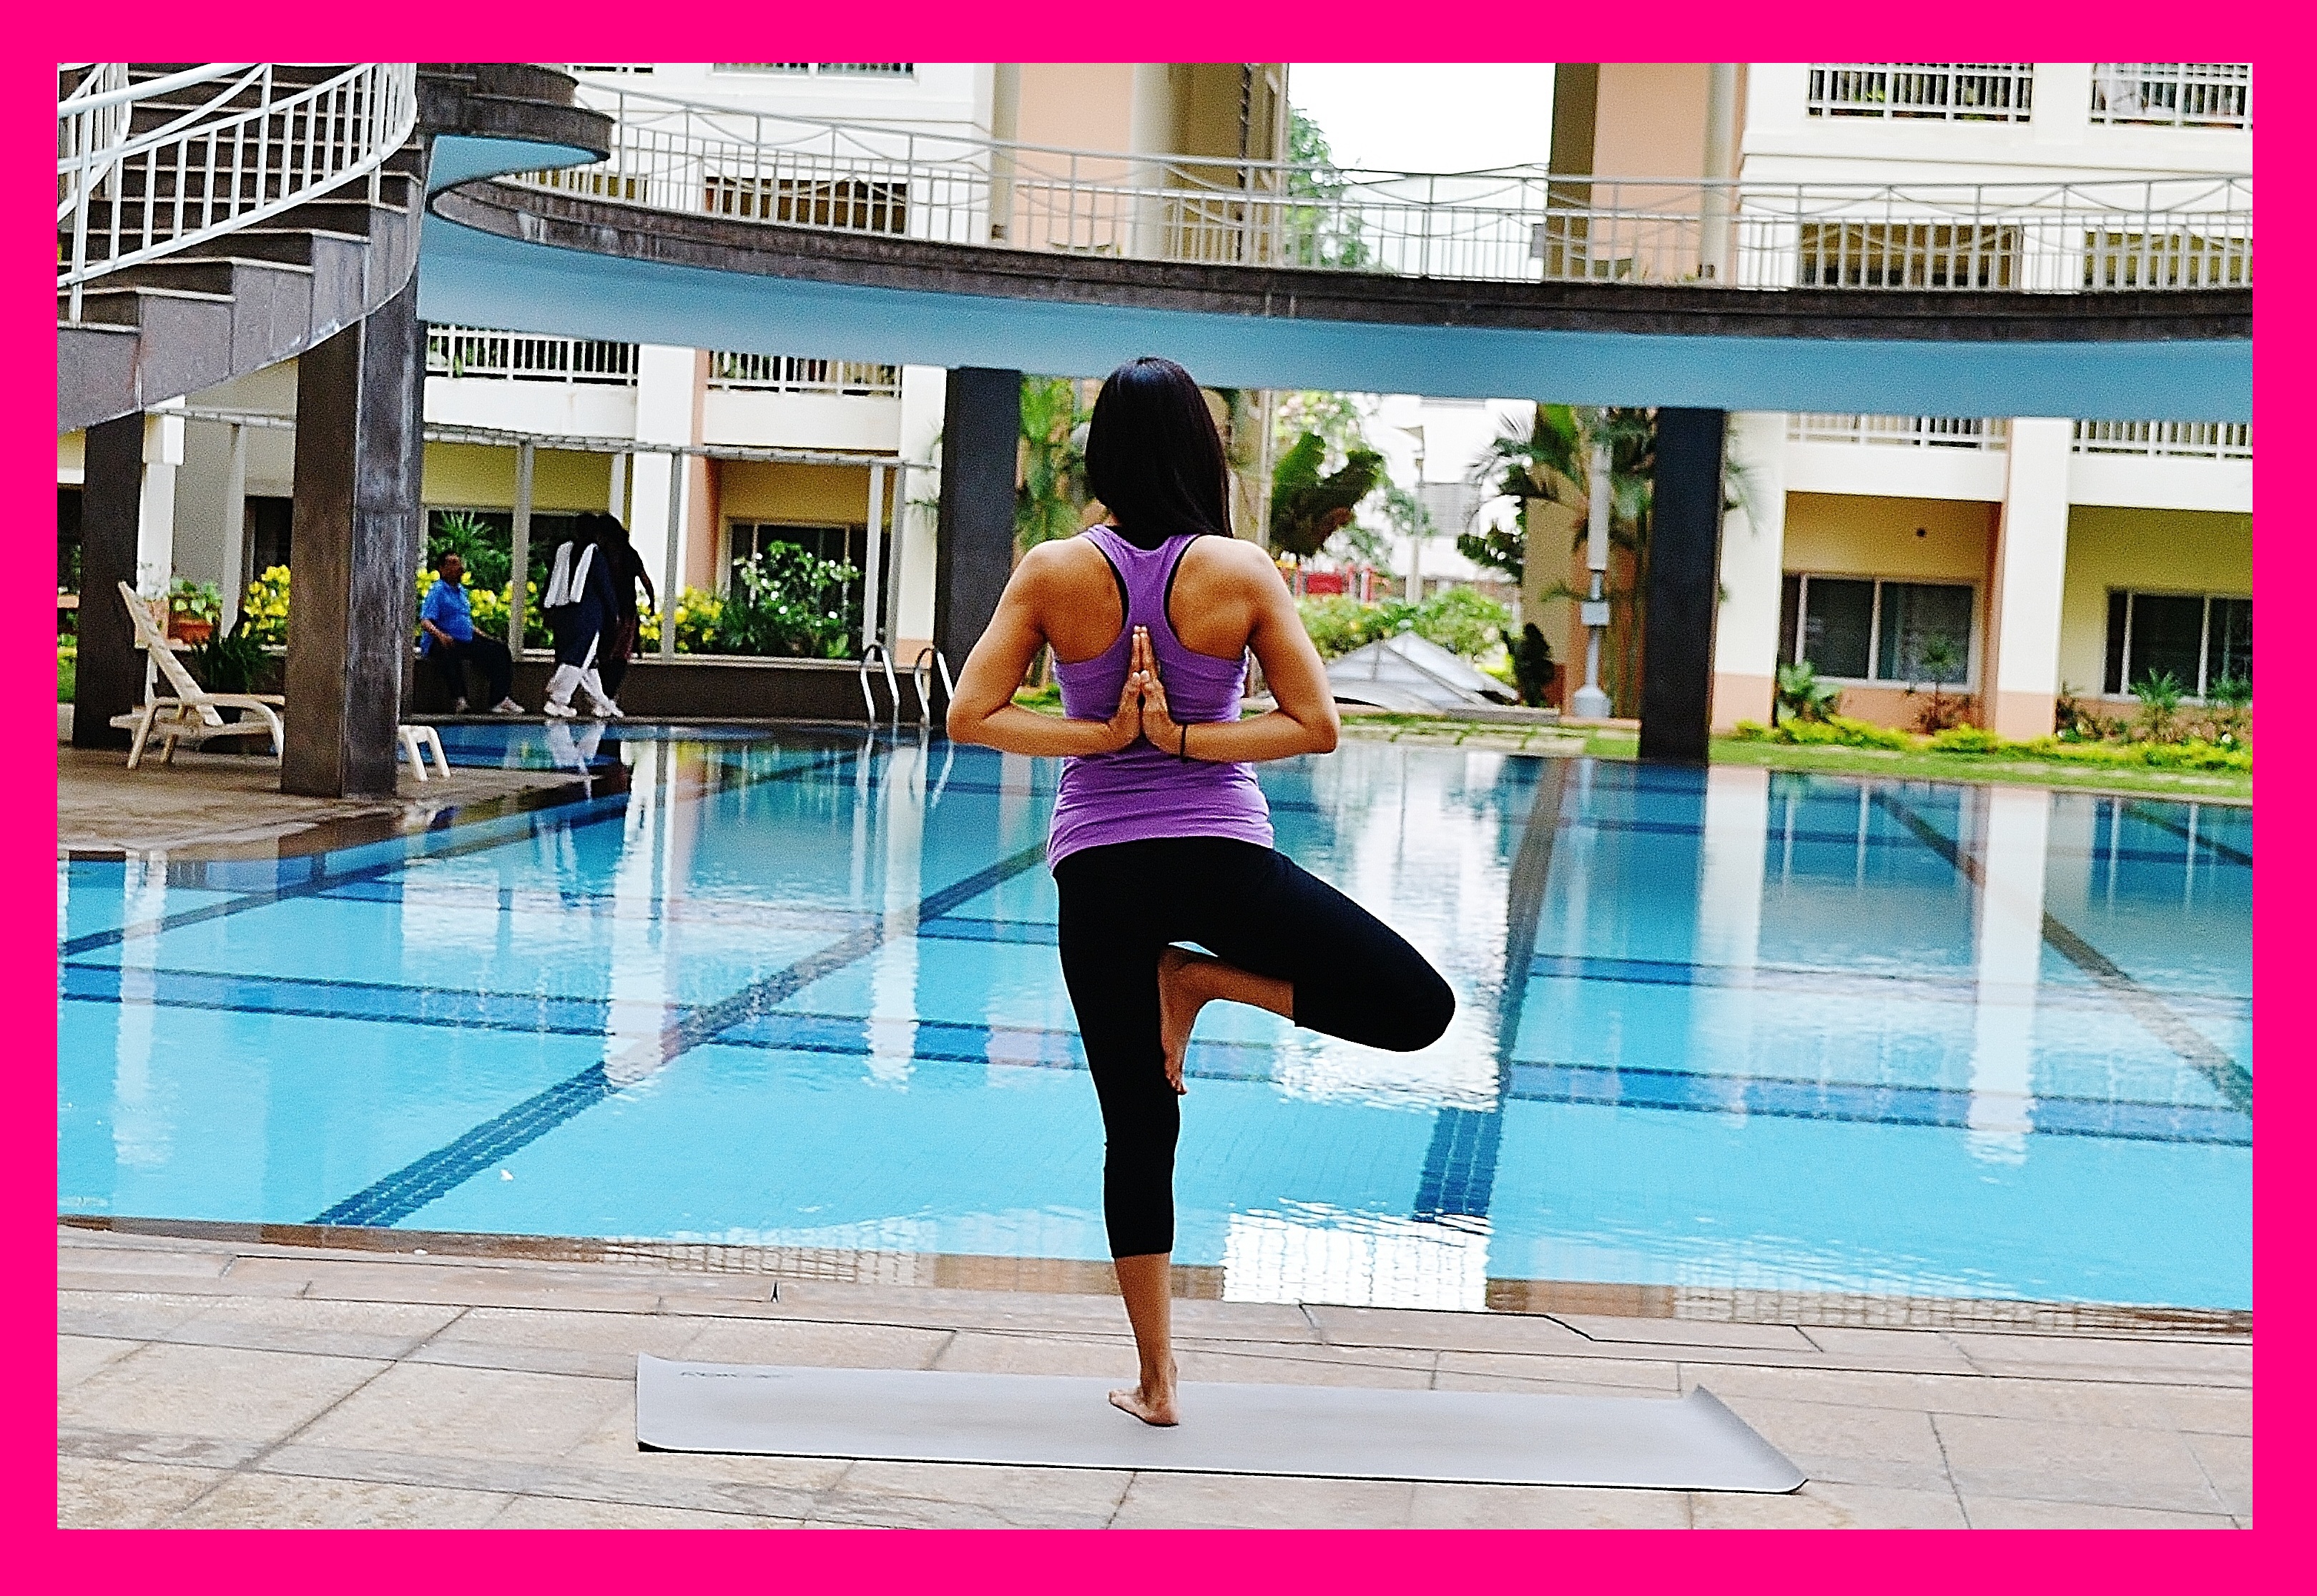
Today is the last day of our gratitude challenge. Today lets take a moment to appreciate all the mistakes we’ve made in life. After all, mistakes teach you a lot about yourself and the world around you. Mistakes help you understand what you actually want in life. They take you on adventures that make you who you are. If it weren’t for mistakes we wouldn’t have so much to be grateful for!
We hear of people denied fundamental human rights in different parts of the world, honor killings, girls being kidnapped to make some kind of convoluted point etc. It’s horrifying, unsettling, unfair, illogical…and it’s happening! So today lets join our hands together and be thankful to the freedom that we usually take for granted and send courage and hope to people stuck in situations beyond their control, for no fault of theirs. Namaste.
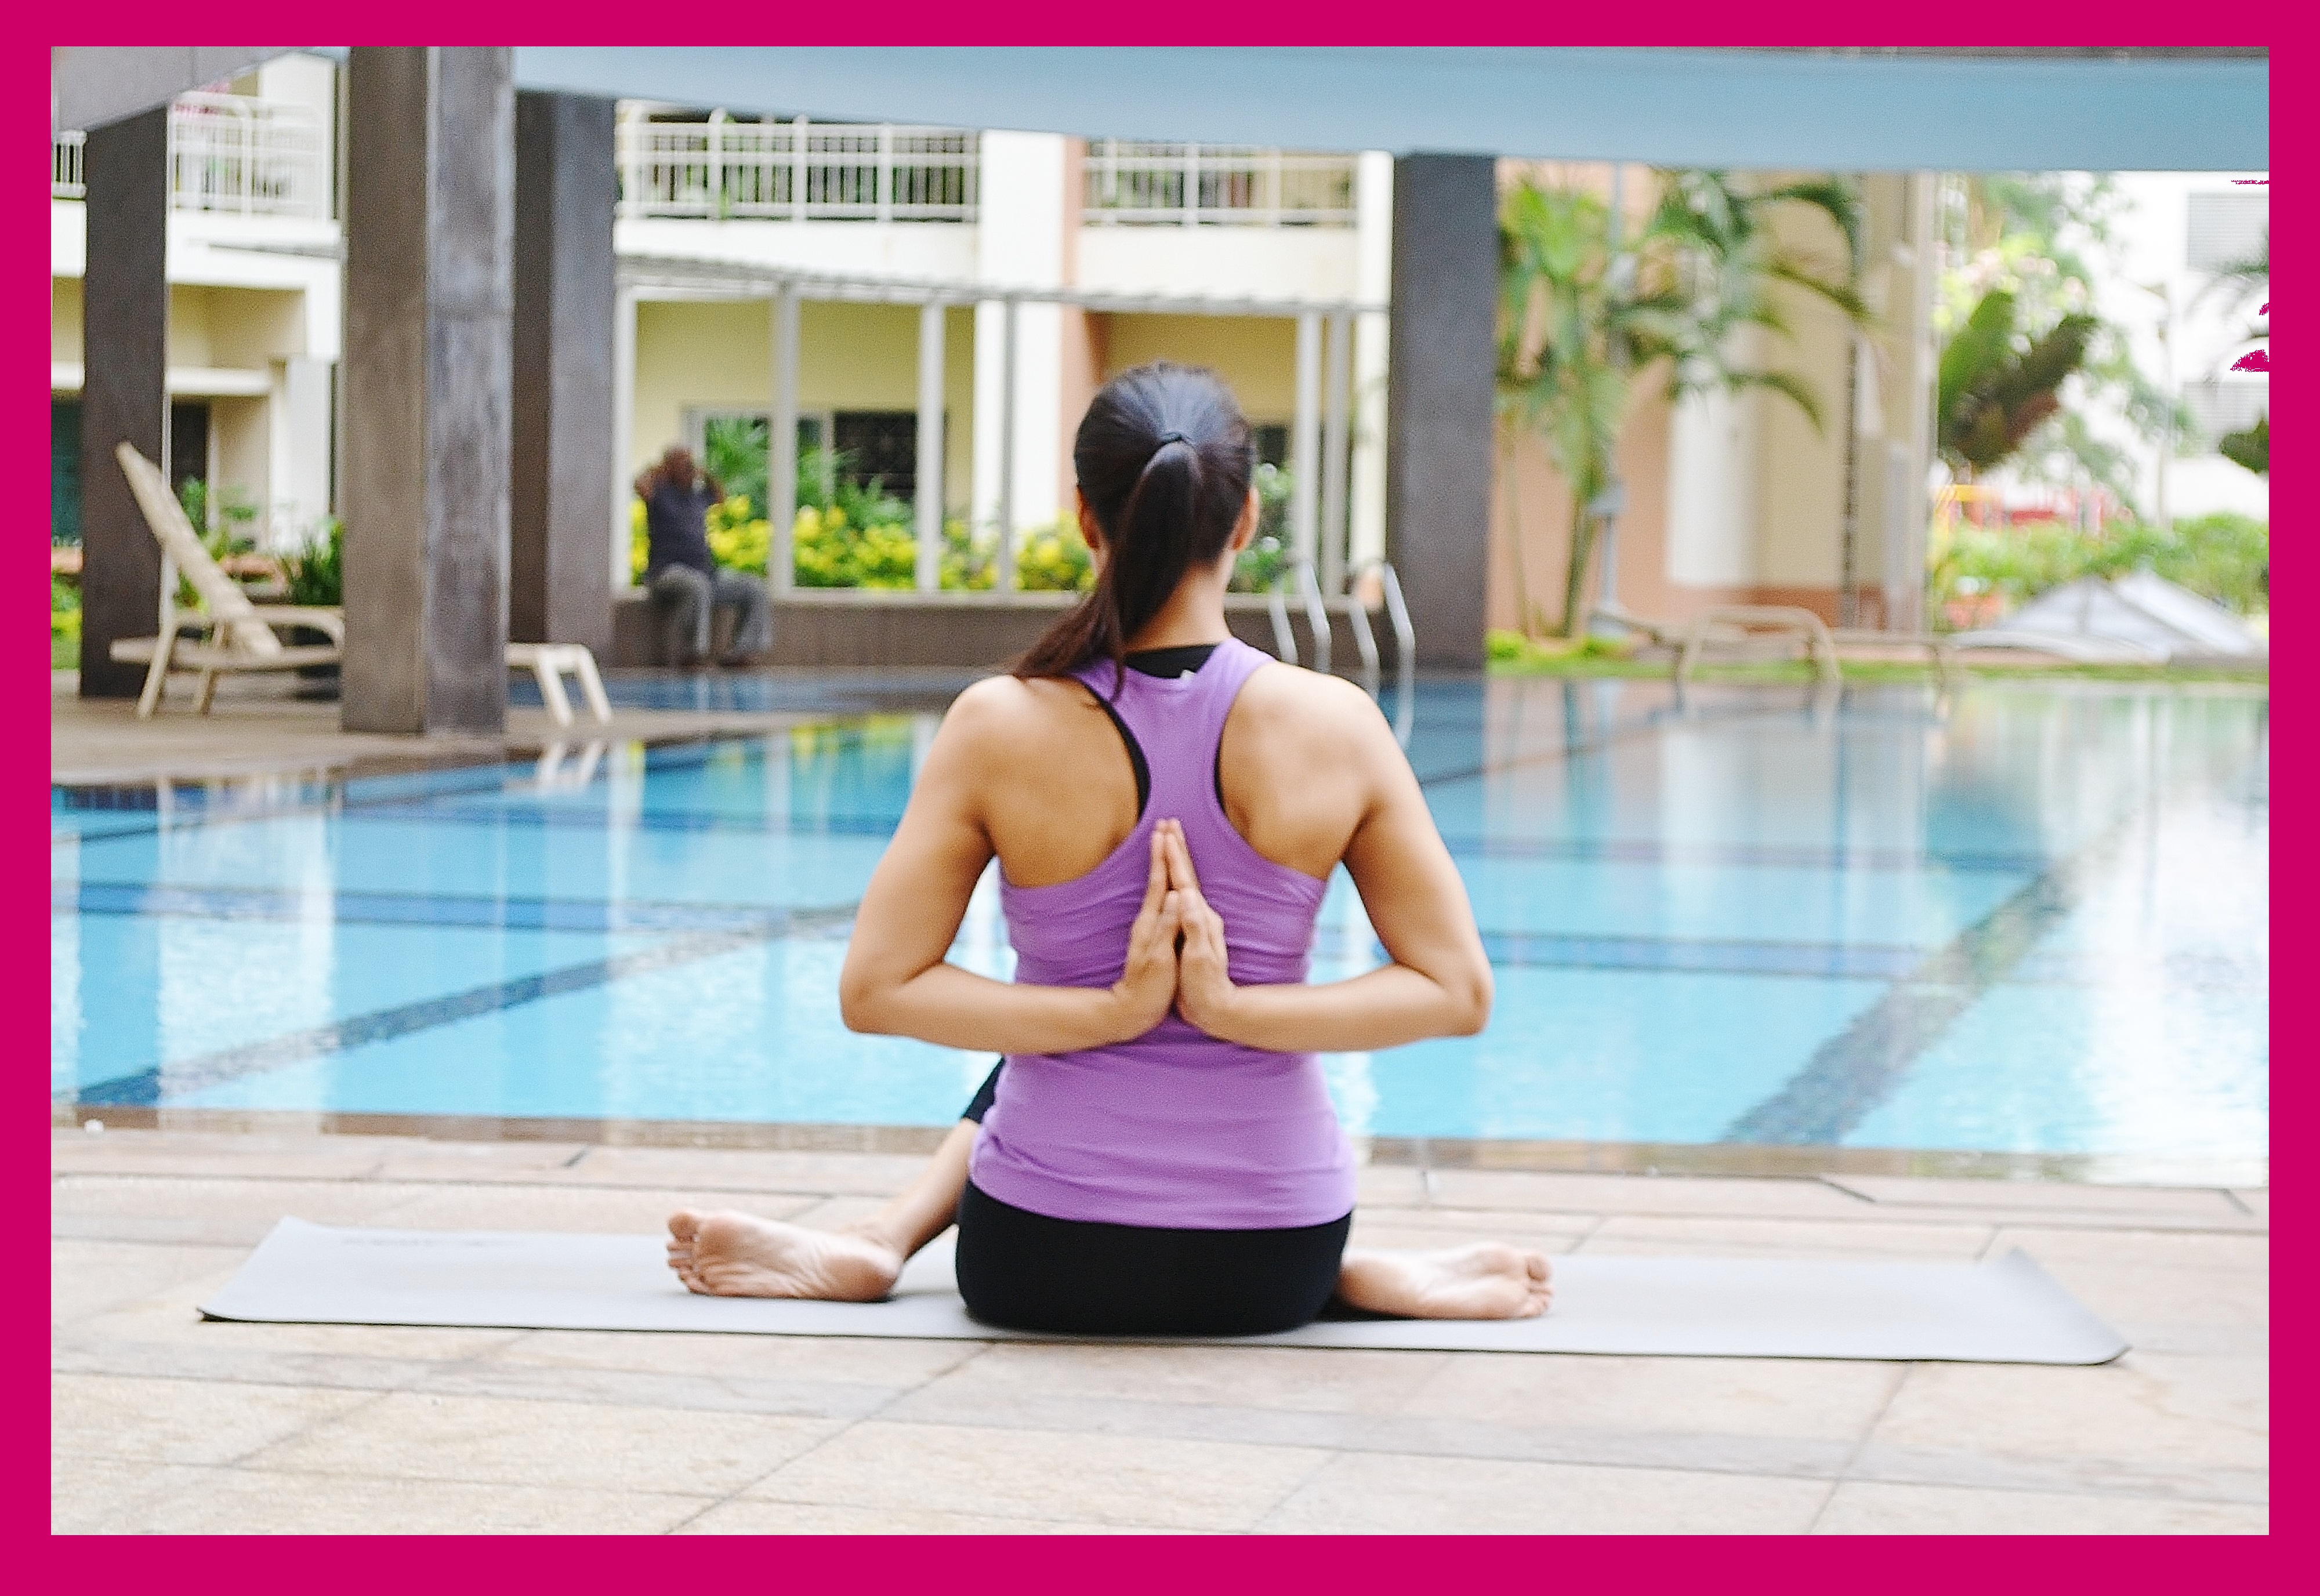
Now, everyone has those days when they feel blah. You don’t feel like getting up, your life and what you seems pointless, you don’t feel good about the decisions you’ve made, you feel insecure, uncertain….basically ‘blah’! So you may pick up the phone and call a friend, or listen to some soothing music, or read some inspirational words…something that allows you to reach into your reserves and tell you ‘this too shall pass’. Today let’s join our hands together and be thankful for what gives us strength, because some days you don’t need anything else!
Social media takes a beating all the time. People have started lamenting that they can’t remember phone numbers, don’t have human interaction when asking for directions, don’t physically meet choosing instead to Skype…but social media also keeps us connected. It helps us get back in touch. It makes sure that we don’t get lost in a strange place, it makes sure that you’re able to practice yoga with videos/blogs from people that you would never know existed! Today let’s dwell upon the positives of social media. To the responsible use of social media which can bring a lot of inspiration to our lives!
It keeps coming back to me time and time again that we make an impact on people whether we like it or not. And in a world which is rapidly shrinking, we make sometimes end up making an impact on people without even knowing that we are doing so! Maya Angelou made an impact on countless people. To me she signifies positivity and strength in the face of all odds. Her writing has always been about how her struggles have made her into a better person, a person who understands more. To me she signified an individual who triumphed over all odds and came out stronger.
Today is the 4th day of my #10DaysofGratitude project on Facebook. I realize that many people may not follow me on Facebook and thought that I should share the developments of the past four days in the blogosphere as well. I believe as human beings we’re successful if we are able to stay positive and healthy despite the many odds against us. So for the next few days lets meditate on the good things in life. Create more positivity. Give off some real good vibes.
Mindfulness is all you need to increase your levels of holistic health. When you become more mindful, you start to watch what you eat, what you say, what you think, how you feel etc. Every once in a while, its good to consciously think about the good things. Gratitude is a great way to practice humility and count your blessings. For the next 10 days be thankful for the good things in life. For today join your hands together and be thankful to the family has been and always will be with you. #10daysofgratitude #gratefultofamily
Day 2:
Today lets be grateful for wonderful partners and all their foibles that make them who they are! Take a moment to think about what makes your partner great and all that they bring to your lives. #10daysofgratitude
Day 3:
Today join your hands together and take a minute to send out positive vibes to all your friends. After all, they taught you loyalty, respect, gave you comfort and stepped in as the voice of reason when the other little voices in your head were bugging you! #10daysofgratitude #day3 #paschimanamaskarasana #vrikshasana
Day 4:
We rely on our family and friends to help us and get us out of sticky situations. But sometimes complete strangers jump to our rescue. A 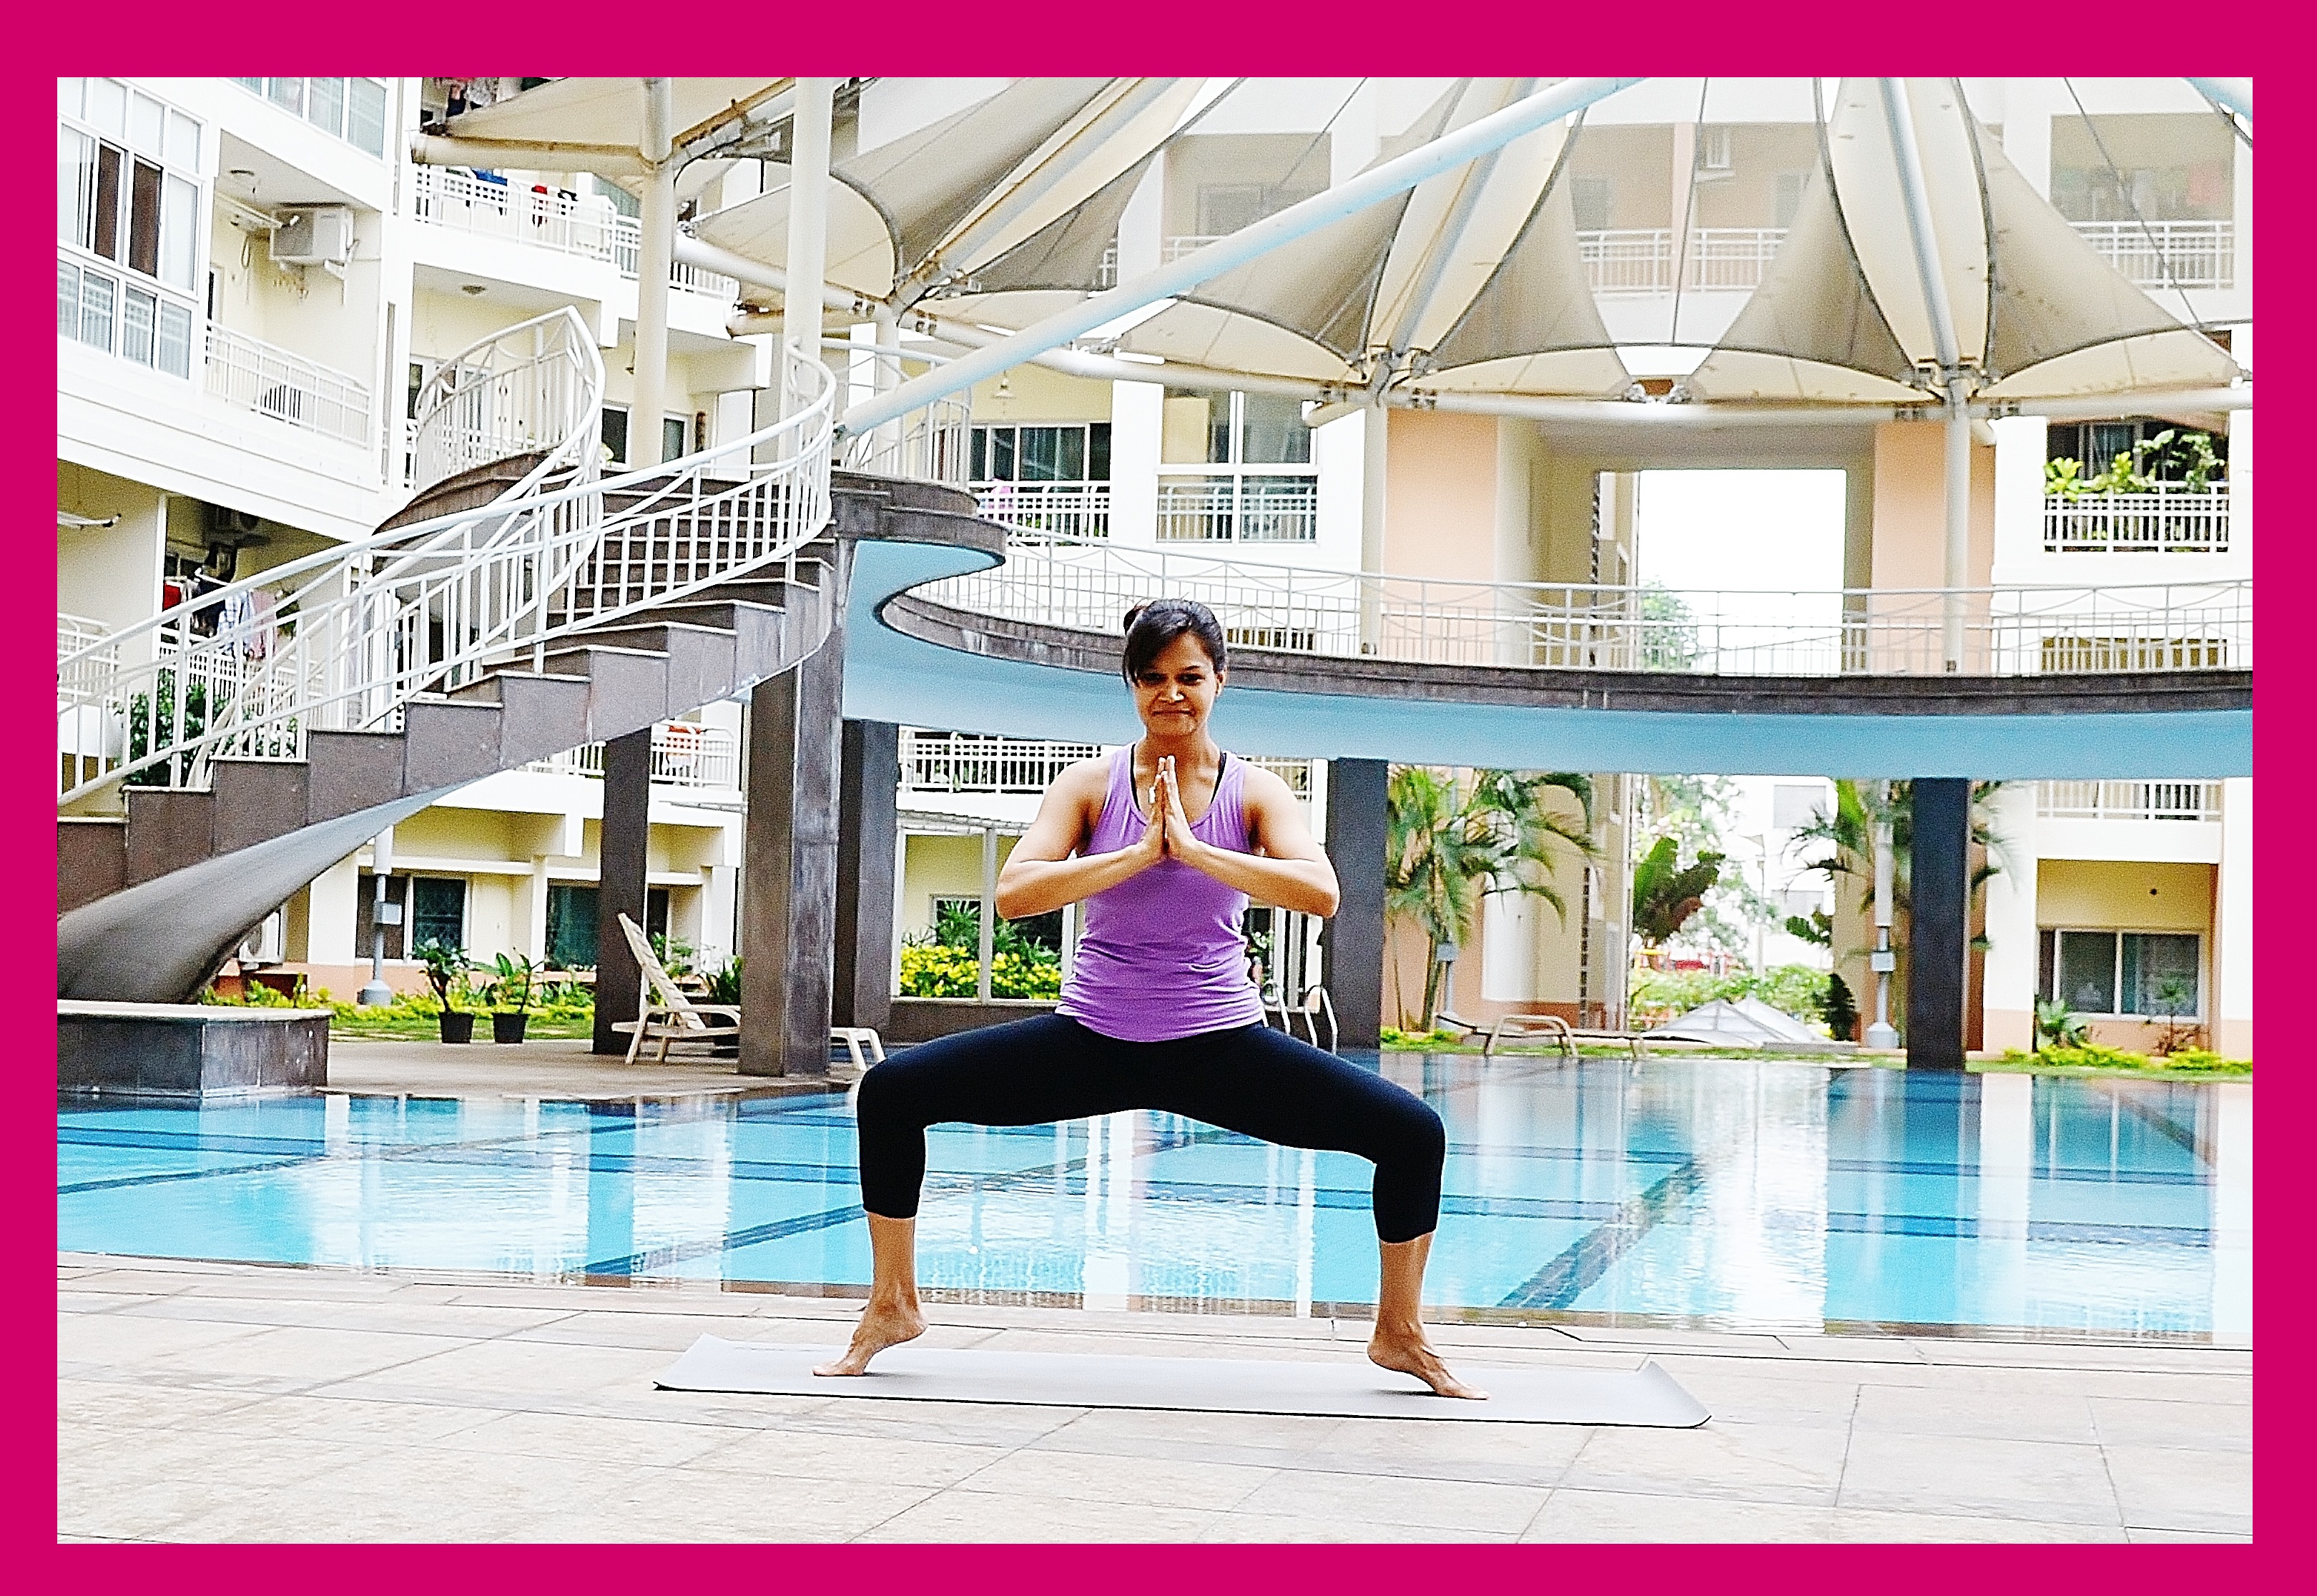 stranger changed a flat tire for one of my friends, a lady in France dropped us to our hotel at 2 am, someone gave my friend an umbrella when it was pouring cats and dogs on commercial street the other day…Today lets be grateful for well-meaning helpful strangers. They don’t expect ANYTHING in return, so it’s only fair that we send them loads and loads of gratitude today. #10daysofgratitude #day4
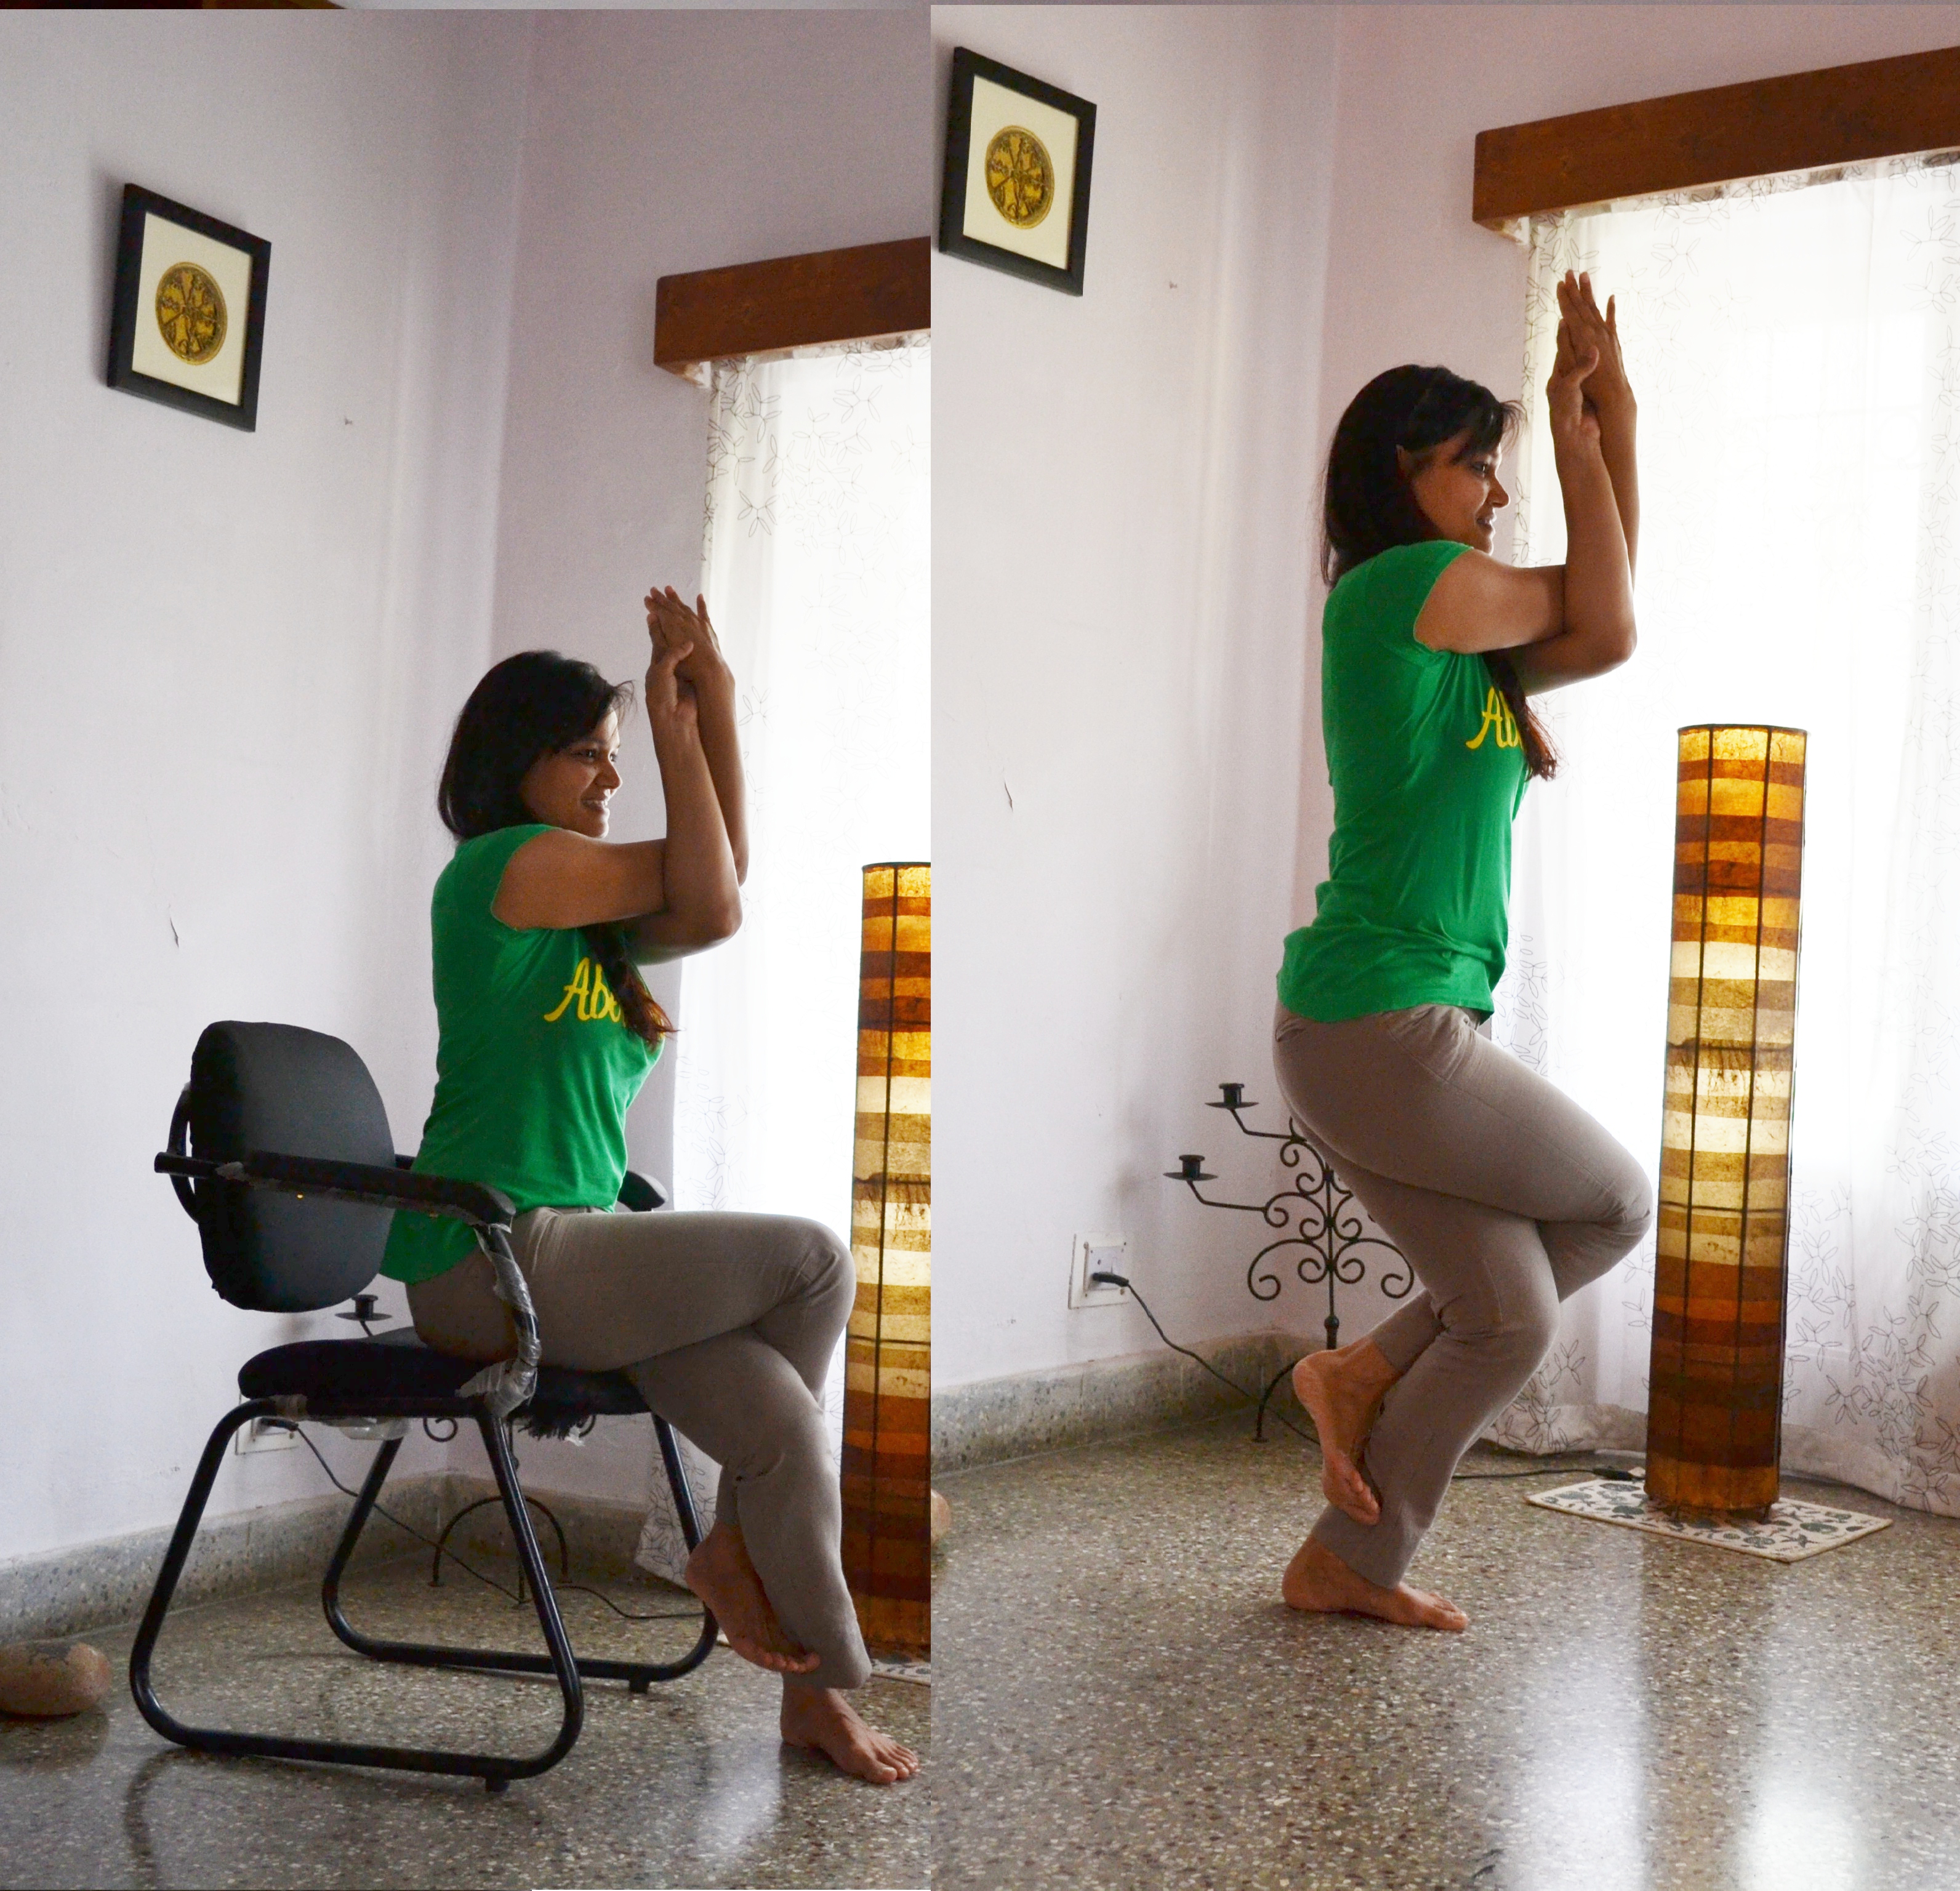
Read more about Yoga at your desk at: http://www.deccanherald.com/content/409118/ever-heard-yoga.html
An easy routine for when you don’t feel like lifting a finger.
This is perhaps the most oft repeated request to me. It’s strange because a couple of years ago, it was me who was on the other side of this question. I was frustrated with the quest for weight loss…I would look with longing at clothes which I was convinced I would never be able to wear. When I first started to workout, I felt that the more I sweat, the more weight I was losing. I thought punishing routines were an indication that I was serious about weight loss. I would put in an all nighter and still get up early for my workout. I would lust after chocolate and loath myself for it. Of course I lost weight. I blogged about it a couple of months ago here.
But I wish I’d known how to make the process worthwhile. I wish someone had told me that losing weight is about become stronger and more agile, and not about fitting into size 28 Levis. I wish someone had told me that it was about indulging once in a while instead of hating yourself for wanting to gobble down kgs upon kgs of chocolate. I wish someone had told me that losing weight doesn’t have to be hard, that it’s actually quite easy. But I remember how each kilo was tortuous, after all, it quite literally demanded a pound of flesh.
There’s been a paradigm shift in my approach to fitness in the last couple of years. I moved away from obsession about weight to interest in holistic health. I don’t own a weighing machine, and I stopped weighing myself a while ago. In line with my interest in constantly improving my health, I recently tweaked my lifestyle a little bit to see if it would affect my fitness levels. I’ve been living with those changes for the last 3 weeks, and on an impulse I weighed myself yesterday. I’ve lost a kg. Without intending to and without wanting to. And it was easy. I made very very little changes, nothing drastic.
Below are the changes I incorporated into my lifestyle. These changes are simple. You can make them too. And instead of leaving “Some yoga tips plz for weightloss” on my page, you can leave your weight loss success story.
- I’ve started waking up at 5 am, when it’s still dark and quiet outside. As the sun comes up, the birds start to sing. This period of watching the world wake up is strangely calming. Research has shown that if you tune your body clock to the earth’s natural cycle, your circadian rhythm (natural life rhythm) and nature’s rhythm are in harmony and this helps to balance you.
- To wake up at 5 am I’m in bed by 9.30 pm. In fact, I’m usually reading in bed by 9 pm. Regularly. So in the past three weeks I’ve clocked about 7-8 hours of sleep every night. Our bodies are meant to follow the sun’s cycles. So when the sun goes down our body processes also start to shut down (metabolism, alertness etc.). To force your body to eat and drink, watch TV and deal with the harsh light emanating from the laptop post sundown is against the way nature intended the body to be. Also, deep sleep is when your muscles relax and recuperate and when your body is completely at rest. Adequate rest is an important part of weight loss…so go to bed!
- I’ve started having dinner between 7.30-8 pm. Twice a week I have a class which ends at 8 pm. I decided to pack my dinner and eat it during the ride home. Bangaloreans know that patience is the only way to deal with the crazy traffic. There are two 10 minute signals on my drive home. I manage my dinner these two lights. I know, not the ideal situation. And many health care books and articles wax eloquent about how you should eat your dinner sitting down and having peaceful thoughts. After spending innumerable days fretting about not having dinner in the ideal setting, I realized that I would much rather eat my dinner in the car than push my routine back by at least half an hour and risk a sleep deficit. Basically, I was ok with eating my dinner in the car, than giving up on my sleep.
- I’ve quit whatever little alcohol I used to have. I’m not much of a drinker (I used to be long long long ago when I partied 4 times a week). But drinking with my friends usually meant late nights. I would say that quitting alcohol had a dual effect. It reduced my late nights allowing me to sleep more, and of course, fewer empty calories going into my system.
- I’ve replaced artificial sugars with natural ones. (I even quit dessert!) I made a point of eating more fruit. I’m lucky that papaya, watermelon and mangoes are in season. Remember that the changes I made weren’t absolute. So if I feel like having chocolate I go ahead and have it. But interestingly enough, I didn’t crave chocolate (which is the only kind of sugar I really crave). I do allow myself two teaspoons of sugar (preferably brown) in my morning coffee.

- I’ve stopped my evening coffee. I noticed a marked improvement in my quality of sleep. Instead I started having green tea with all the goodness of honey, cinnamon and lemon!
- I avoid carbs for dinner. So basically no rice or roti. Just have dal and sabji.
- I have a banana post my yoga session, and if I have time, then before yoga as well.
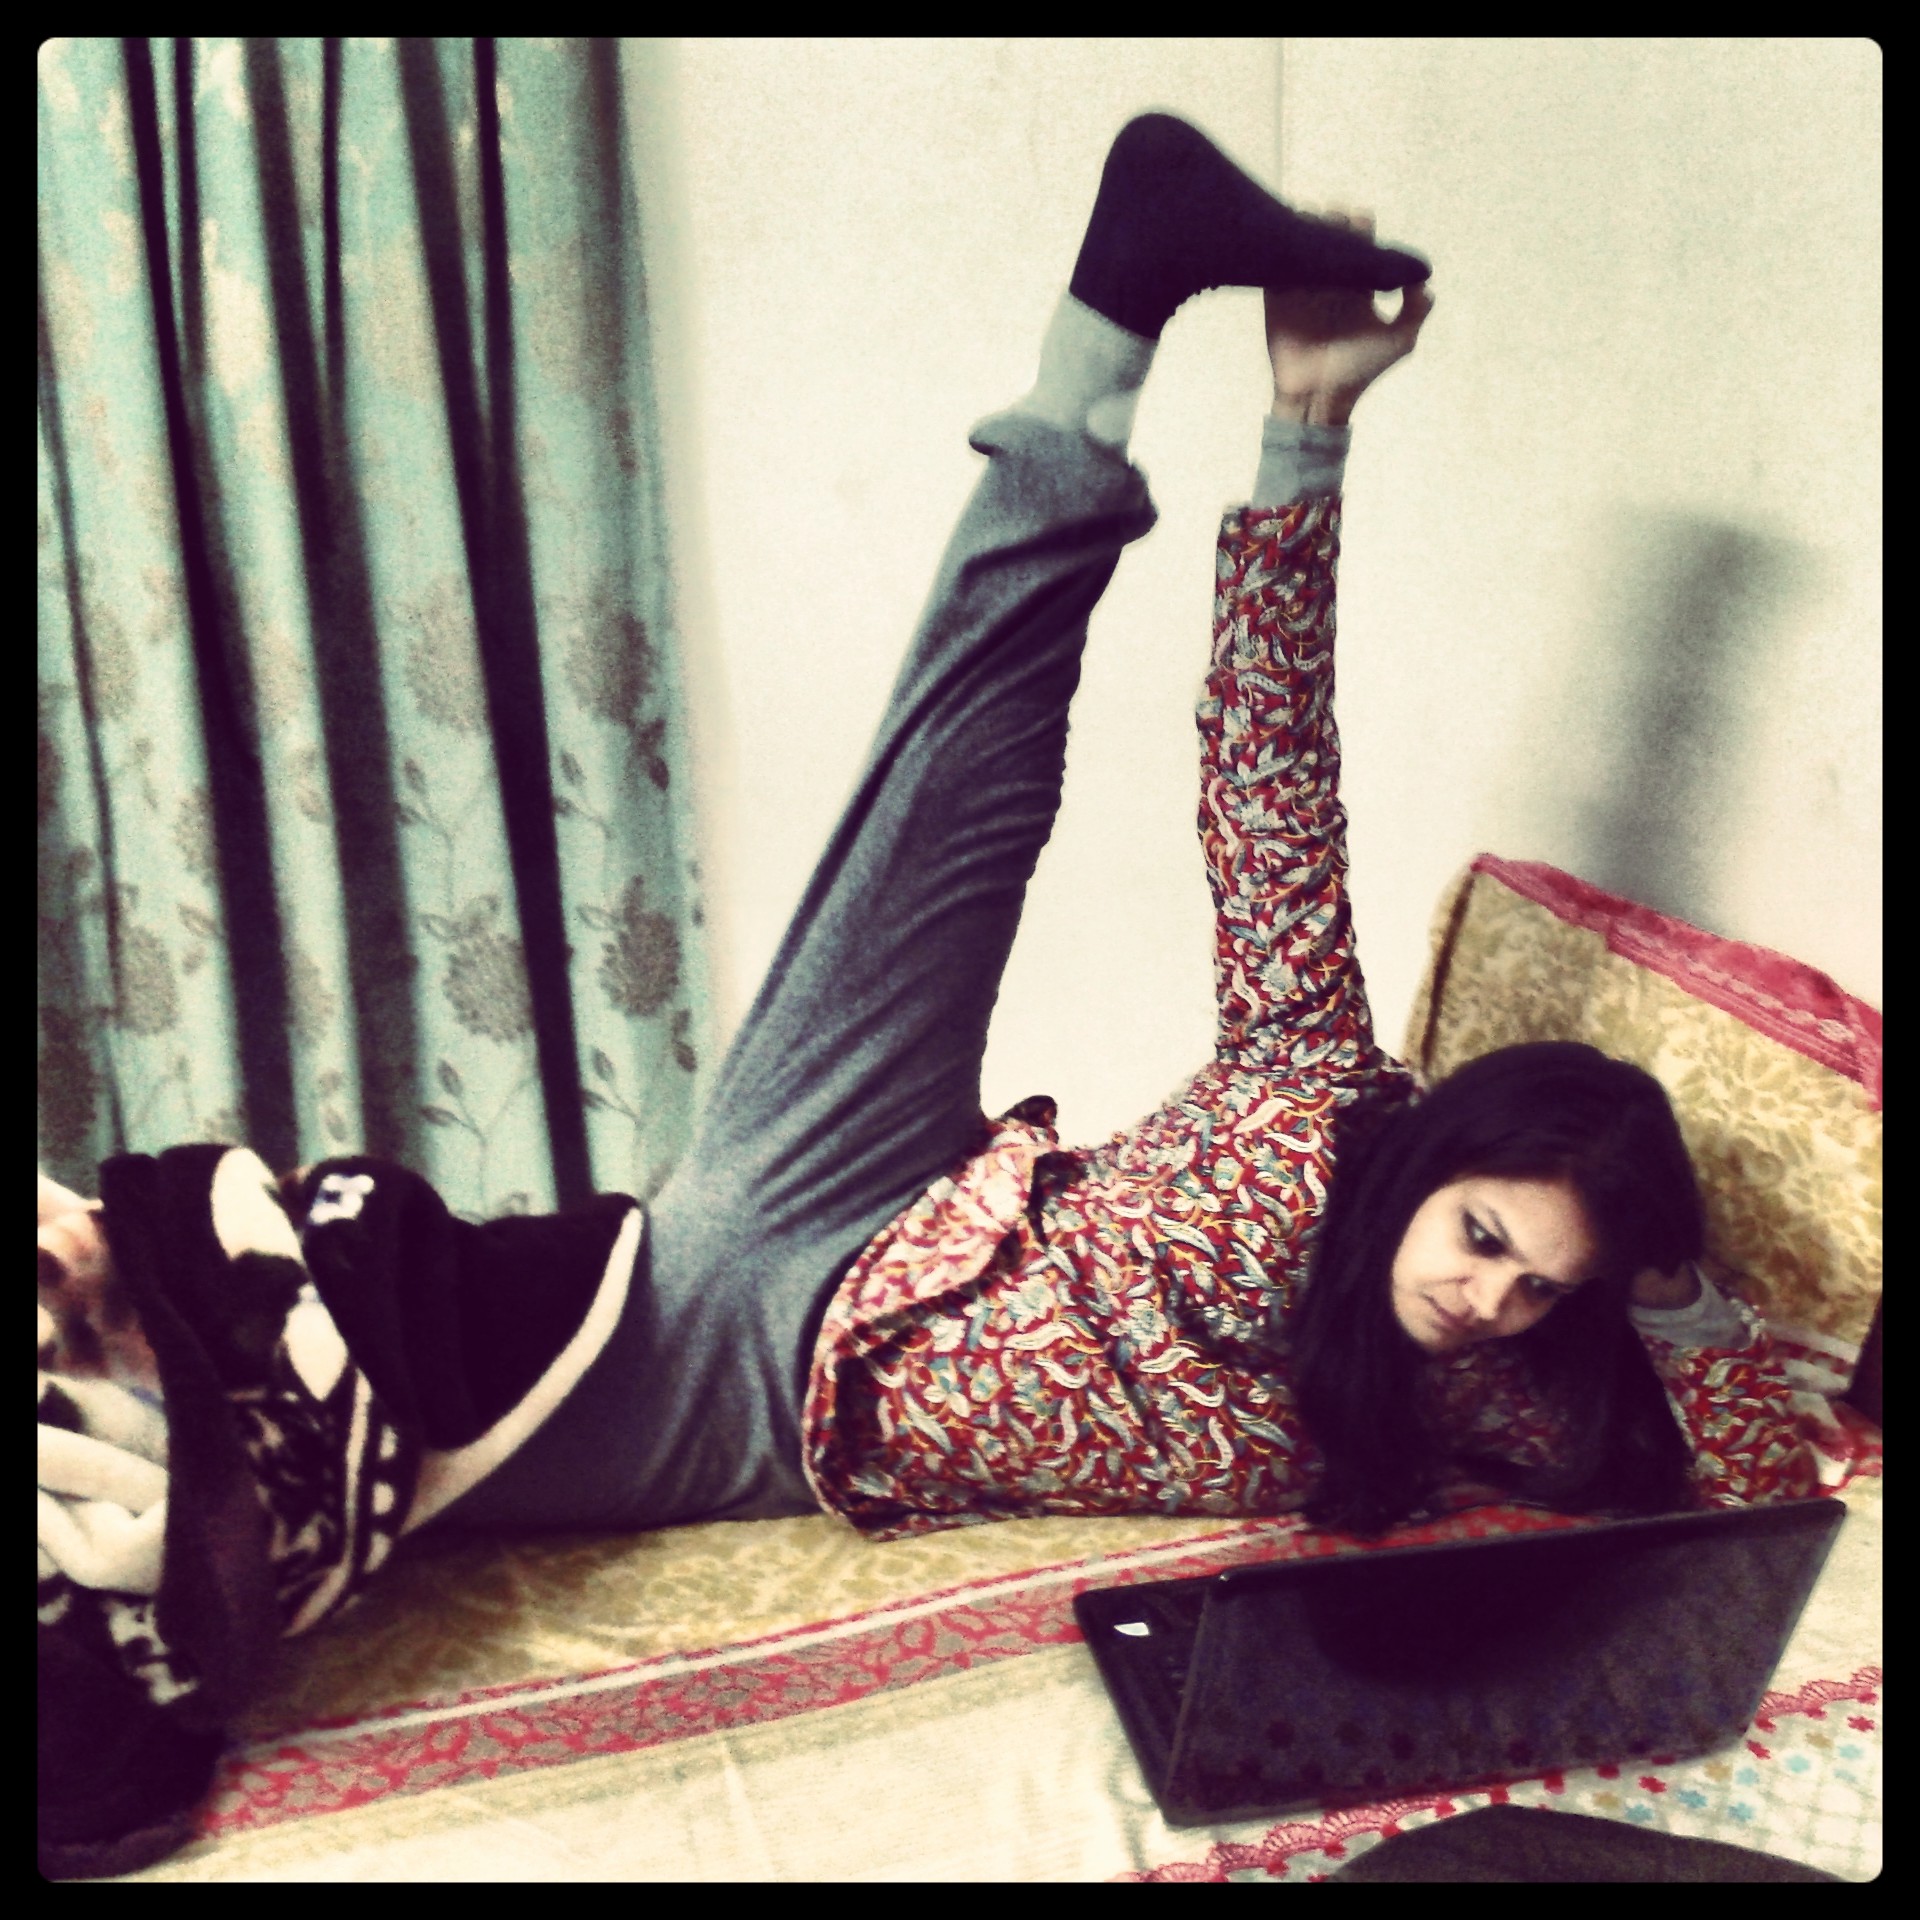
- I switch off my laptop and don’t watching TV in the evenings. Instead I read a book.
- I’ve added an extra workout day to my week. Before I used to practice only 5 days a week. Now I practice 6 days a week, and swim on Sundays. I’m learning how to swim, so for me it doesn’t qualify as a workout yet. Do I escape the heat and relax in the pool on Sundays.
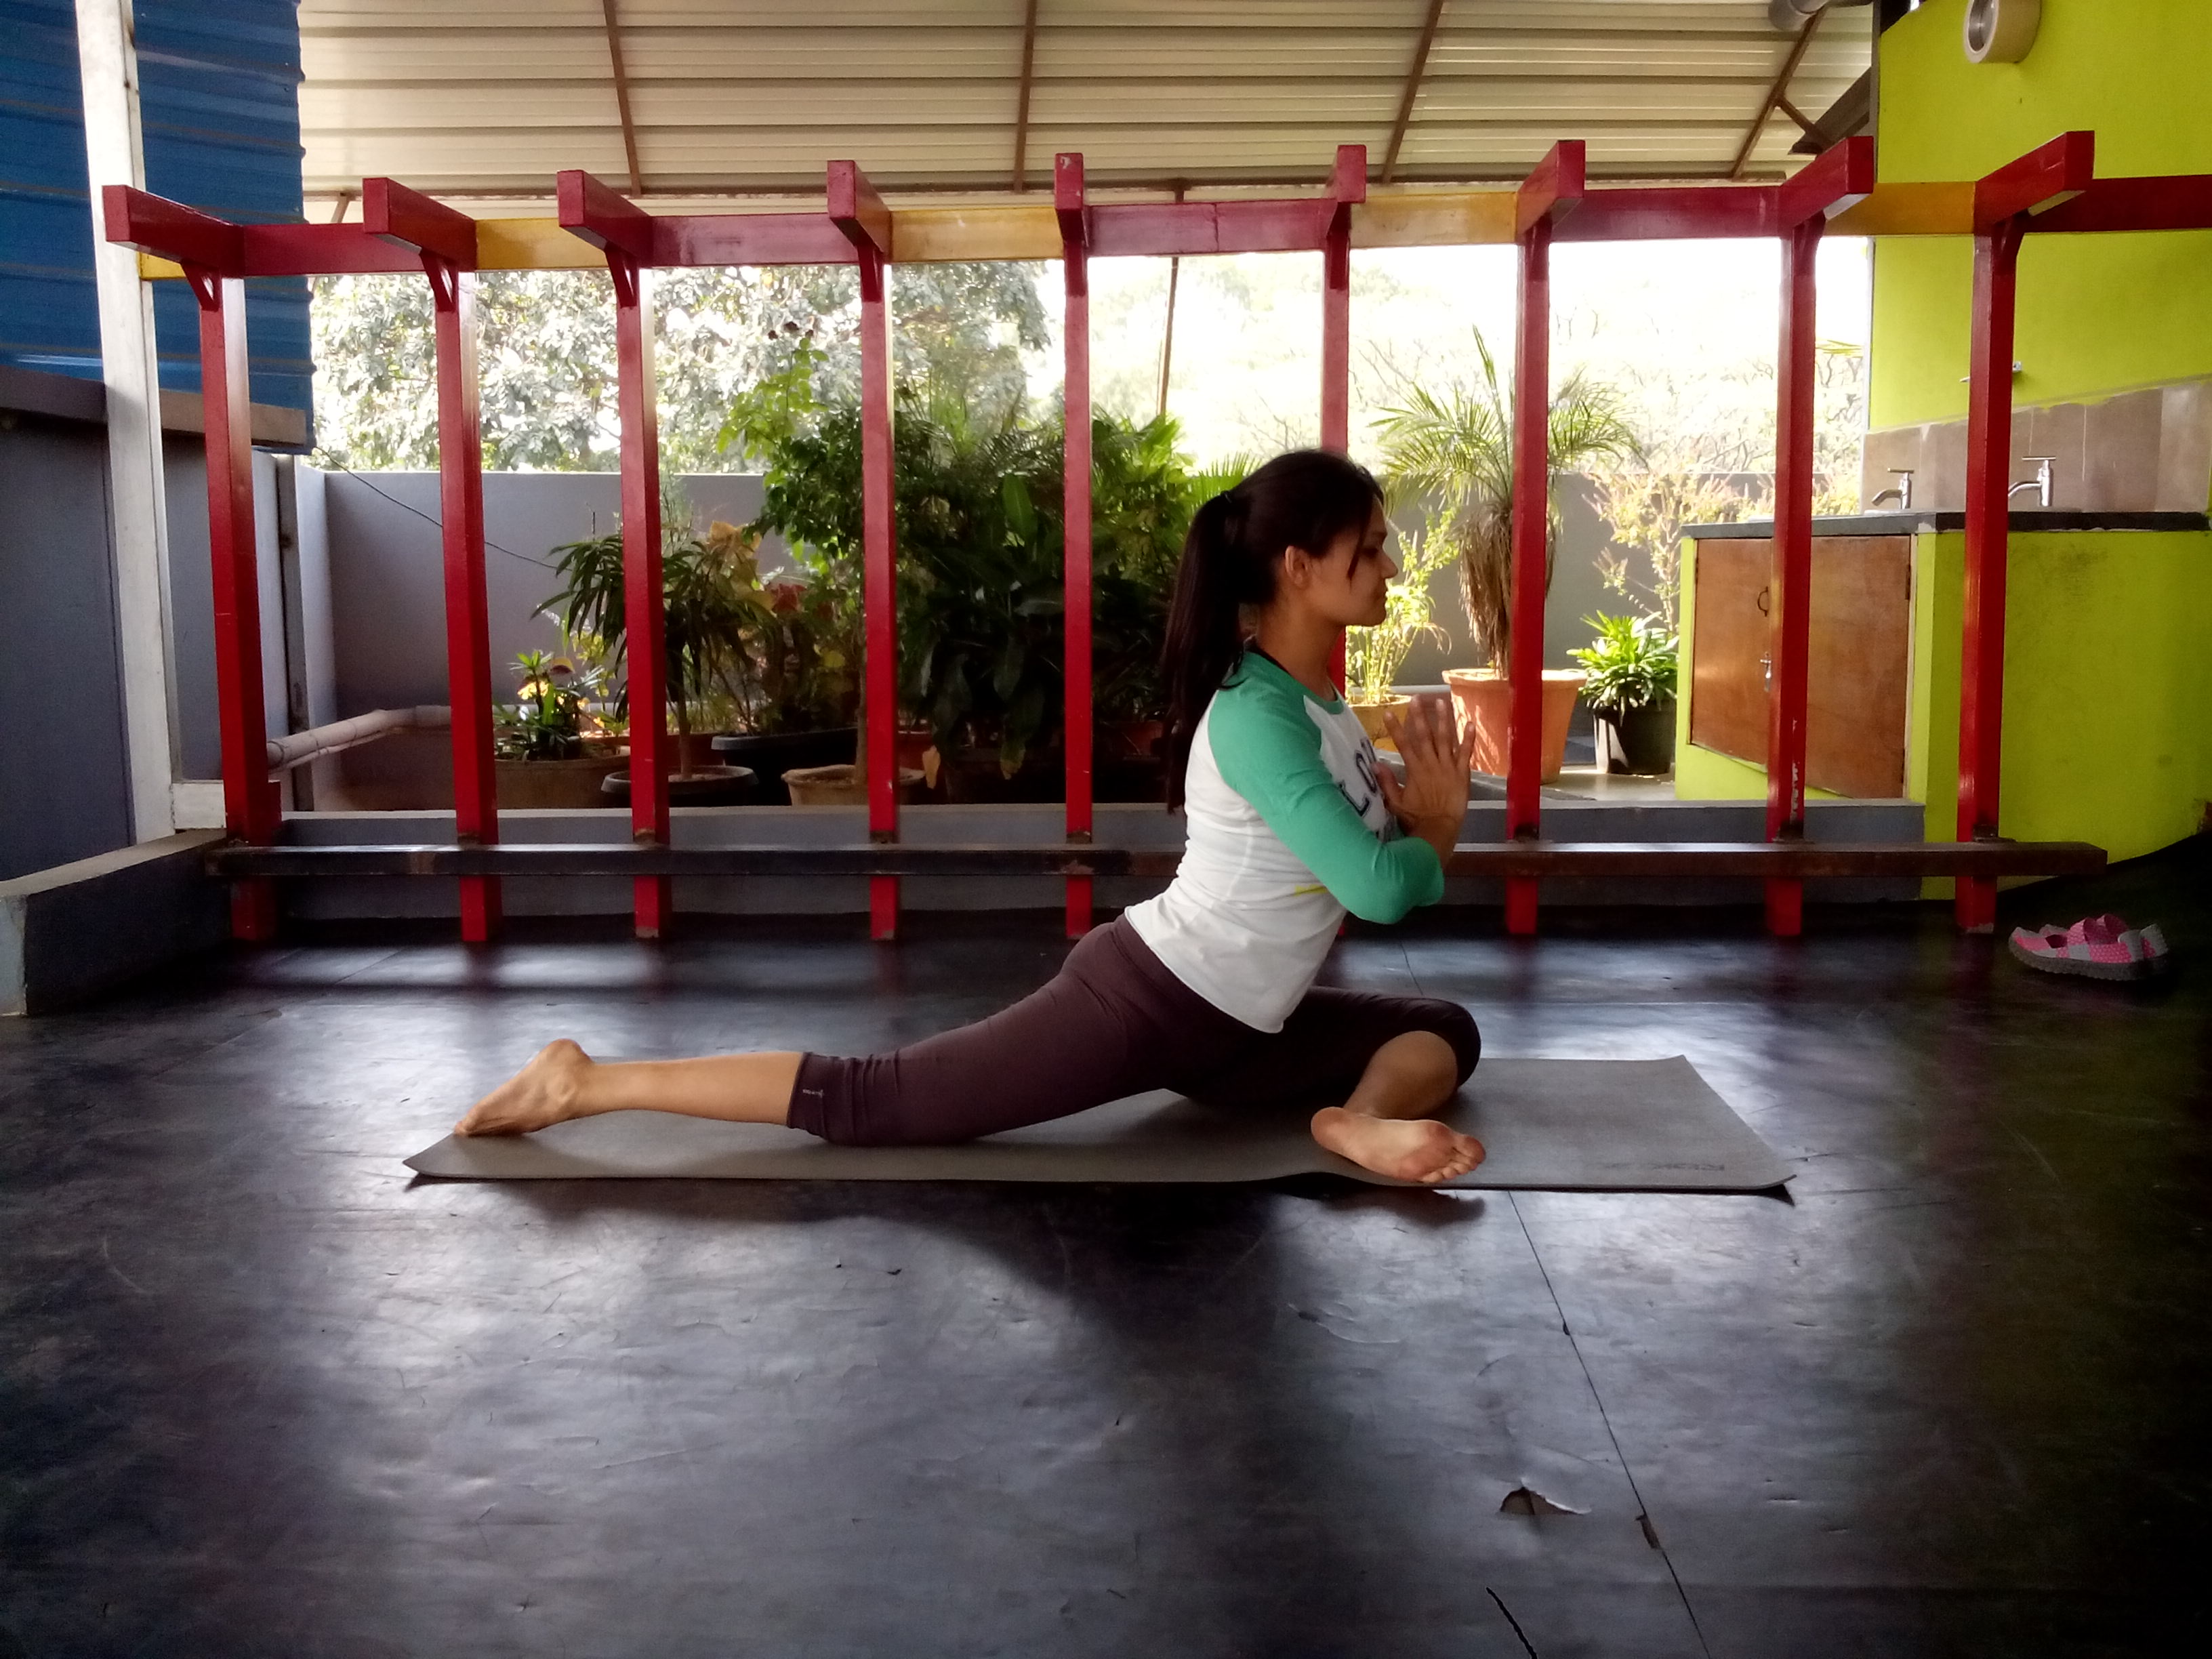
In the last few weeks I’ve noticed that I feel more energetic and I don’t get tired very easily. I believe this is a better indicator of my fitness levels than the 1 kg that I’ve lost. As I said before, these are extremely simple changes that I believe everyone can make in their lives. Try it for at least a month and see how different you feel.
This morning I woke up to the sound of my alarm. And in a dream like state I switched it off and went back to sleep. Warning bells had gone off in my head already. I needed to get up and get a workout in before I head out to lead my classes, was the main thing in my head. I woke up ten minutes later, very groggy and very confused. Had my alarm gone off? Was I late for class? Did I have an hour for my own workout? Usually all these thoughts have me leaping out of bed ready to take on the new day (I’m not joking, I actually leap out of bed). But today I found that I couldn’t lift a finger.
For a lot of people this is a regular feature of their lives. It’s almost as though they are on cruise control. They go through the motions of life utterly exhausted. They transition between home-work-children-spouse with no sensation. Because there’s no sensation, they don’t even realize they are just existing instead of living.
We need to learn that if we don’t truly understand that rest and exercise are two sides of the same coin, then our fitness is incomplete. We may buy the best organic produce, we may run on state-of-the-art treadmills in the most expensive healthclubs, but all of it will find you on your bed one morning, depleted of strength, motivation and the will to get a move on.
So what did I do? I went to class and discovered that this set of yoga moves can help you get going during the most lethargic days (link below).
Then I came home – took a cool shower, and despite having a lot on my plate, I forced myself to lay on my bed and close my eyes. I put my phone on mute (I didn’t want to switch off from the world, just wanted it to excuse me for a bit), told myself that I would order lunch in and worry about dinner later. I would write extra over the weekend, and would lay in my bed until my body told me it wanted to start moving again. And two and a half hours later, I was up. I leaped out of bed (hehehe, finally) and got onto my chores. I still ordered lunch in, but besides my writing I got around to retrieving my weights from the store room, and do housekeeping tasks that I had been putting off for many days. When I sat down to write, my fingers flew over the keyboard and my brain was alert.
Real life can’t run on a schedule 24×7. There might be late night meetings, there may be a child that stays up with a cold, or your friends may just make last minute plans to meet for dinner. We don’t all have the luxury to sleep in to make up for the sleep deficit (today I was lucky that I had no other classes scheduled). So the best thing to do for your body is to be kind to it, by conserving its energy. Take it easy. Do only those tasks that are absolutely necessary. Put off what doesn’t need to be done today, for when you have more energy. Understand that today it isn’t a workout that your body needs to maintain a healthy balance, its a break from your workout that it needs.
I can go on and on and on about how yoga helps you become more accepting of your body’s needs and how it helps you maintain balance. But here’s a video for a gentle flow for those days when you don’t want to lift a finger, but need to get moving to tackle your day. It gave me much needed energy to lead my morning yoga class, so I know this works. In fact, use this routine to wind down after a long day and stretch the hectic day out of your system: https://www.youtube.com/watch?v=TgQT5tFbRbc&feature=youtu.be
