Browsing Category

Yoga

Yoga

Week 3 – What Balancing Asanas Teach You About Life

February 15, 2015

On the first day of this week lets practice balancing asanas.  The thing about balancing asanas is that they don’t teach you more than just balance.  They teach you how to balance with constraints.  Your legs may be weak, your arms may wobble a bit or your brain may not be able to focus because of the busy day you have ahead.  But, you have to harness your existing resources and do the asana.  It mirrors real life.  Give it some thought.  So start with the Natrajasana.

The Natrajasana or the Dancer pose.

IMG-20150209-WA0004[1] If you’ve been practicing this pose for a while then you are familiar with the basics.  If you want to push the work in this pose up a notch then reach forward with your arms simultaneously kicking the back foot up.  Hold this stretch.  This will ensure that the other leg also gets a deep stretch.  Try and extend your gaze in front of you, you can even try to keep your eyes on the fingertips.  Count to 10.  Slowly.  Both sides.

You can also try the below variation.

2015-02-15 14.42.00[1]


Kakasana or the Crow Pose

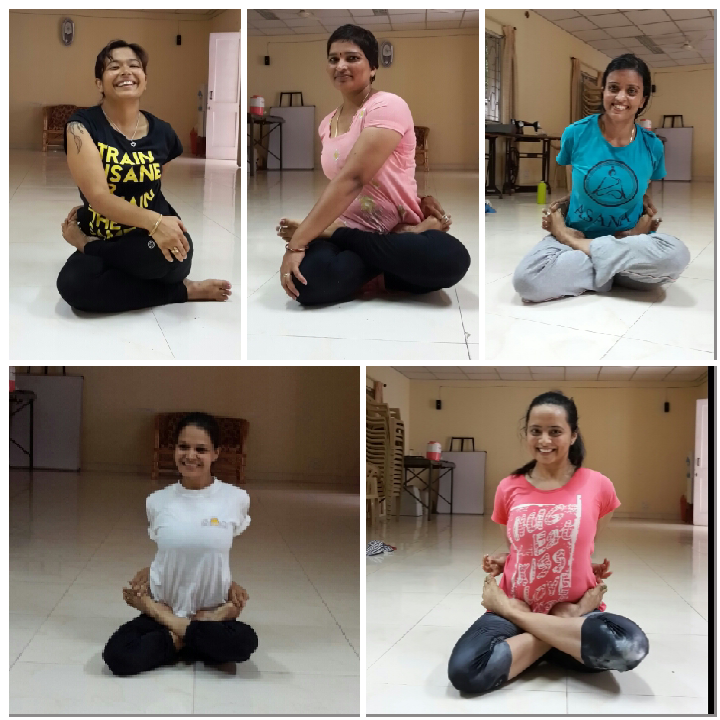
Photo Collage Maker_0Dymy2[1]This is a pose we practiced on Thursday this week in my Acro Yoga group.  Have you fallen on your face in this pose?  Remember, that’s almost like a requisite to find balance in this pose.  Like in life.  Once you muster up your courage to face your fear, it ceases to have a hold on you.

Once you’ve fallen and realize that it’s no big deal then try and lift one foot up and then the other.  Beginners may notice that their knees are on the outside of their arms.  That’s ok.  Continue to tighten your core and arms.

Garudasana or the Eagle Pose

Once you’re comfortable with the basics of the pose, the try and bend the standing leg as much as you can.  IMG-20150209-WA0009[1]Try and push the shoulders down and forward.  Hold for a count of 10.  Slowly.  You can also try and apply the Moola Bandha.

On the second day of this week focus on twists.  Twists help in increasing the digestive fire of your system.  This in turn revs up your metabolism.  Along with this, twists help in maintaining the flexibility and mobility of the spine.

The Marichyasana or Sage Marichi’s Pose

2015-02-15 15.11.43[1]What most people forget when practicing this pose is that both feet must be alert.  One foot should be pointed in towards your face and the other foot should be pushed into the floor.  The hand on the floor should be active and participating in keeping the spine straight.  Both shoulders should be in one line.  The hand which is bent should push the knee back and the knee should push the elbow out.  This creates life in this pose.  Keep your fingers active as well.

The Ardhamatsyendrasana or the Half Lord of the Fish Pose

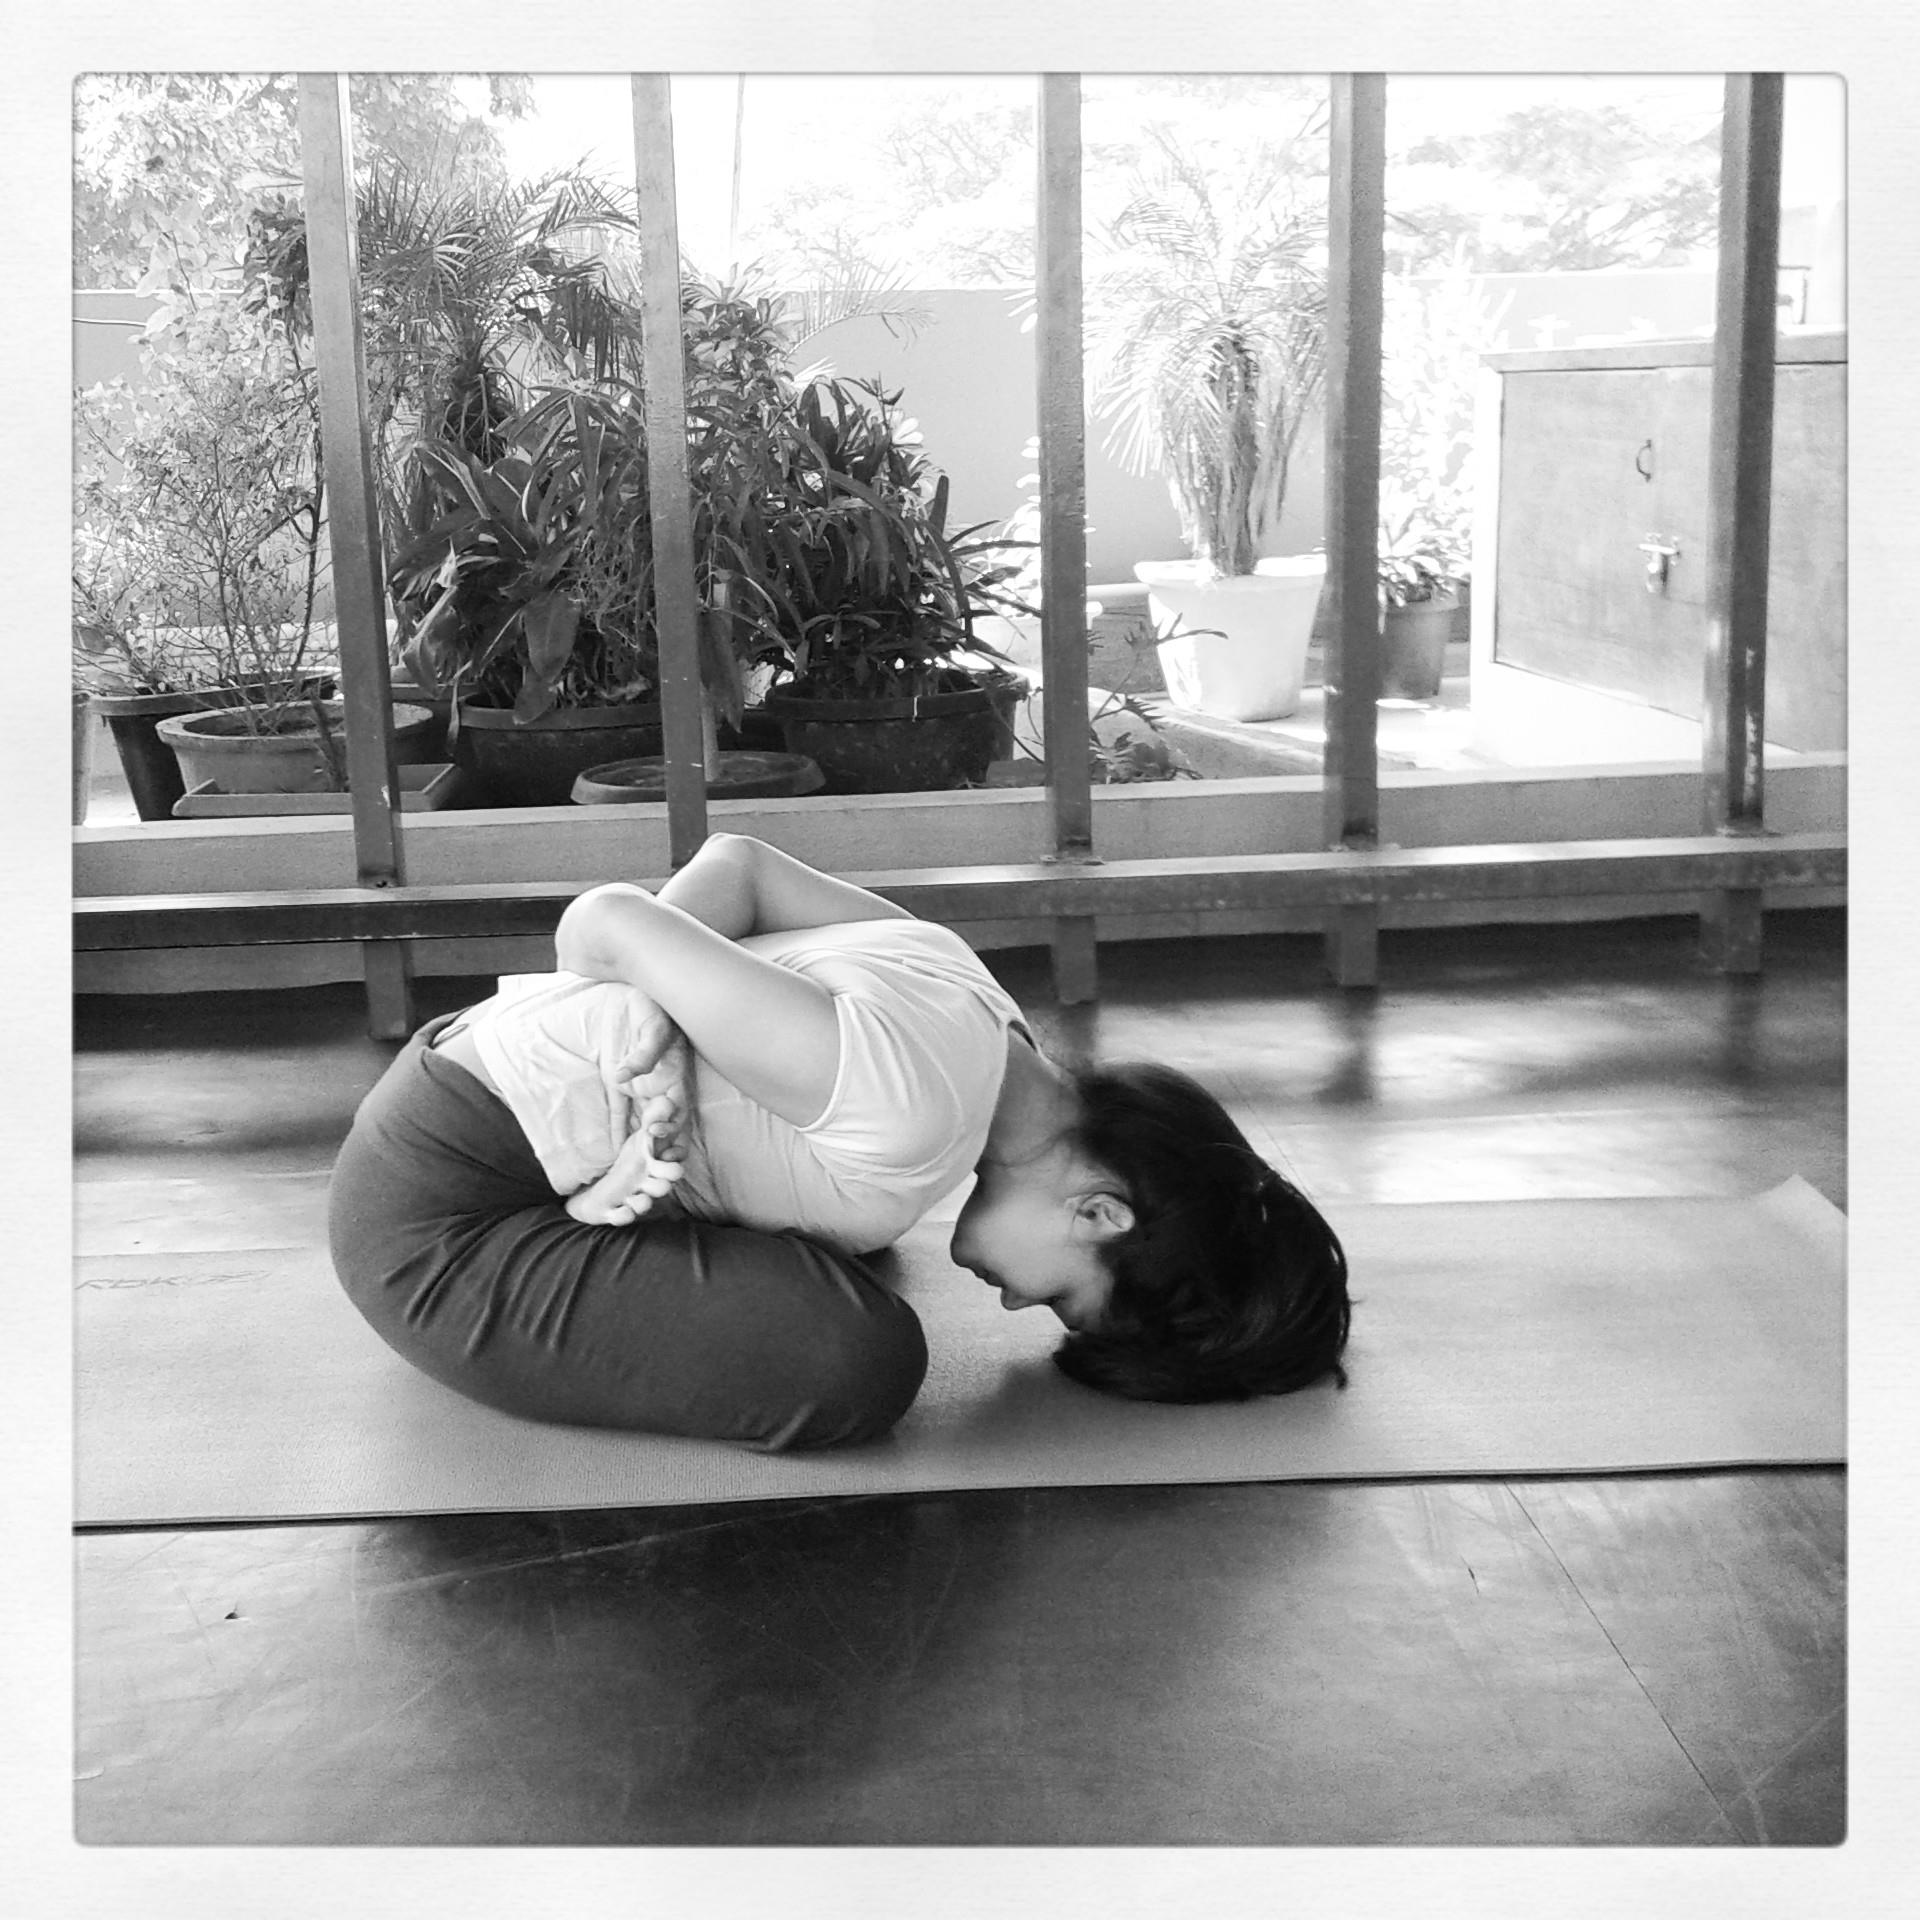
This is an advanced spinal twist.  There are many variations of this twist.  Opening up the chest and pushing the shoulders back gives length to the arms which helps in grabbing both hands behind your back.  Pull your stomach in.  Keep both hips on the floor.  Make sure the leg which is on the floor is flat on the floor.  The knee should not lift up off of the floor.

Photo Collage Maker_UYopz9[1]

The Chair Twist or the Utkatasana

In the Utkatasana try and reach forward with your arms2015-02-15 15.02.33[1] and sit back on your heels.  Reach down with your tailbone.  When you twist, join your hands together tightly.  Push your elbow against your knee, but make sure the knee is firm in its place.  Elongate your neck and push your shoulders down.  Expand your chest.


Try these asanas and let me know how it goes!


Yoga

Week 2 Day 2 – Extend the Sides

February 11, 2015

Most gym rats will tell you that you should work on sides and abs on alternate days.  What makes yoga a great workout is that most yoga classes have varied routines and you will end up engaging different body parts even if you attend the same class 5 times a week.  Some days it may be abs intensive, on other days, perhaps, arms.  But, for the most part, you will use your body as a whole instead of just working out isolated body parts.  So while you’ll work on sides pretty much in all your yoga classes, there are a few moves that you can do with a bit more awareness next time so that you can get the most out of them.

The Side Plank or the Vashishtasana

Most people tend to put most of their body weight on their arm and wrist when they do the side plank.  Are you one of those?  If your wrists hurt when you do this move, then the answer is yes.  The key to improving your form and increasing the amount of time you can hold this move is in how you engage your arms.  Tightening the musIMG-20150209-WA0016[1]cles of your arms helps in taking the pressure off of your wrists.  To do this you can try and spread your fingers out wide on the floor.  And the  push your shoulders away from your ears.  So on hand reaches all the way up to the sky and you stretch your shoulder blades as well.  The other hand pushes into the floor, so you try and dig your fingers into the floor also.  The neck should be relaxed.  Sometimes you may not realize that your neck is strained.  A good way to ensure that your neck is easy is to smile and allow your face to relax.  This relaxes the neck as well.

Once your arms take on the proper form, you can start to work on your sides.  Keep your stomach tight at all times and then gently push your hips up towards the sky.  This gives you a little elevation and also ensures that you keep your awareness on your core.  That little lift makes a huge difference, else you may tend to sag down closer to the floor, which will put more strain on the shoulders.  Finally, keep your knees locked.   This will ensure that you are engaging your legs in maintaining the balance as well.

The Trikonasana or the Triangle Pose

Despite years of practice, I feel that it is only now that I’ve really started appreciIMG-20150209-WA0003[1]ating this pose.  All yoga poses give you a sense of release and relaxation post the practice.  If you don’t feel it now, with consistent practice, you eventually will.  The key to the Trikonasana is doing it step-by-step.  Many students go into the pose with the end picture in mind.  Yes, many experienced students as well.  But that just leads to a compromise with the geometry of pose.  Do it stepwise and when you finally bend down make sure you bend from the waist.  Your torso should be parallel to an imaginary wall.  Try and get both shoulders in one line and reach up to the sky and down to the floor almost drawing your shoulder blades apart.  Make the pose active right through your fingertips.  Focus on your feet as well.  The inner edge of the front foot will go into the floor and the outer edge of the back foot will be pushed into the floor and this will give you stability in this pose.

Note on this pose.  Iyengar said in an interview that even after countless years of practice, writing books and articles, conducting workshops all over the world etc, he is still working on getting his awareness to his smallest toe in the Trikonasana.

The Parsvakonasana or the Side Angle Pose

The base work in this pose is similar to the Trikonasana.  What you need to take care of most in this pose is that the knee is right above the ankle.  The inner edge of the foot should be strong on the floor.  Keep the thigh parallel to the floor.  Extend your arm out and keep it close to your ear.  Keep your gaze on your fingers but relax the neck.  Feel the extension on the side of the body, from your foot all the way to the finger tips.

IMG-20150209-WA0005[1]

Questions? Queries?  Let me know!

Yoga

Week 2 Day 1 – Abs Are Made in the Kitchen…

February 8, 2015

…But you have to work on them in yoga class too!  So for Day 1 of Week 2 do a bit of abs work.  The great thing about yoga (and particularly about our classes) is that most yoga moves involve the core.  Every single time you do a rep of the Surya Namaskar, you’re utilizing your core strength.  So today practice a few rounds of the Surya Namaskar to warm up and then start with your leg raises.  You can do 3 sets of 15 each.  Take a small break and repeat twice more.  You can choose to plank and side plank as well.  These moves engage the core and strengthen the arms as well.

The Naukasana (The Boat Pose) is an awesome way to strengthen the abs and also to test your balance.  Start with lying down on the floor and raise your torso and legs up at the same time.  No jerky movements.  Keep your legs absolutely straight.  Push your shoulders back and try and expand the chest.  Elongate the neck.  Breathe.  You should be balancing on your tailbone.

2015-02-03 13.47.14[1]

Setubandhasana (The Bridge Pose)

2015-02-03 13.36.53[1]After the Naukasana you can start to stretch your abs a little bit.  Start with the Setubandhasana.  Start with keeping your feet about hip width apart.  Keep your arms on the floor next to your body with your palms flat on the floor.  Push into the floor with your hands and press your feet into the floor and raise your hips up.  Tighten your glutes to take the load off of your back.  Make sure that your ankles and knees are in one line and perpendicular to the floor.  Once your hips are as high as you can take them lift your hands and place them on the small of your back.  Your fingers should be facing each other and thumbs should be on the outside, circling your waist.  This helps in strengthening the arms and wrists.  Try and get your elbows as close to each other as possible.  Your shoulder2015-02-03 13.38.31[1]s should also be pushed back and chest should be expanded.  You should also experience the Jalandhar Bandha.


Chakrasana (The Wheel Pose)

After the Setubandhasana, the Chakrasana is a great way to deepen the stretch on the torso.  As a prep, you can practice holding the Bhujangasana.  After this lie down on 2015-02-03 13.40.17[1]the floor on your back.  Bend your arms and place your hands under your shoulders.  Bend your legs and bring your feet as close to your hips as possible.  Lift your hips up first just like you did in the Setubandhasana.  Then start to push your hands into the floor and raise the shoulders up as well.


The Halasana or the Plough Pose

When you practice back bends its important to do complementary poses as well.  The complementary pose for the Chakrasana is the Halasana.  In the Halasana yo2015-02-03 13.45.16[1]u must try and get your spine straight.  The Jalandhar Bandha in the Halasana is a deeper and stronger one than the one in the Setubandhasana.  Keep your elbows locked and arms clasped.  Push your shoulders away from your ears.


Try this cool variation as well:

2015-02-03 13.43.55[1]


Remember after all this you must go into the Savasana and allow your spine to rest and relax.


Yoga

Week 1 Day 2 – Some Arm Work

February 3, 2015

Holding the Chaturanga for 2 minutes is an awesome way to test your core and arm strength.  If you want to make it a bit more challenging do the Chaturanga pushups.  Basically you lower yourself towards the ground until your arms are parallel to your body and then push up into the regular plank.

Besides this you can do the little move demonstrated in this video:

https://www.youtube.com/watch?v=HWb3tAgFlfE

The Adhomukha Svanasana is an awesome way to stretch the entire body.  The picture below is not a great one of the pose since I’m wearing socks (extremely cold in Delhi) and my sister doesn’t have a yoga mat (still recovering from shock).    However, remember that this asana is also about core strength.  You want to use your core strength to elongate your spine.  Push your index finger and thumb into the floor to lift and lengthen your body.  The stretch on both sides of the body should be equal, so if you feel you are engaging your right hand more (as most right handed people tend to do), then actively start to push your left into the floor.  Your heels DO NOT need to touch the floor.  However, you need to ensure that the back of your legs are 2015-01-31 20.02.22also stretched.  The heels should not lean in towards each other, they should be pushed slightly away from each other.  The challenge in the Adhomukha Svanasana is to elevate the tailbone as much as you can, without compromising the length of the spine.

This asana is to be practiced on arms day because it’s through arm work that you’ll be able to lengthen and straighten the spine.  Work on opening up the shoulders and pushing the shoulder blades closer to each other.  Bring awareness even to the armpits and see if you’re able to feel a stretch in the armpits as well.


Finally practice the Gomukhasana to get an intense stretch on the arms, shoulders, 2015-01-31 19.59.43chest and shoulder blades.  A lot of people tend to bend the elbow which is up (in the picture below the right elbow) forward.  Actively push both elbows back.  Elevate the spine.  Push both feet into the floor for a greater lift.  Hold it for 2 minutes on each side and you’ll start to feel your body opening up.


Yoga

Week 1 Day 1

February 2, 2015

I tried to update this blog from the airport in Dubai, but I was only able to connect for about half an hour and that wasn’t enough time for this post.  So, without further ado, let’s get on to the asanas for Day 1 of Week 1.  I’ve tried to put in all the cues that I give during class, but I think it’s always a good idea to get inputs from fellow practitioners.

On Day 1 start by practicing asanas to strengthen your legs.  You can do the Utkatasana (Chair Pose) and squats as well until you feel your quads on fire.  After that do the following stretches.

Trikonasana (The Triangle Pose)

2015-01-31 20.05.01Remember this asana is not about grabbing your ankle.  It’s all about the spine.  Visualize an imaginary wall in front of you and try and get your torso as flat against this wall as you can.  This will ensure that your spine is extended.  Use your core to help extend the spine.  Make sure you don’t rest your hand on the leg, but just rest it gently on the leg.  Your neck and face should be relaxed.  Make sure to push the inner edge of the front foot into the floor and the outer edge of the back foot into the floor.


Parsvakonasana (The Side Angle Pose)

Next deepen your stretch by bending the front leg and getting into the Parsvakonasana. Your front thigh should be parallel to the floor and the arm should be extended out. 2015-01-31 20.03.49 There should be a uniform stretch along the side of your body.  Make sure the side of your body doesn’t rest on the thigh.  To ensure this you may want to slightly lift your hand off of the floor ensuring your core and your legs have to support your body weight.  Look up at your finger tips.  Relax your neck and face.


Janusirsasana (Head to Toe Touch)

IMG-20150131-WA0017Do this pose in the end to stretch the back of your legs.  However, in this pose, as in all other poses, pay attention to your core.  You want to make sure that you pull your stomach in and extend forward keeping your back straight.  This will ensure a deeper stretch.  Aim to get your chin to the knee instead of forehead to knee.  Also, make sure you cross your arms when you reach forward.  This ensures that the stretch on your back is even.

Yoga

It’s Never Too Cold to Workout

January 14, 2015

This morning I woke up and instinctively curled into a tight ball under my blanket.  It was so so cold.  I checked the temperature and sure enough it was 15 deg with dense fog in Bangalore today.  I lingered under the covers for a while and finally had to get up for class.  And there was bleak attendance for today’s 8-9 am session.  The fact is, even though you may be 100% committed to your fitness goals, getting up in the AM and throwing the covers back to get up is not child’s play.  But small changes can lead to big results.  So here are a three things you can do to make it a bit easier to get out of bed in this chill.

1.  Plan what you’re going to wear the night before and have it out ready.  The path from your bed to your workout clothes must not have the obstacles of decisions and doors.  Preferably keep your clothes ready in the room where you change in.

2.  Make yourself a cup of really really strong coffee or tIMG_20130923_085420ea.  I prefer tea and these days I add loads and loads of ginger, black pepper, cardamom…and pretty much any other heating spice to it.  This not only warms you up from the inside but also wakes you up.  Remember, go easy on the sugar.  Also, you want to have enough so that you wake up, but not so much that you’re unable to move in yoga class!


3.  Being self-motivated is IMG_20150114_085733great.  But it’s easier to workout regularly in a group class.  So, join a group class, make friends with the others and motivate each other to brave the winters!


Yoga

How to: Keep Your Fitness Resolution

January 12, 2015

It’s the start of Week 2 of 2015.  Most people’s New Year’s resolutions comprise majorly of fitness resolutions.  People who bought state of the art running equipment last year want to run their first marathon this year.  Some others want to come down 10 dress sizes.  Lots of people hope that the new year will magically infuse them with the willpower to achieve their goals.  They hope that new year resolutions  are somehow different.

And most people who had fitness on their resolutions list may not even have started working on their goals.  Because most people who state ‘I will lose 10kgs in 2015’ spend more time visualizing clothes they want to wear and dreaming about the shrieks of admiration/jealousy emanating from their friends.  So lost are they in this visualization and dreaming activity, that they completely forget to plan how they are going to accomplish these feats.

And because there hasn’t been any proper plan in place the first week of the year may IMG_20141026_122003[1]have been a repetition of the first week of the last year for many people.  Dealing with the early morning getting ready for office frenzy.  Sleeping late after finally switching the TV off.  Coffee-fuelled days and restless nights.

The thing is, waking up early and going for a refreshing walk, having a wholesome breakfast, reading something interesting before falling into a blissful sleep isn’t really difficult.  Nor is it difficult to workout EVERY SINGLE DAY.  The difference between frazzled and flow-like-the-river days is just planning.  Yes.  So those who dream of losing 10 kgs can do so if they plan how they will go about doing it.  Is it really feasible for them to get up at the crack of dawn every day for an hour long intense workout?  Or would it be more practical to workout for three weekdays and then both days of the weekend.  Can you really follow through on your goals like no sugar, rice, coffee, chocolate etc, or would it be easier to cut out one thing first and then  move on to more.  Rome wasn’t built in a day, and a healthier, fitter, happier you will also need consistent effort over several weeks.IMG_20141231_160302[1]

However, I do come across many people who have a balanced approach.  There’s a girl whose been coming to class for a couple of months now.  When I asked her about her new year’s resolutions she said just fitness, which is just an extension of the way she’s currently living.  She eats well and tries to work out frequently.  She tries not to overdo things.  So the other day when she messaged me to tell me she won’t be able to make it to class I told her to relax.  However, she came to class and said she would try to follow along to the best of her ability.  She had pulled a muscle and wasn’t too sure about practicing that day.  But I saw her energy levels consistently increase during the session and there was peace and smiles during the savasana.  Later on  she messaged me to thank me for the session because post yoga she felt energized and the muscle she felt she had pulled felt more relaxed.

That’s when I realized why this woman was achieving the fitness goals she had set for herself.  She was achieving them because she was working on them a day at a time.  A yoga session at a time.  A meal at a time.  And consistently making the choices that would contribute to achieving the larger picture she has in mind.  That’s the key to success for fitness resolutions.  Keep the larger picture handy, but focus on the small steps.  This way you won’t be overwhelmed by the 10kg goal.

So when it comes to keeping fitness resolutions, sweating the small stuff yields the results you want.IMG_20141030_223059[1]

Yoga

What About When It Rains?

November 13, 2014

A lot of people interested in my Yoga in the Park classes as me this.

This morning I woke up and thought I’d start the day with a walk.  I got ready and stepped out and realized it was raining.  I was disappointed but it was too early for my mind to get irritated/angry etc.  As if on cue, I got a Good Morning message that gave me insight into how to handle this situation.

IMG-20141113-WA0000[1]

My morning ladies were also optimistic and upbeat.  And the beauty of practicing yoga in a group is that unconsciously you start to bond with the group.  My morning ladies are used to practicing amidst the trees (and under the flag!)…

IMG_20141113_092213[1] IMG_20141113_092155[1]

But today one of them offered us the use of her beautiful home for our practice.

IMG_20141113_091723[1]IMG_20141113_091901[1]IMG_20141113_092055[1]IMG_20141113_092238[1]IMG_20141113_091825[1]

IMG_20141113_092120[1]

It was a great way to start a cold, wet, grey morning and I feel so lucky to know these ladies.  They are smart, open, friendly and encouraging.  They have beautiful homes, great families and successful careers.  And most of all, they help each other and me stay inspired.  It’s still grey and cold outside, but my day is filled with warmth.

Post yoga we chatted meditation, vipassana, friends, lives etc over steaming cups of green tea.  Learning from water, to adjust ourselves.

Asana

Bedtime Yoga

September 16, 2014

Sleep is perhaps the most overlooked component of health.  Gym rats meet friends for a drink or movie after dinner.  Busy professionals fall asleep in front of the TV.  When asked how you slept last night do you stop and think about the quality as well as quantity of your sleep or do you have an automatic reply?

Pay attention to the quantity of your sleep.  Sleep is when your body regenerates and rejuvenates itself.  Stubborn belly fat can melt away if you get adequate sleep.  To improve your quality of sleep starting tonight create a bedtime yoga routine.  Incorporate the below yoga poses.  Do them right on top of your mattress while breathing deeply or listening to some soothing music.  Get in touch with your body and notice where you feel tightness or which part of you is relaxed.

Go-To Bedtime Yoga Routine

1.  The Vajrasana.  Fold your legs under you and sit on your heels.  If your ankles hurt just place a blanket under them to give a bit of support for the asana.  Keep your back straight and relax your shoulders.  The Vajrasana is great for the digestive system.  Close your eyes and breathe deeply.

20140902053441

2.  The Pigeon Pose.  Once you’re done with the Vajrasana try the Pigeon Pose (Kapotasana) to ease stretch out your hips and thighs.  A lot of tension that your body has to deal with during the day is stored in the hips.  This explains stiff thighs and even lower back issues.  Just staying in this pose for a few breaths will enable your tense muscles to relax and ease the stress away.  Over time you’ll start to appreciate how powerful this pose is for stress relief.

IMG_20140902_110531

3.  Viparita Karani.  Once you’re done stretching out the hips lie on your bed with your legs supported by the wall and just relax.  You’ve been on your feet the whole day and it’s only fair that you get a chance to put your feet up!  The Vipirita Karani also allows the blood to circulate back towards the heart.  So this is your answer to aching soles and painful varicose veins.  Take a few deep breaths in this pose with your eyes closed.

IMG_20140902_110129

4.  Anulom-Vilom Pranayama (Alternate-Nostril Breathing).  Now for a little TLC for your mind.  This breathing technique helps in balancing the brain and slowing down the thoughts which keep you tossing and turning in the nights.  To know how to do this watch:  http://www.youtube.com/watch?v=_eBQFeGB7FE

IMG_20140902_110202

5.  And finally, right before you go to sleep write stuff down.  Stuff about how grateful you are about the wonderful life you have.  About the great people you know.  And about how awesome things will happen to you.  A little positivity and a go-to bedtime yoga routine before your shut-eye will go a long way in ensuring great sleep.

  IMG_20140710_212258 

Yoga

Your Approach to Things

August 20, 2014

What is your approach to life?  Do you look at the ‘big’ goals and think of the long climb uphill which will definitely get you huffing and puffing…and well, you know that you may just quit halfway up..and so lets just put it off for a while.  Do you look at the final asana and
1. Get discouraged because you “just know” you’re not flexible enough.
2. Hurt yourself by propelling yourself into the asana.
3. Get yourself into the asana in improper form.

Your approach to the final asana mirrors your approach to life.  If your attitude towards your yoga practice is any one of the three, you need to shift your perception.  Here’s what I suggest:
1.  A goal, much like an asana, takes time.  It requires careful study and dilligent practice.  If your goal is a promotion, you need to look at your work right now and think about how you can add value.  If your goal is to run a marathon, then you need to draw up a running plan and start on it today.  If your goal is a particular asana you need to not only ask your teacher for some extra help, but also read up on it on your own, and practice it on your own.  Yes, you need to put in more work than the next guy.  Because you want more than the next guy.  Therefore, be prepared to work longer and harder than the next guy.

2.  Preparation is key.  An inversion is as much about abdominal and arm strength as it is about balance.  If your arms and abs aren’t ready for it you will topple.  A manager (in those long ago days when I used to don the smart formals and stride resolutely into the office, laptop in hand) once told me that a promotion is not only about whether you have the ‘know-how’ to work at the next level.  It’s also about whether you are emotionally mature to take on what comes with the next role.  You may have washboard abs, but if your arms (or your mind for that matter) are not strong enough to take on an advance pose, then you’ll have physical trauma as well as emotional trauma (“She does it so easily, why can’t I?  This must mean I’m not fit enough and therefore I suck.”) to contend with.  Take it slow.  Put in your work.  The asana will come on its own.  So will the promotion.  The 21K…even the trek to the Himalayan summit!

3.  The soft-spoken Indian politician (allegedly Cambridge educated), who sputters through his party’s manifesto in an interview with a Cambridge-educated wolf in a journalist’s clothing.  The heir to a business empire who helplessly meditates next to the Ganges as he flounders through one bad decision after another and tries to keep the business afloat.  The GRE, CAT, UPSC candidate who wants to devote all her waking hours to Bharta Natyam practice.  The runner, weight lifter, CrossFitter, swimmer, tennis player agressively pushing her forehead to her knees because, well she can grab her toes easily and can hold the plank for 5 minutes, so this should be a piece of cake.  All these people can do great things, but they aren’t ready for whatever they are doing right now.  And it shows in their answers, in their decisions, in their performance and in their injuries.  An asana is a highly technical posture which requires a LOT of practice and understanding.  Sometimes success is not about building, it’s about deconstructing.  What do you need to be good at right now to reach your ultimate goal?  Work on that.  When you finally ‘get’ the asana, you won’t be setting yourself up for long-term injuries.

This move looks simple.  It builds abdominal strength, back strength, strong shoulders and arms.  It’s an inversion, so it’s great for your heart, skin, hair etc.  Keep your thighs turned in towards each other.  Make sure your abs are pulled in.  Square your shoulders and push them away from your ears.  Push your hands evenly into the floor.  Push your heels into the wall.  Only if you follow all these rules are you doing this right.  You’re building yourself up to handstands and other inversions.  If not, then you’re going to start noticing cervical issues, weak elbows, spine compression amongs other things.

IMG_20140819_181803