Frequently, the result of today’s lifestyle is a hunched back, back ache, problems with the curvature of the spine etc. An imbalance in the spine results in an imbalance in the bone structure of the legs, feet and even arms and hands. Which is why we frequently have a stronger right side than a left side. This manifests in several ways, including (surprisingly) in how you breathe! The key to balance is proper alignment. Alignment is an integral part of a yoga practice. It’s great if you’re able to go to yoga class regularly, but what about when your favorite teacher takes a holiday? How can you practice at home without compromising your alignment and balance?
This is where yoga props come in handy. Various standing poses can be practiced using your yoga belt and blocks to guide your alignment. Here’s how.
Start with placing your belt flat across the center of your yoga mat. The belt should be in a straight line, parallel to the edges of your mat. Keep a block handy for asanas where you need support.
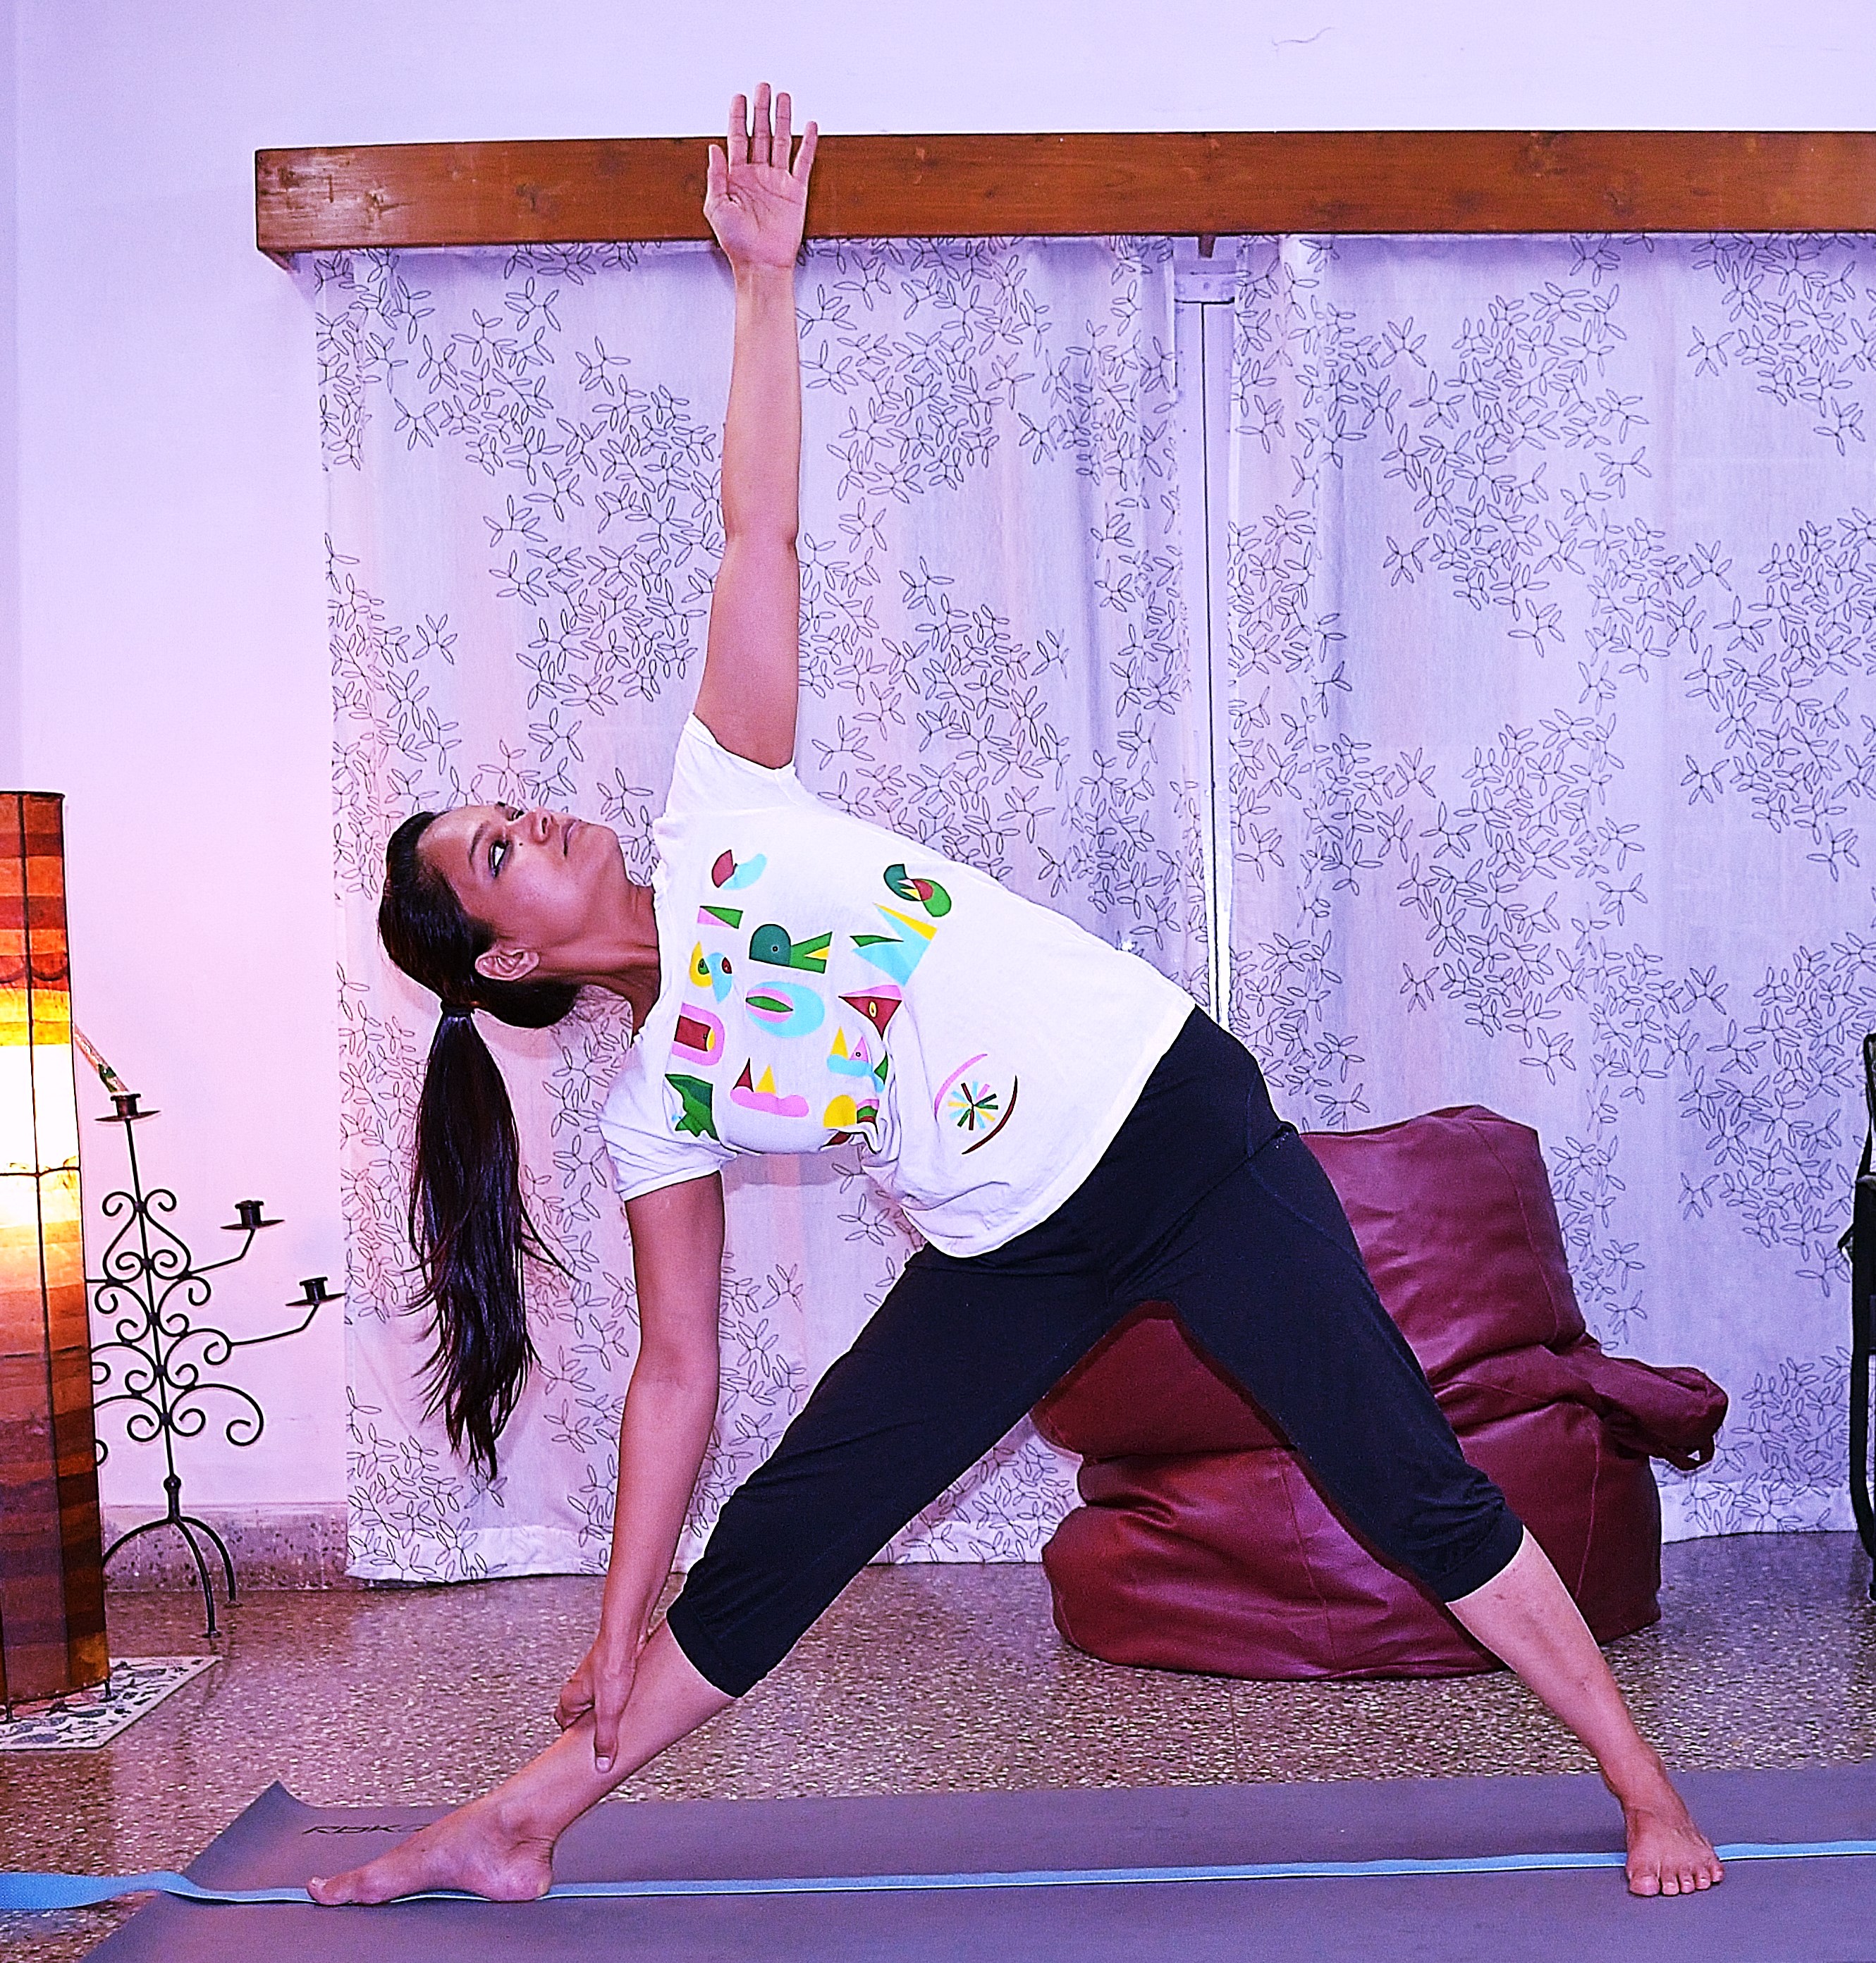
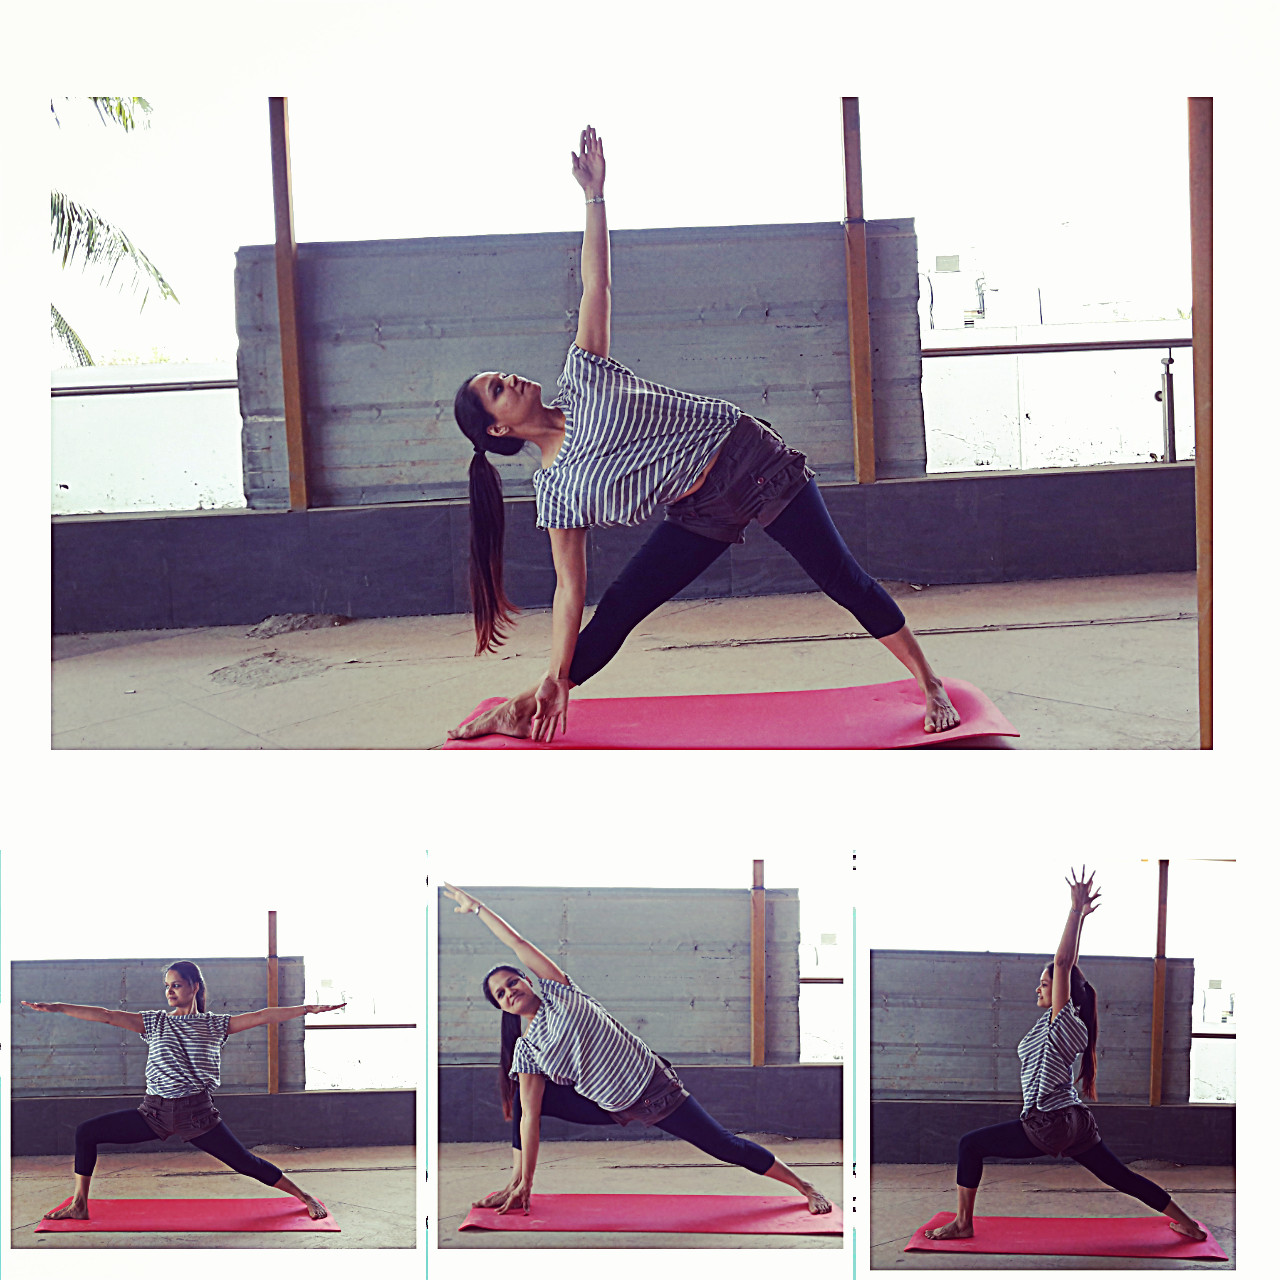
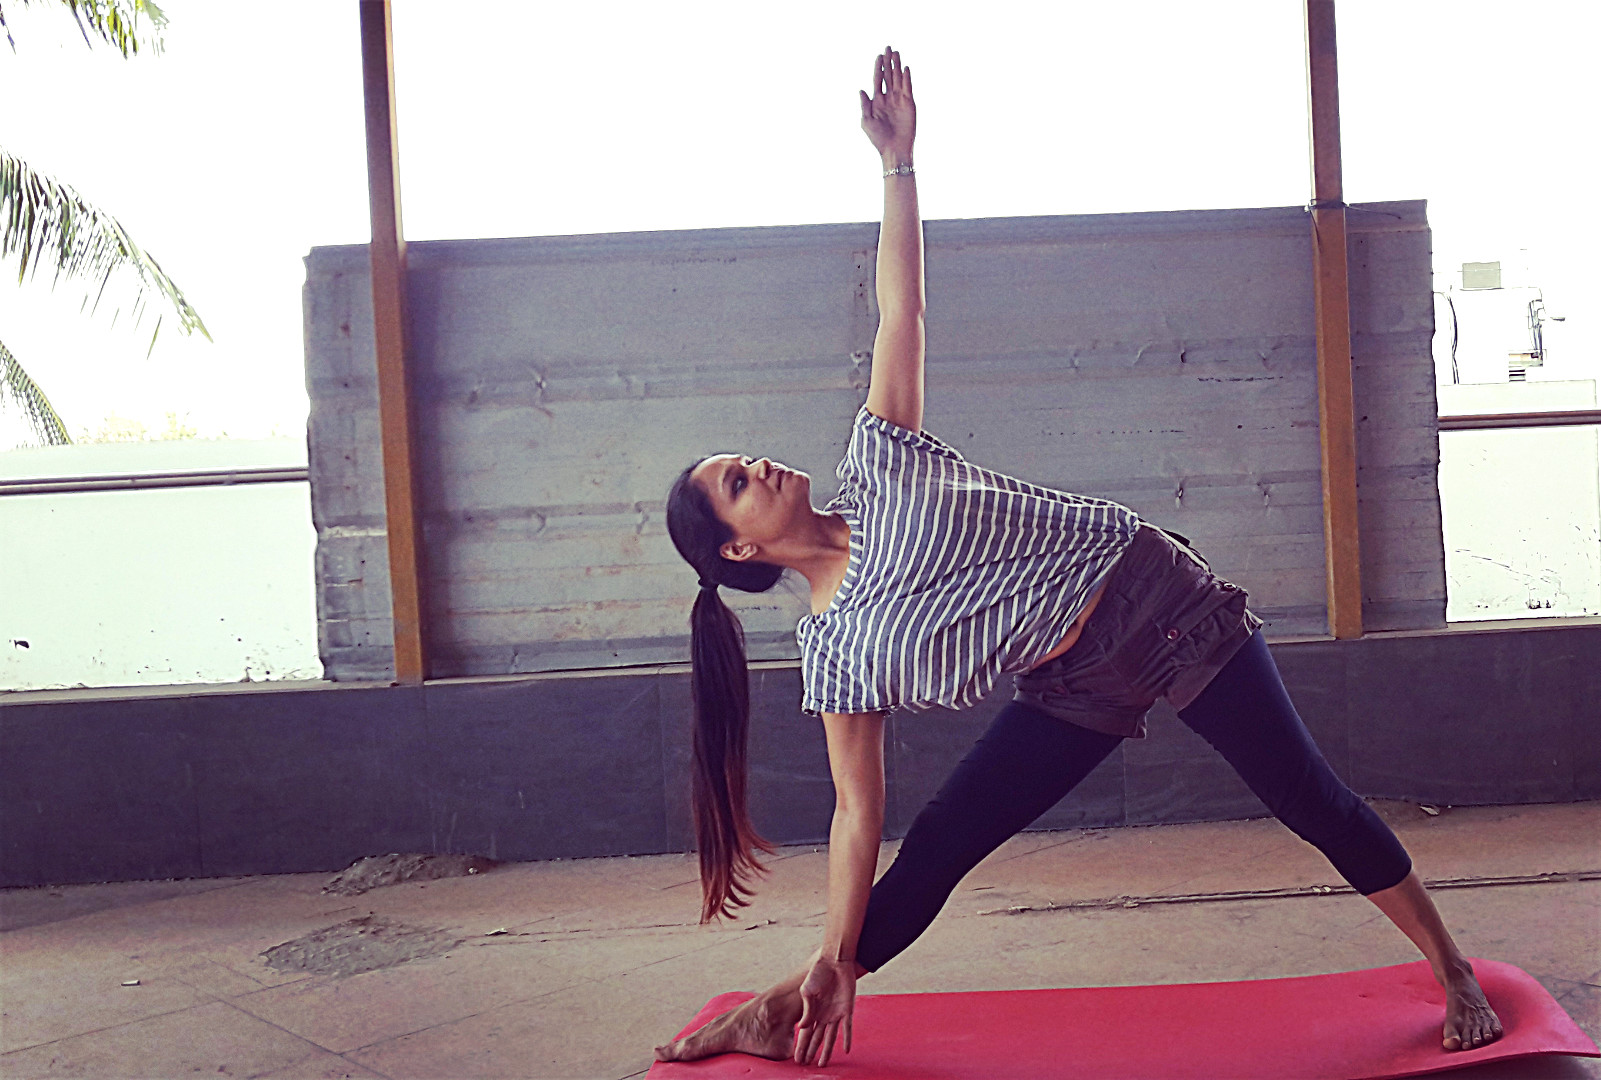
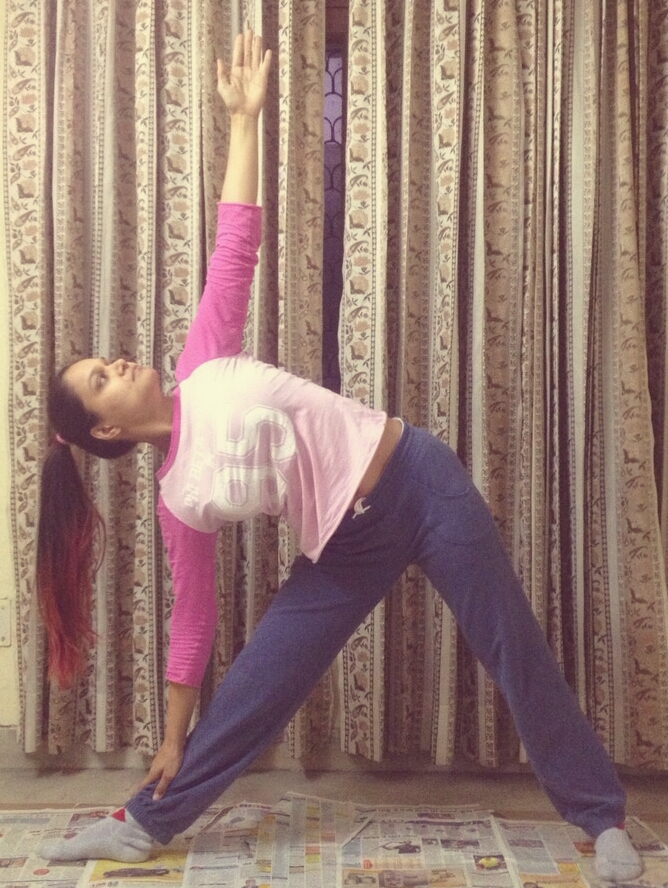
Trikonasana (Triangle Pose)
1. Start with placing your right foot directly above the belt so that its parallel to the belt.
2. Place the left foot so that the center of the foot crosses over the belt. The foot should face forward.
3. Raise your arms until they are parallel to the floor. Inhale and lengthen your spine.
4. Exhale and start to bend towards the right until you can place your hand on your right leg. Make sure you do not bend your knees. Do not collapse your neck or your chest. Visualize your shoulders – they should be in one straight line.
5. Take a look at your body with reference to the belt. When you gaze down at your right leg, you should not be able to see the belt. If you can see it, then your body is not aligned correctly. Shift your body in such a way that you are unable to see the belt and the line of your body follows the line of the belt.
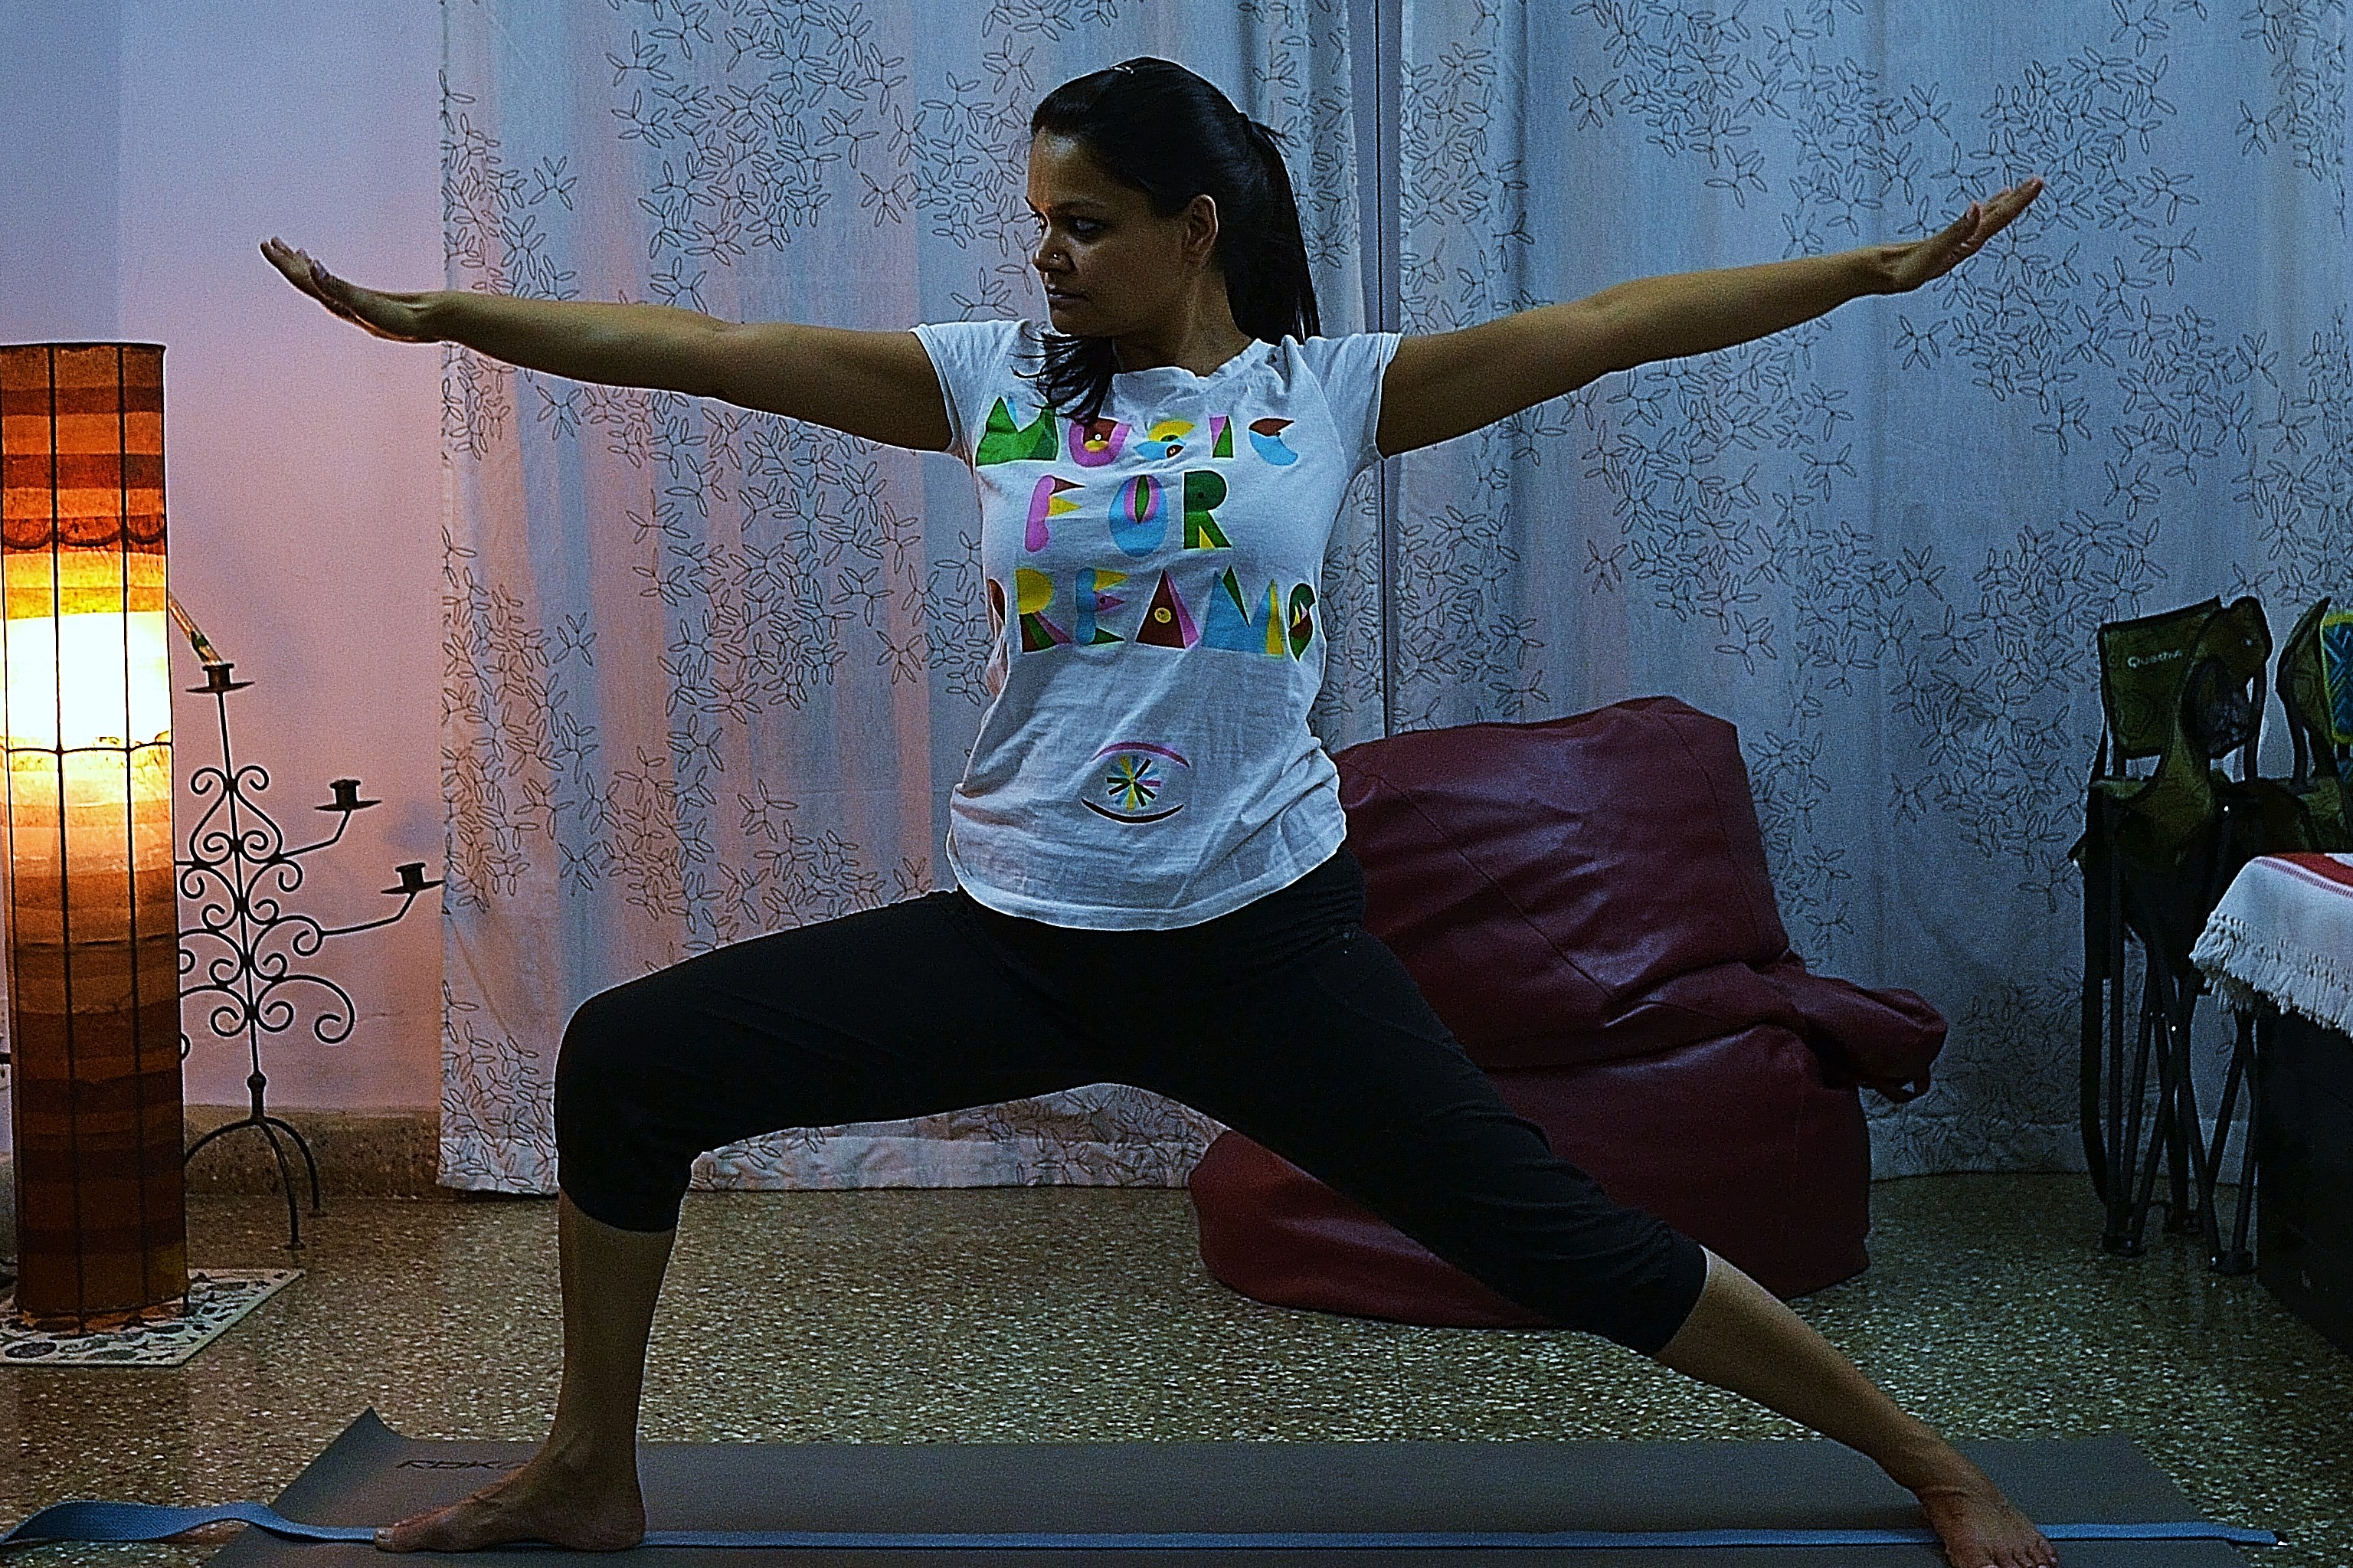
Virbhadrasana II (Warrior II)
Follow (1)-(3) of Trikonasana.
4. Next, as you exhale bend your right leg until its parallel to the floor and the belt.
5. In the final pose when you gaze down at your right thigh, you should not be able to see the belt. If you’re able to see it, then you know that your thigh and belt are not in perfect alignment. If this is the case, then shift your position so that you are aligned.

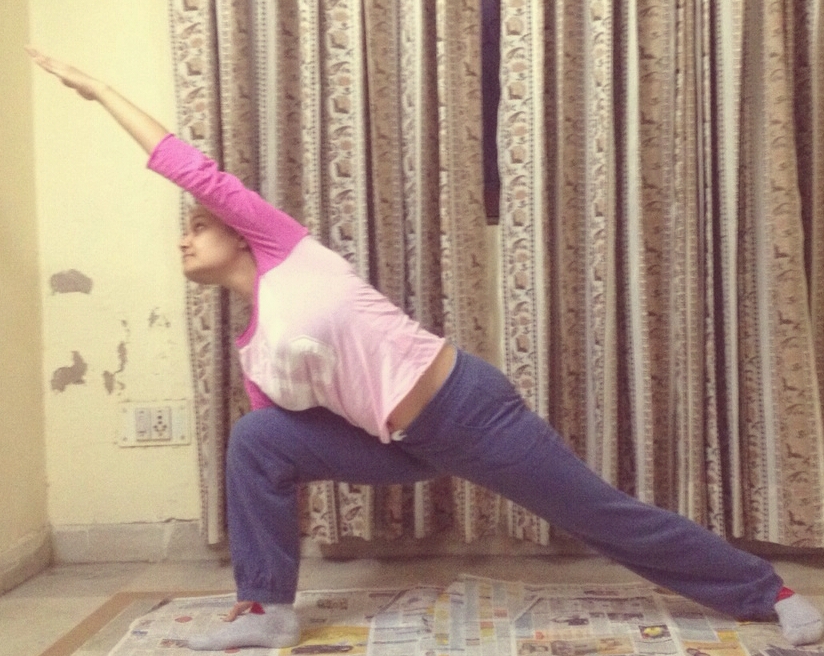
Parsvakonasana (Extended Side Angle Pose)
For the Parsvakonasana follow (1)-(3) of Trikonasana.
4. Now exhale and start to turn you torso so that your right hand reaches the floor. Since you want to make sure that your shoulders are aligned, your chest open and there is minimum strain on your neck, you can use a block to give you a bit of elevation. As in the Trikonasana, make sure that your spine is extended.
5. To make sure that your body is in alignment, turn your face and gaze down at your right thigh. Is the right thigh parallel to and in alignment with the belt? If yes, great! If not then shift your body so that it is aligned keeping (4) in mind.

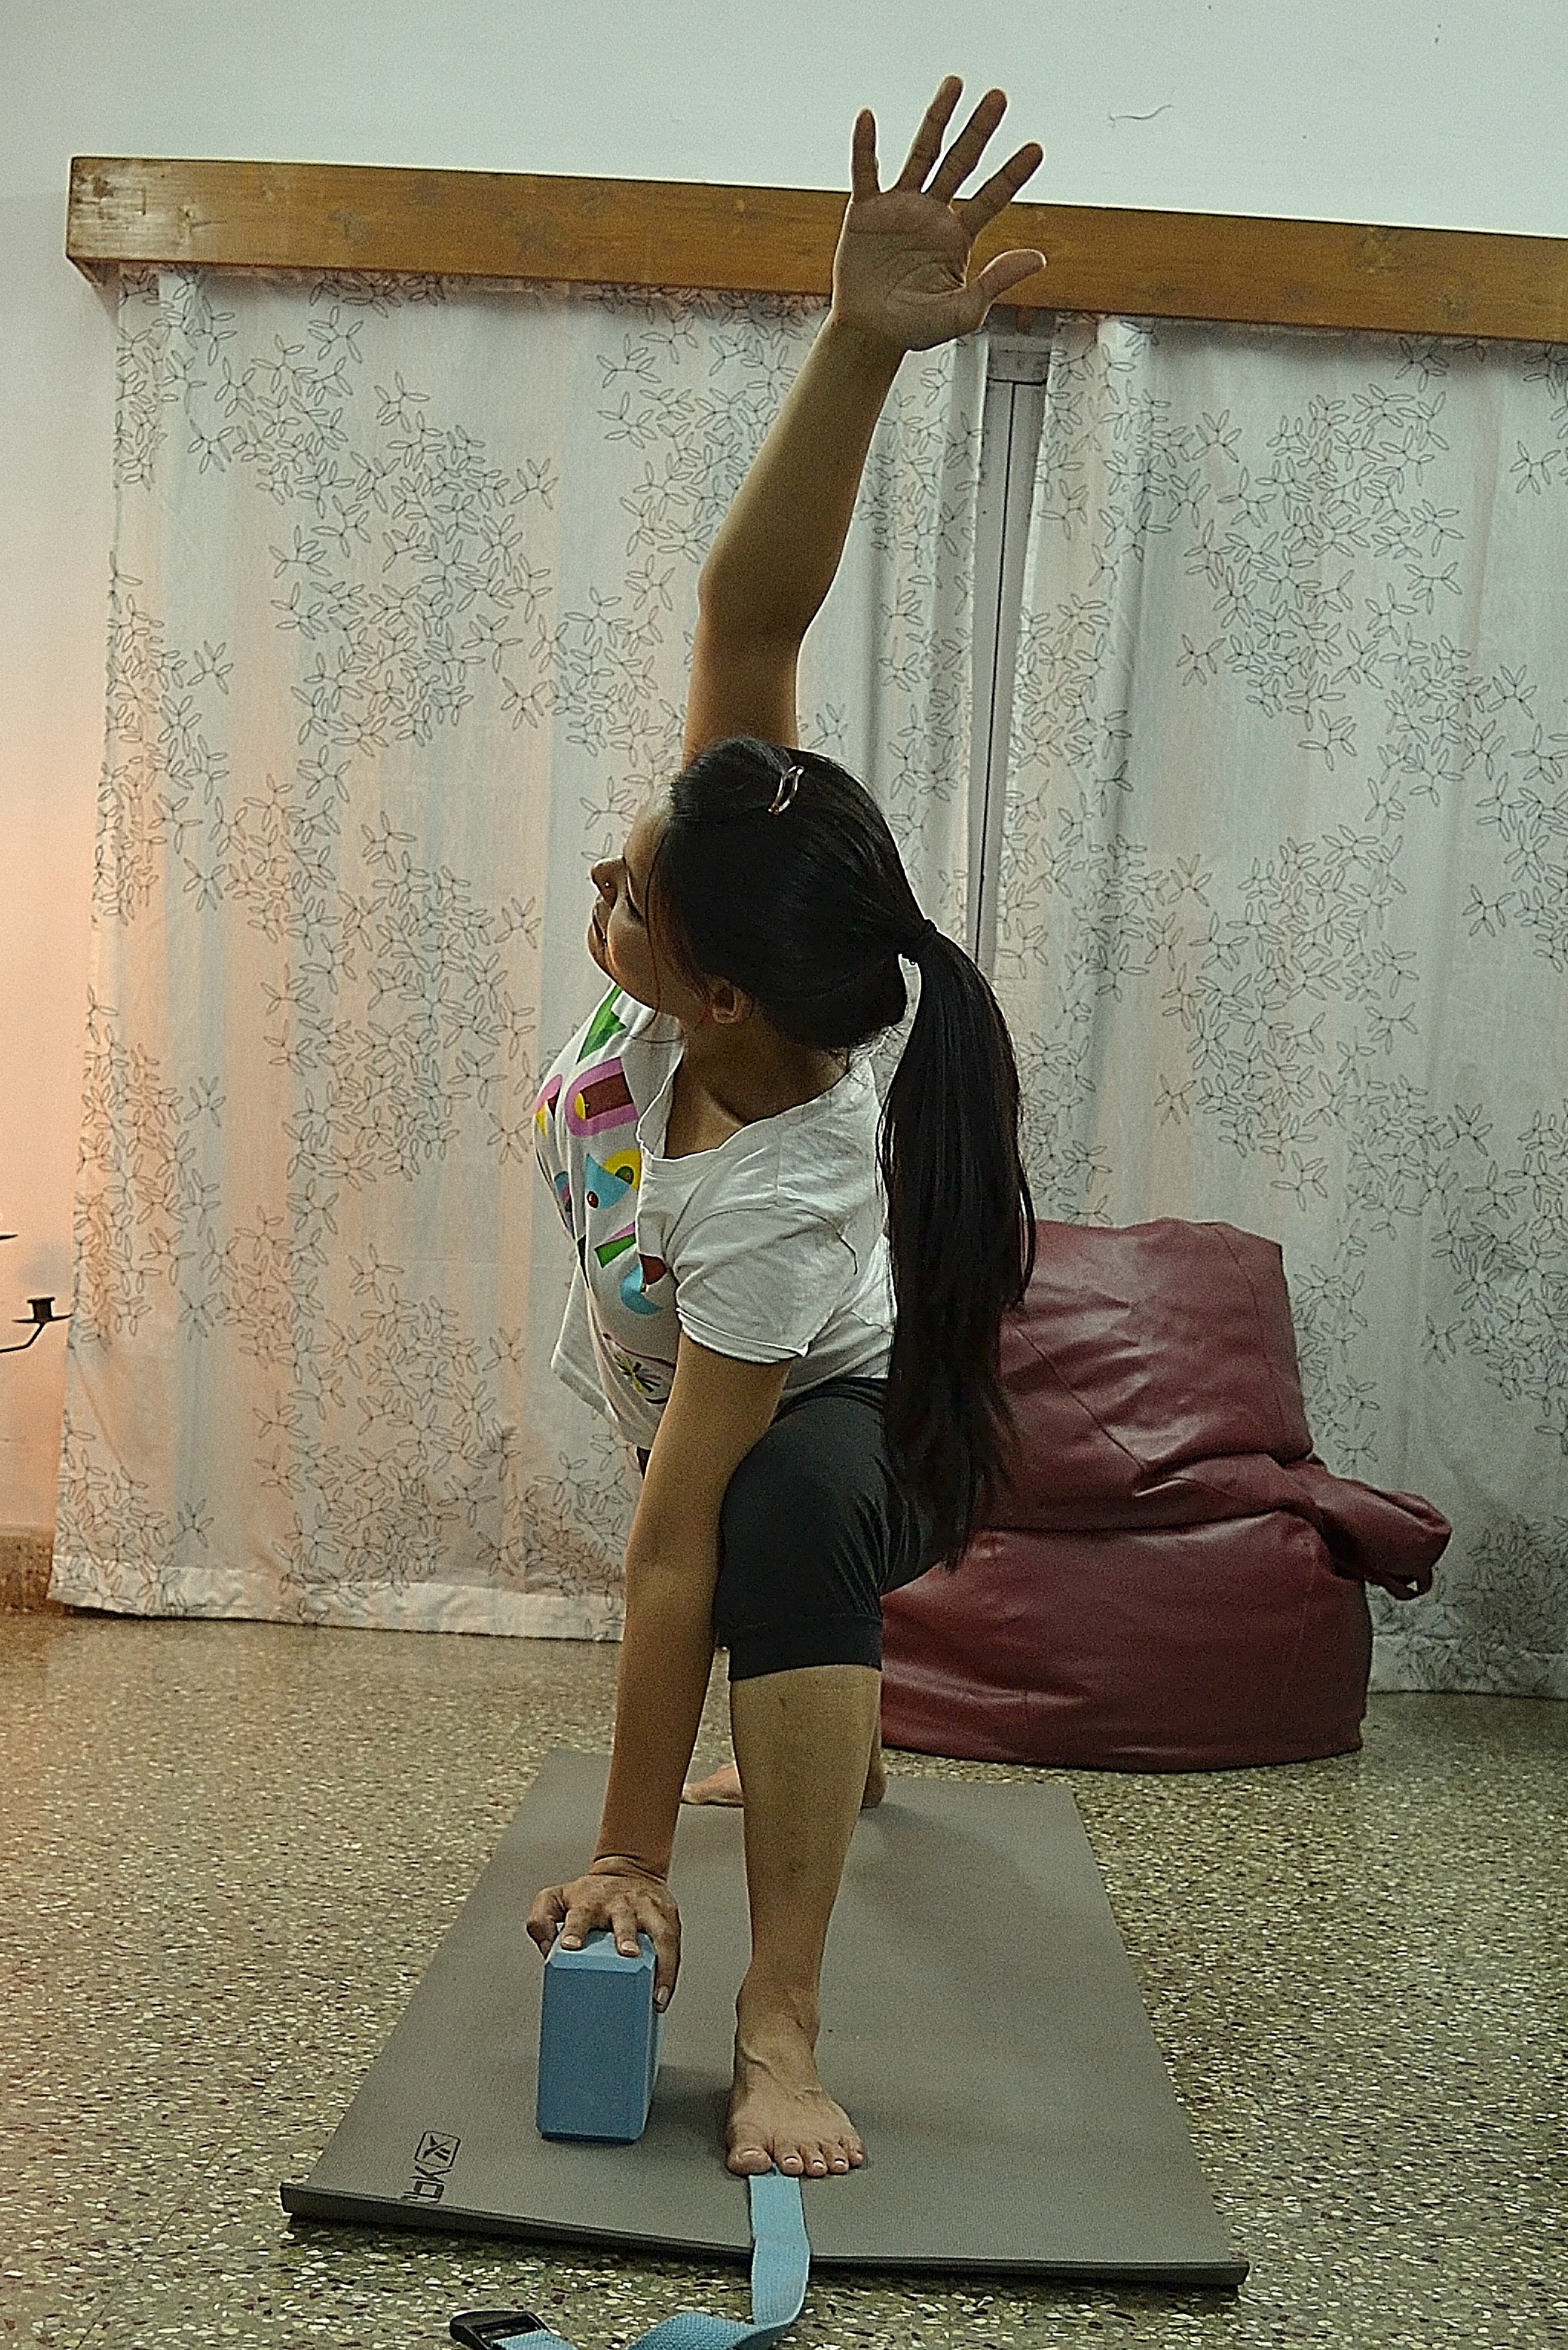

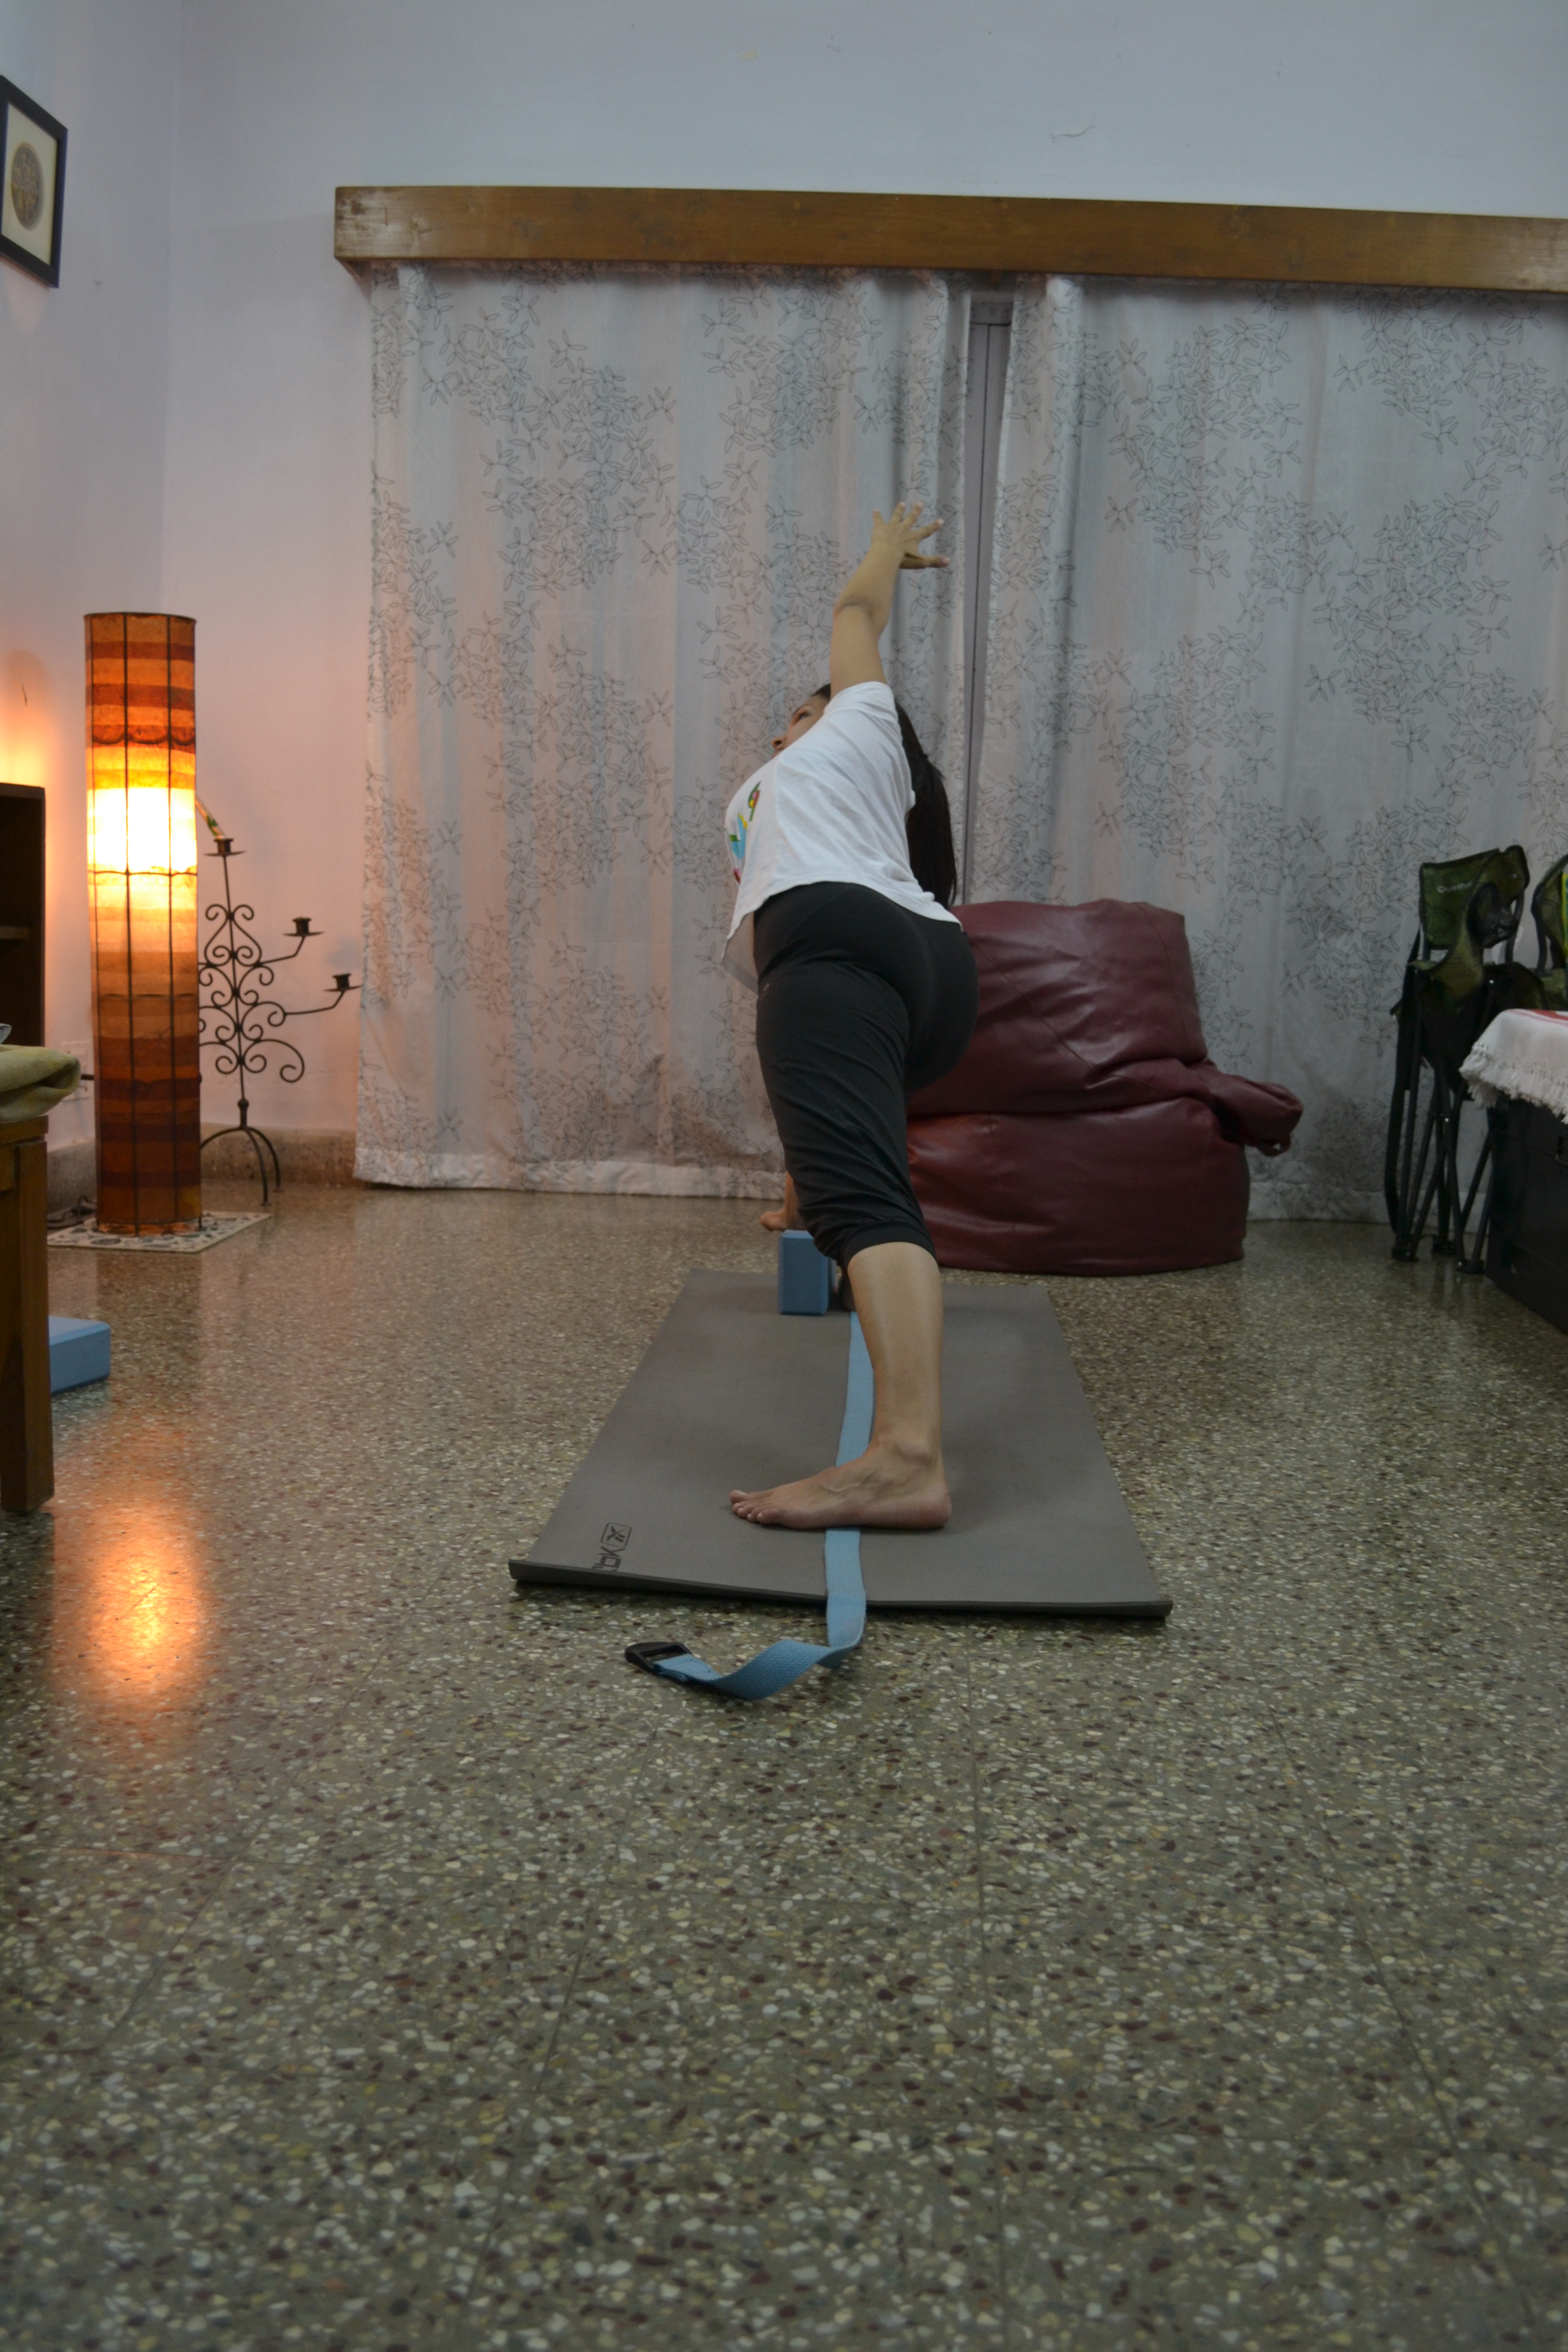
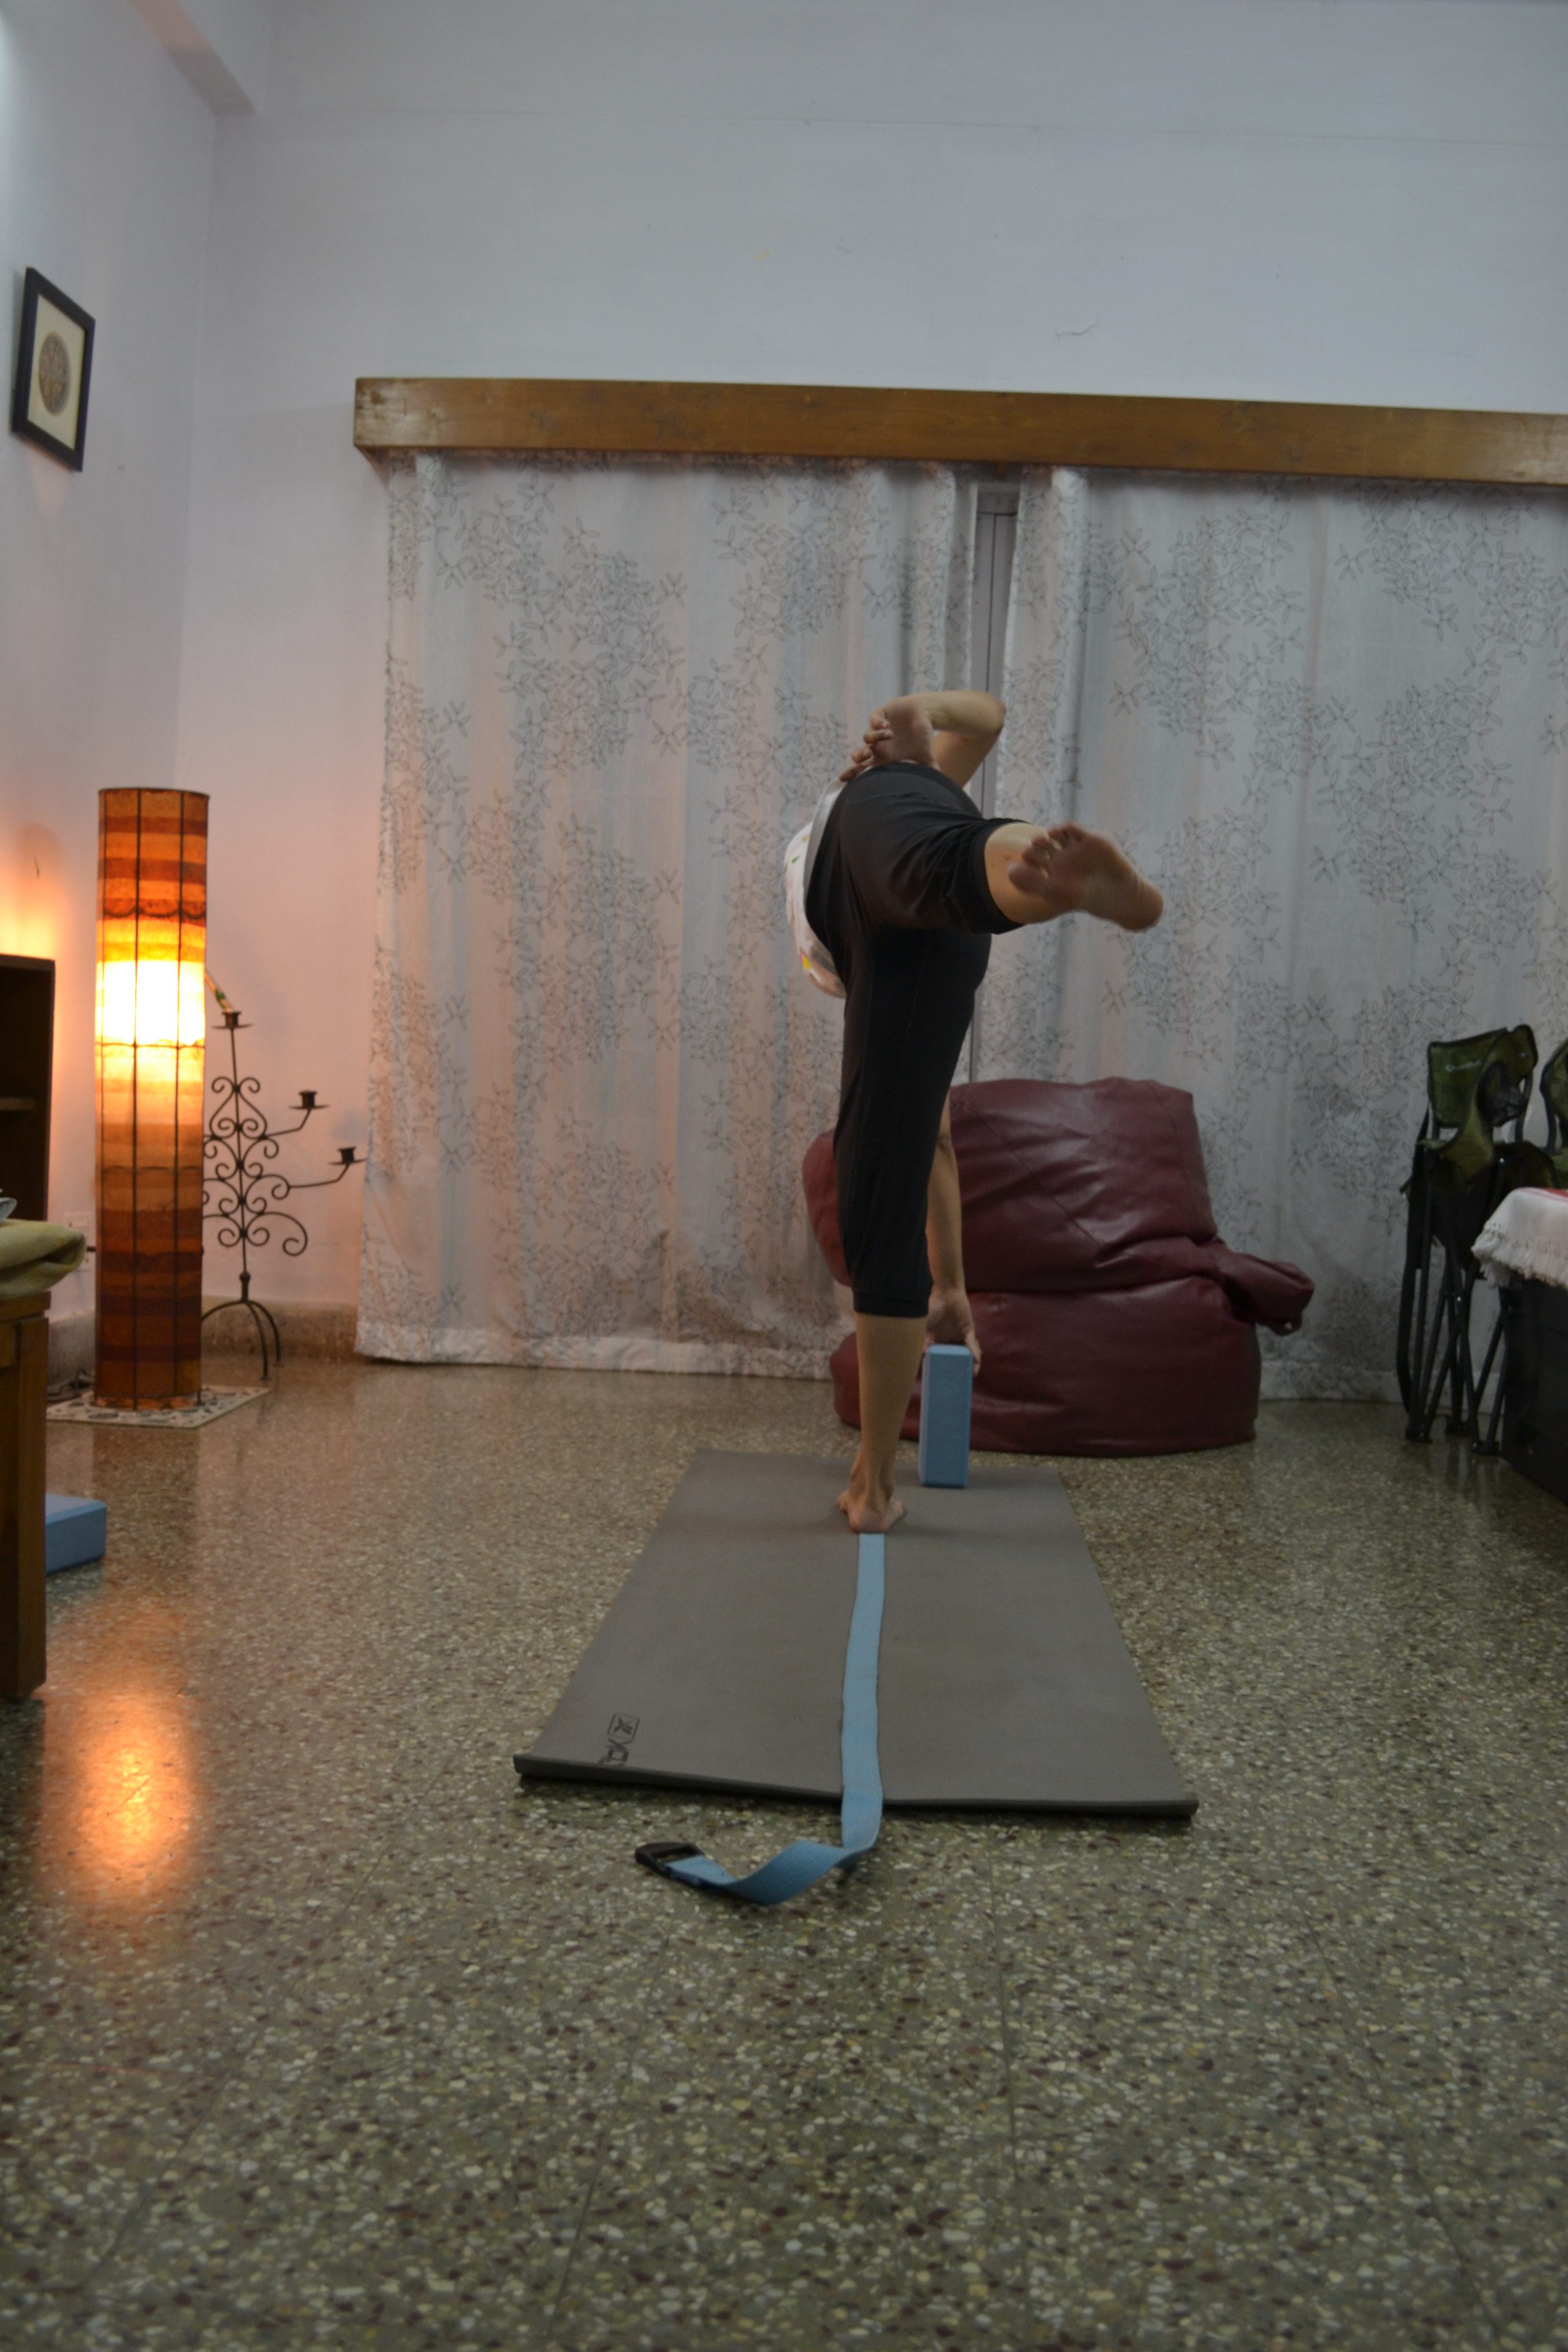
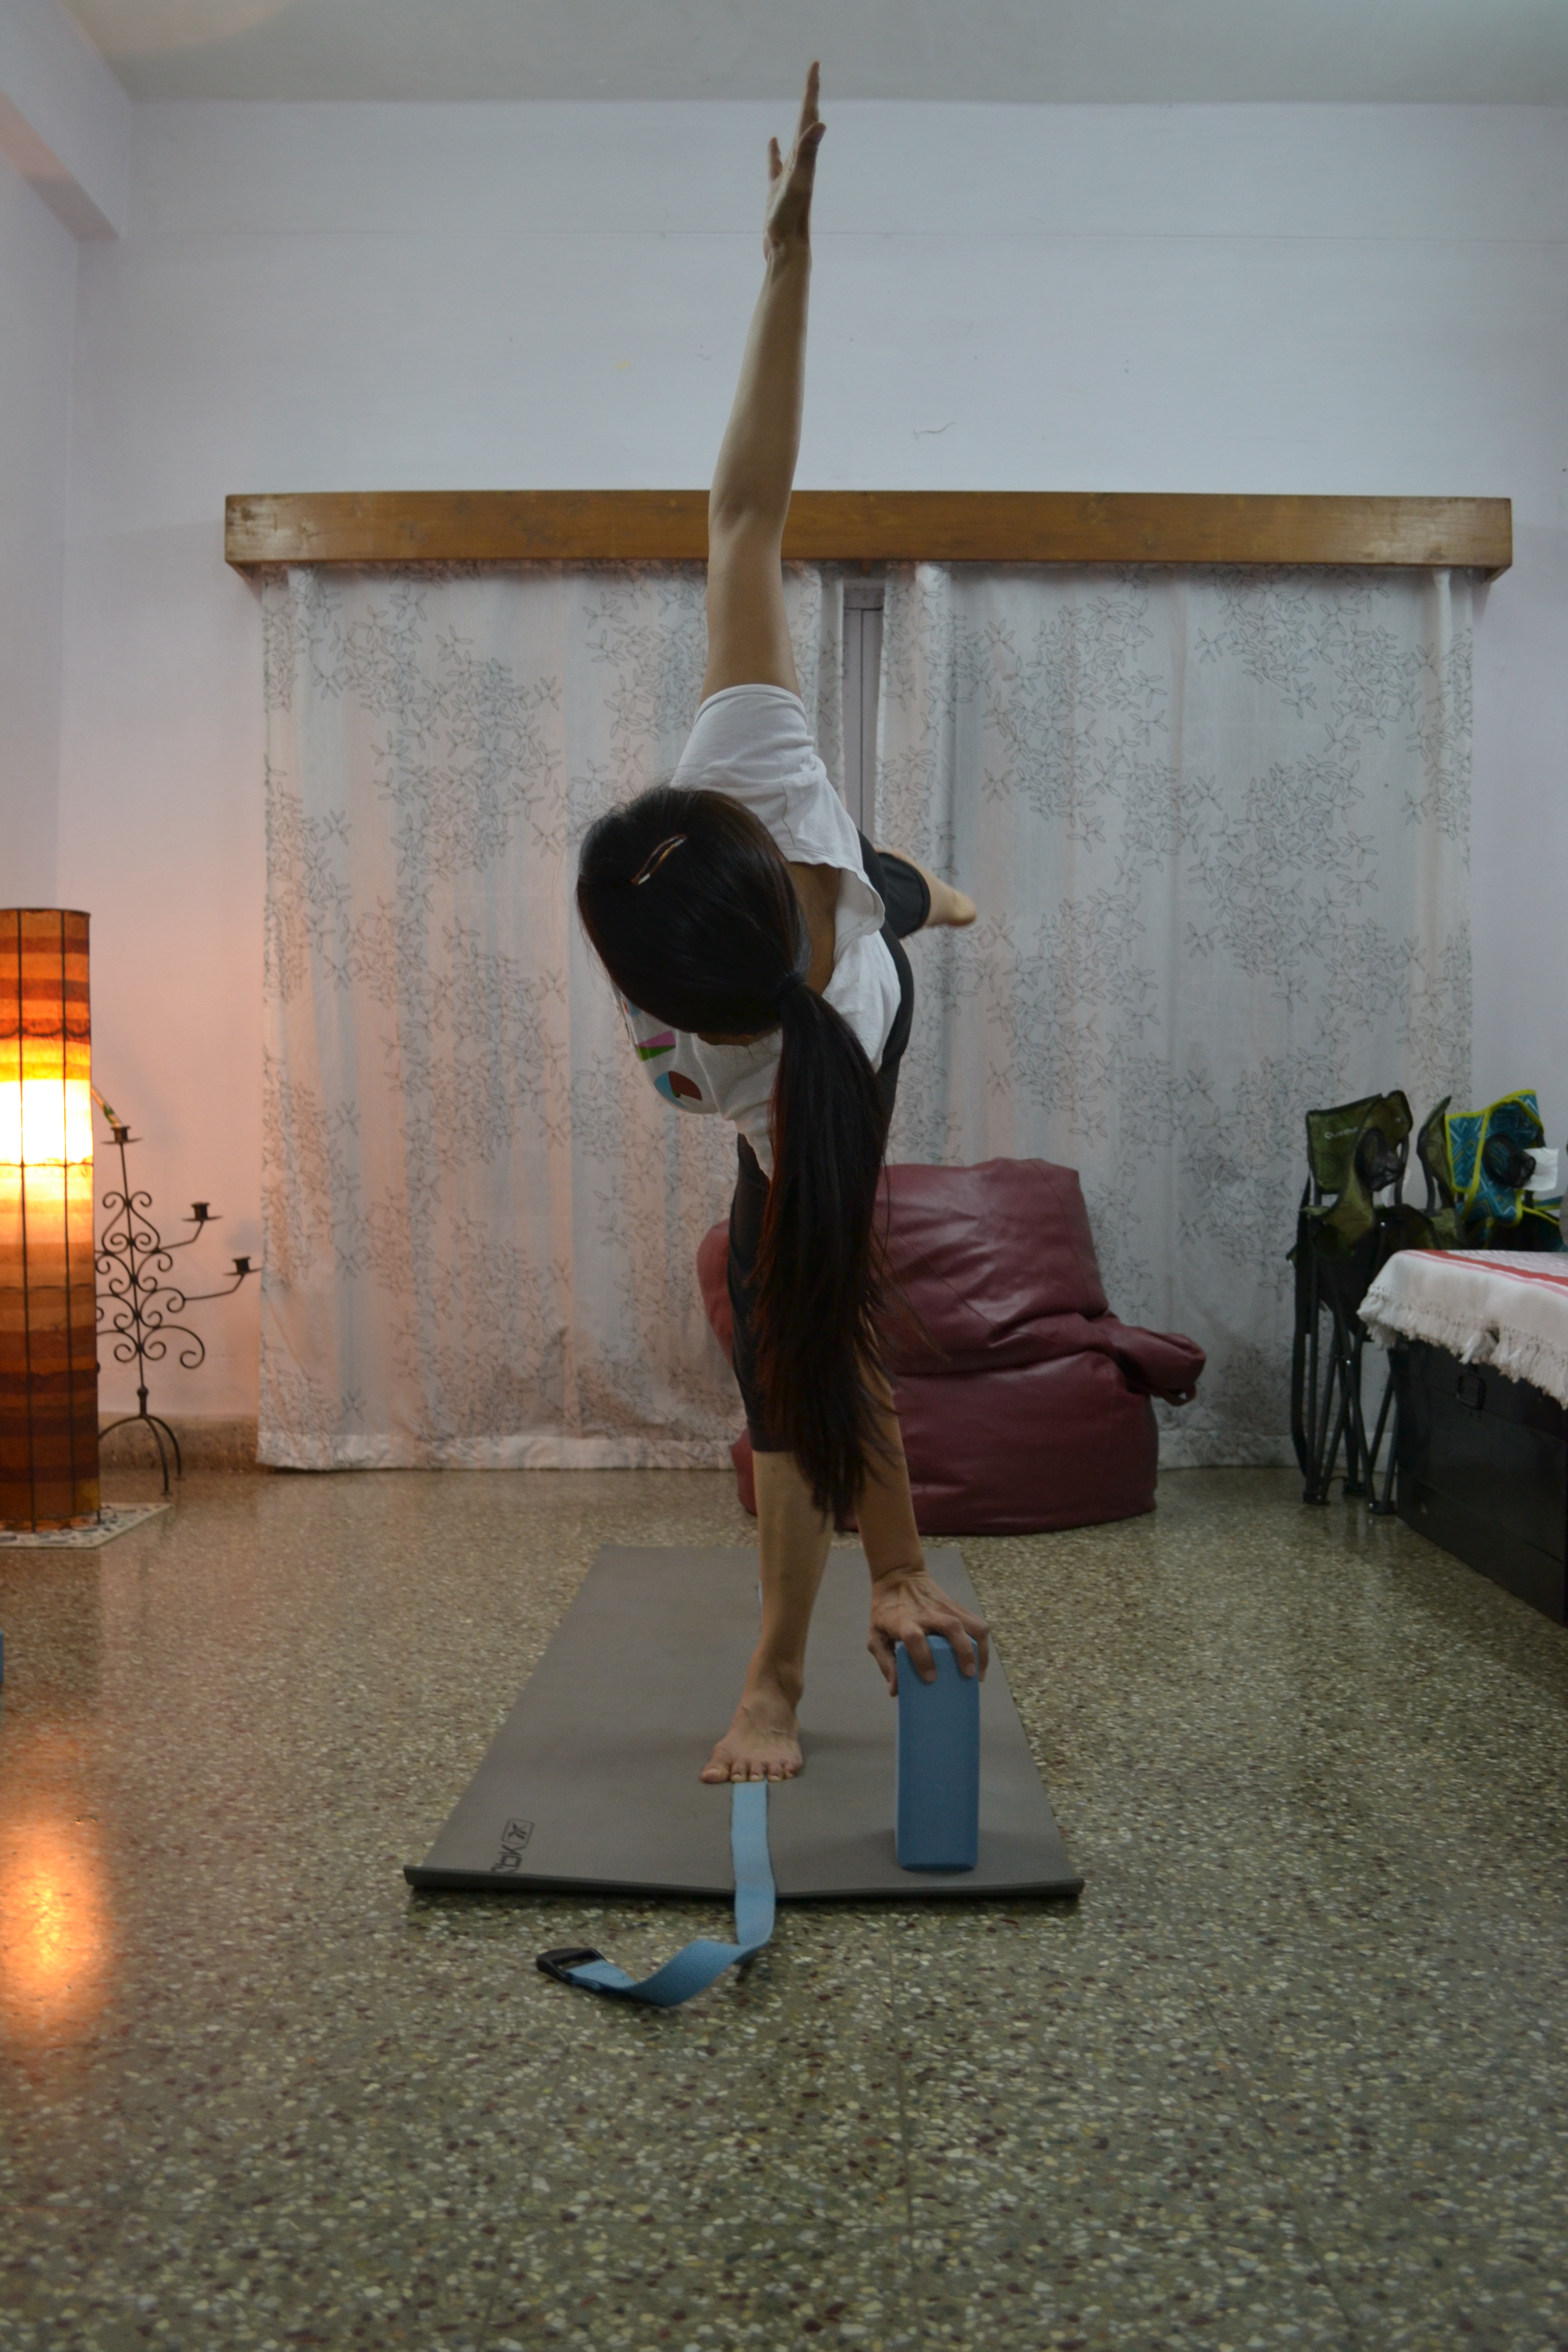
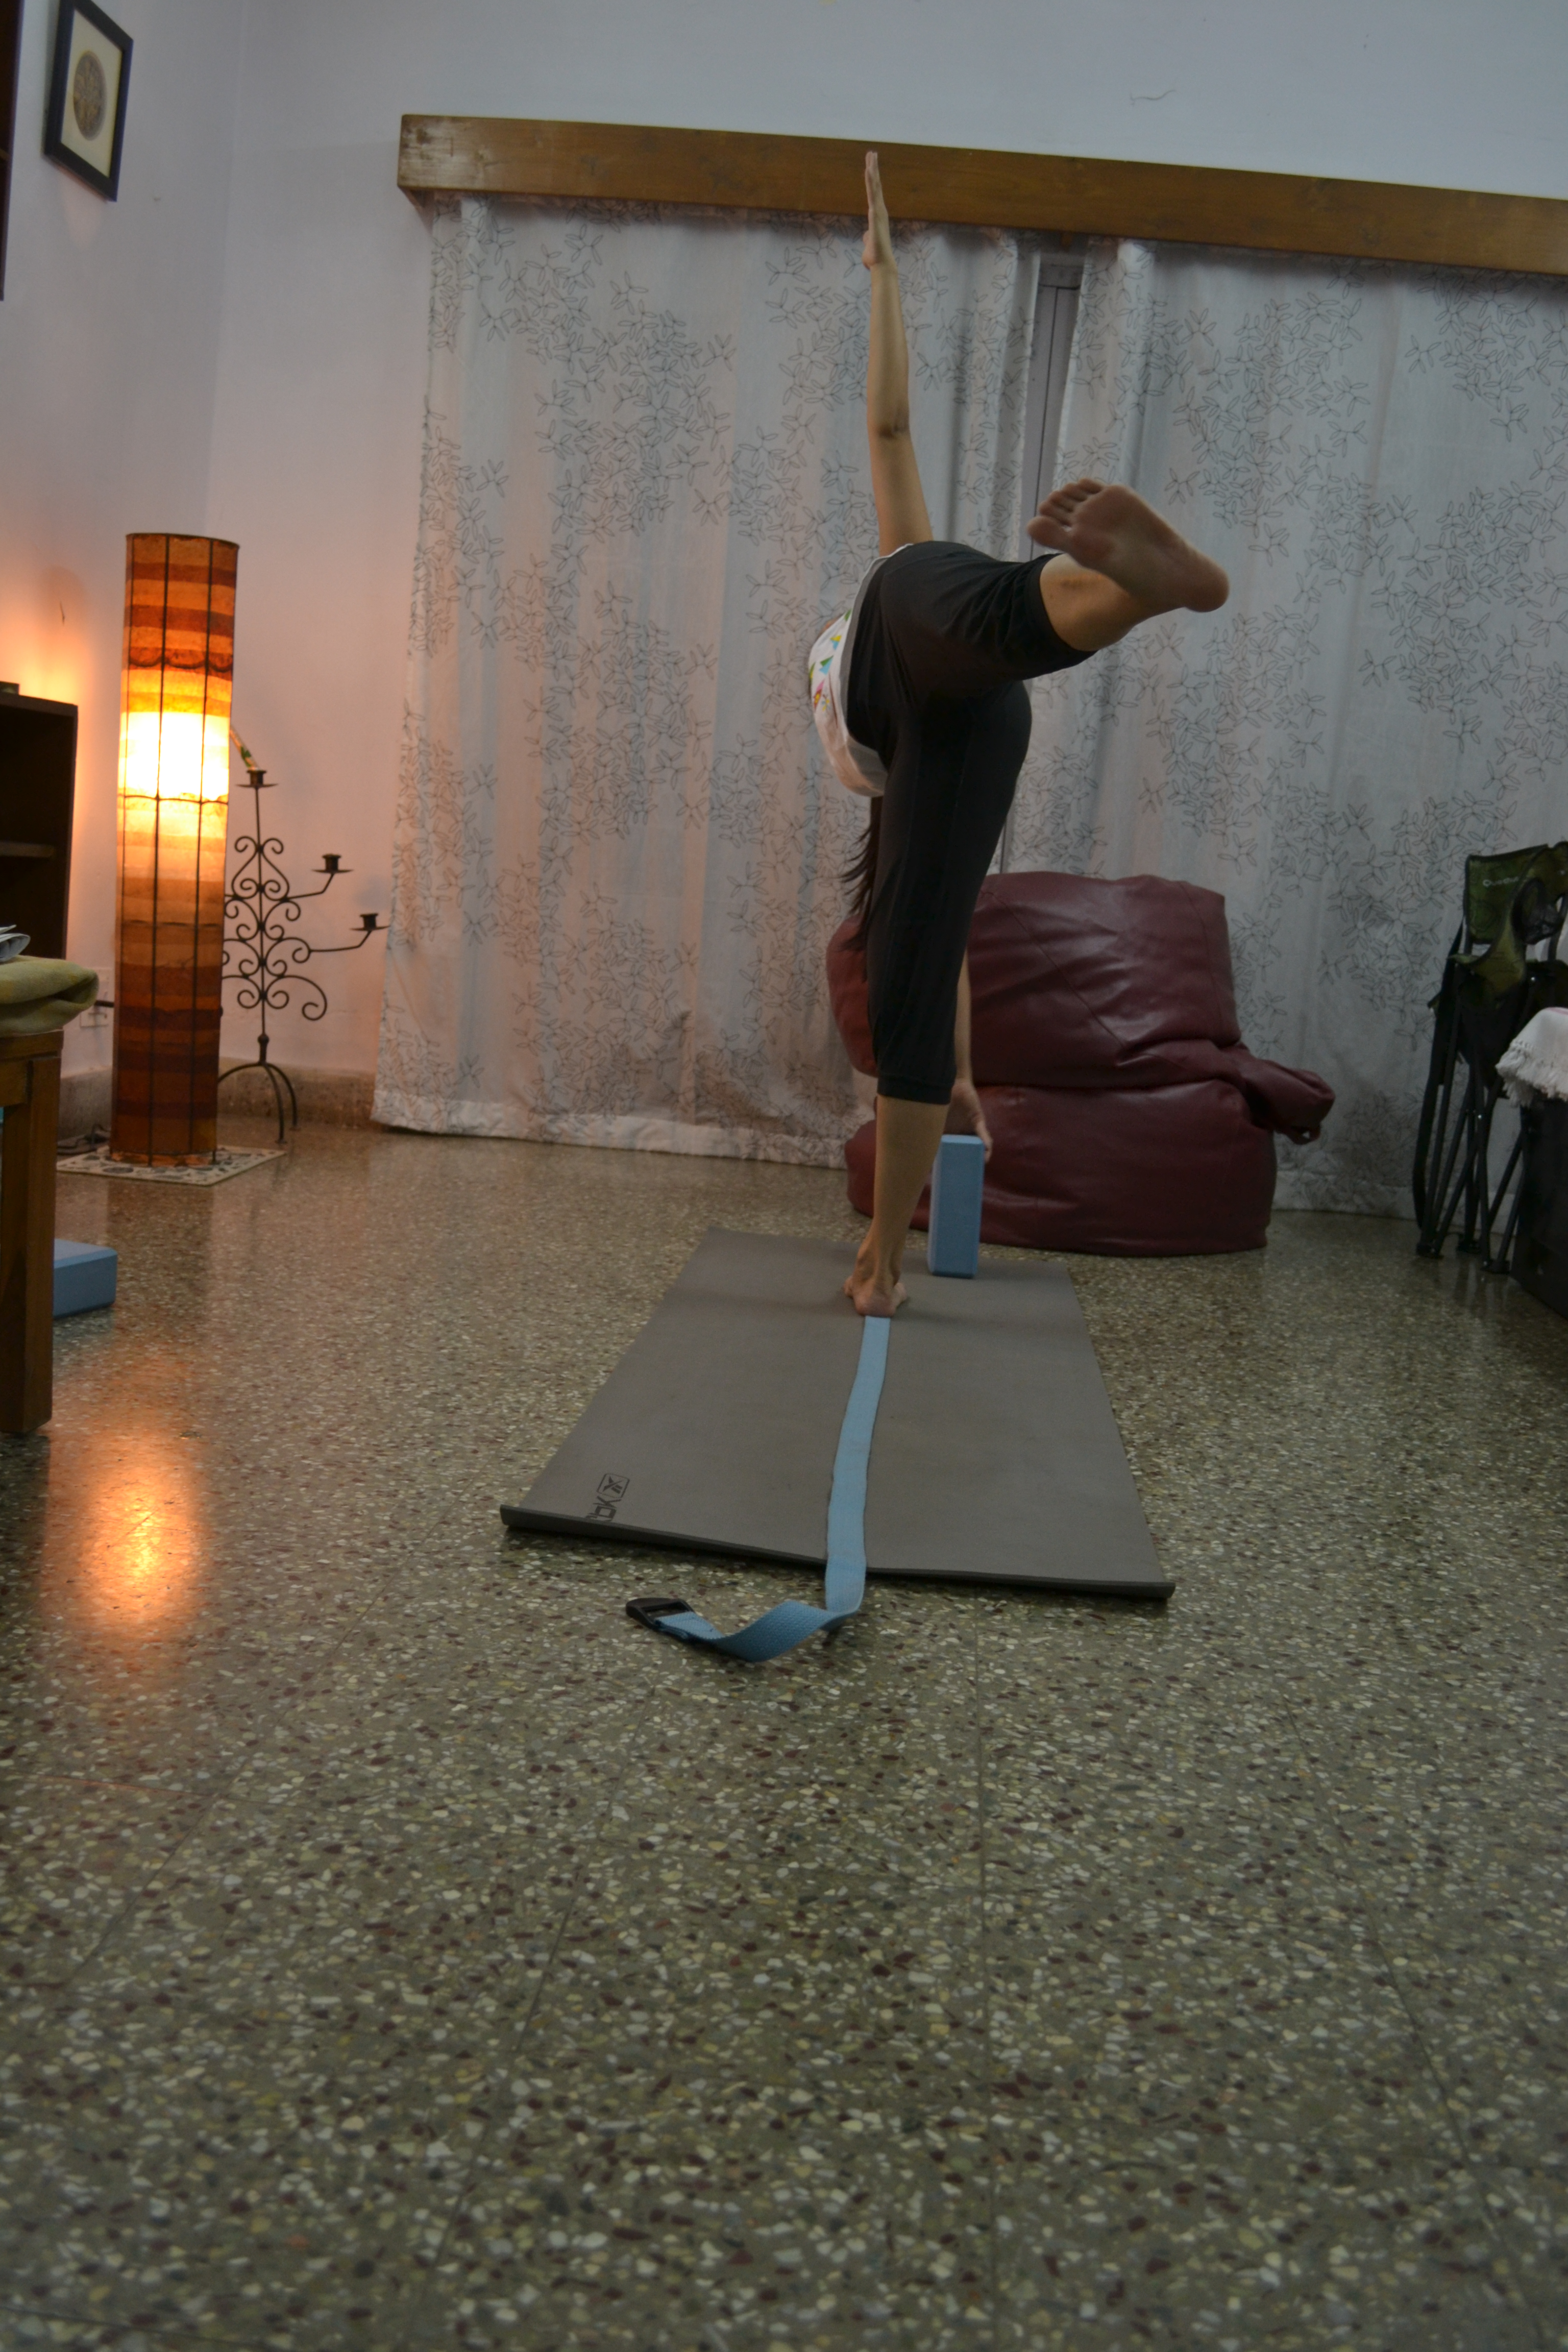
Ardhachandrasana (Half Moon Pose)
1. Place the belt on top of your mat just like in all the previous asanas.
2. Next, place a block about a foot in front and a foot to the side of the belt. Since the Ardhachandrasana is about balance as well as an extension of the spine and torso, you will need the block for support.
3. Now, perform the Virbhadrasana II.
4. From here extend your right hand and reach out for the block. Simultaneously, push up with your left leg until this leg is parallel to the floor, and your right hand is on the block. Gently straighten your left hand as well. Your shoulders should be in one straight line, torso should be open, spine should be extended. Extend the heel of the left leg out.
5. To ensure proper alignment make sure your body follows the line of the belt.


![IMG-20150209-WA0016[1]](https://yogawithpragya.com/wp-content/uploads/2015/02/img-20150209-wa00161-1.jpg)
![IMG-20150209-WA0003[1]](https://yogawithpragya.com/wp-content/uploads/2015/02/img-20150209-wa00031-1.jpg)
![IMG-20150209-WA0005[1]](https://yogawithpragya.com/wp-content/uploads/2015/02/img-20150209-wa00051-1.jpg)
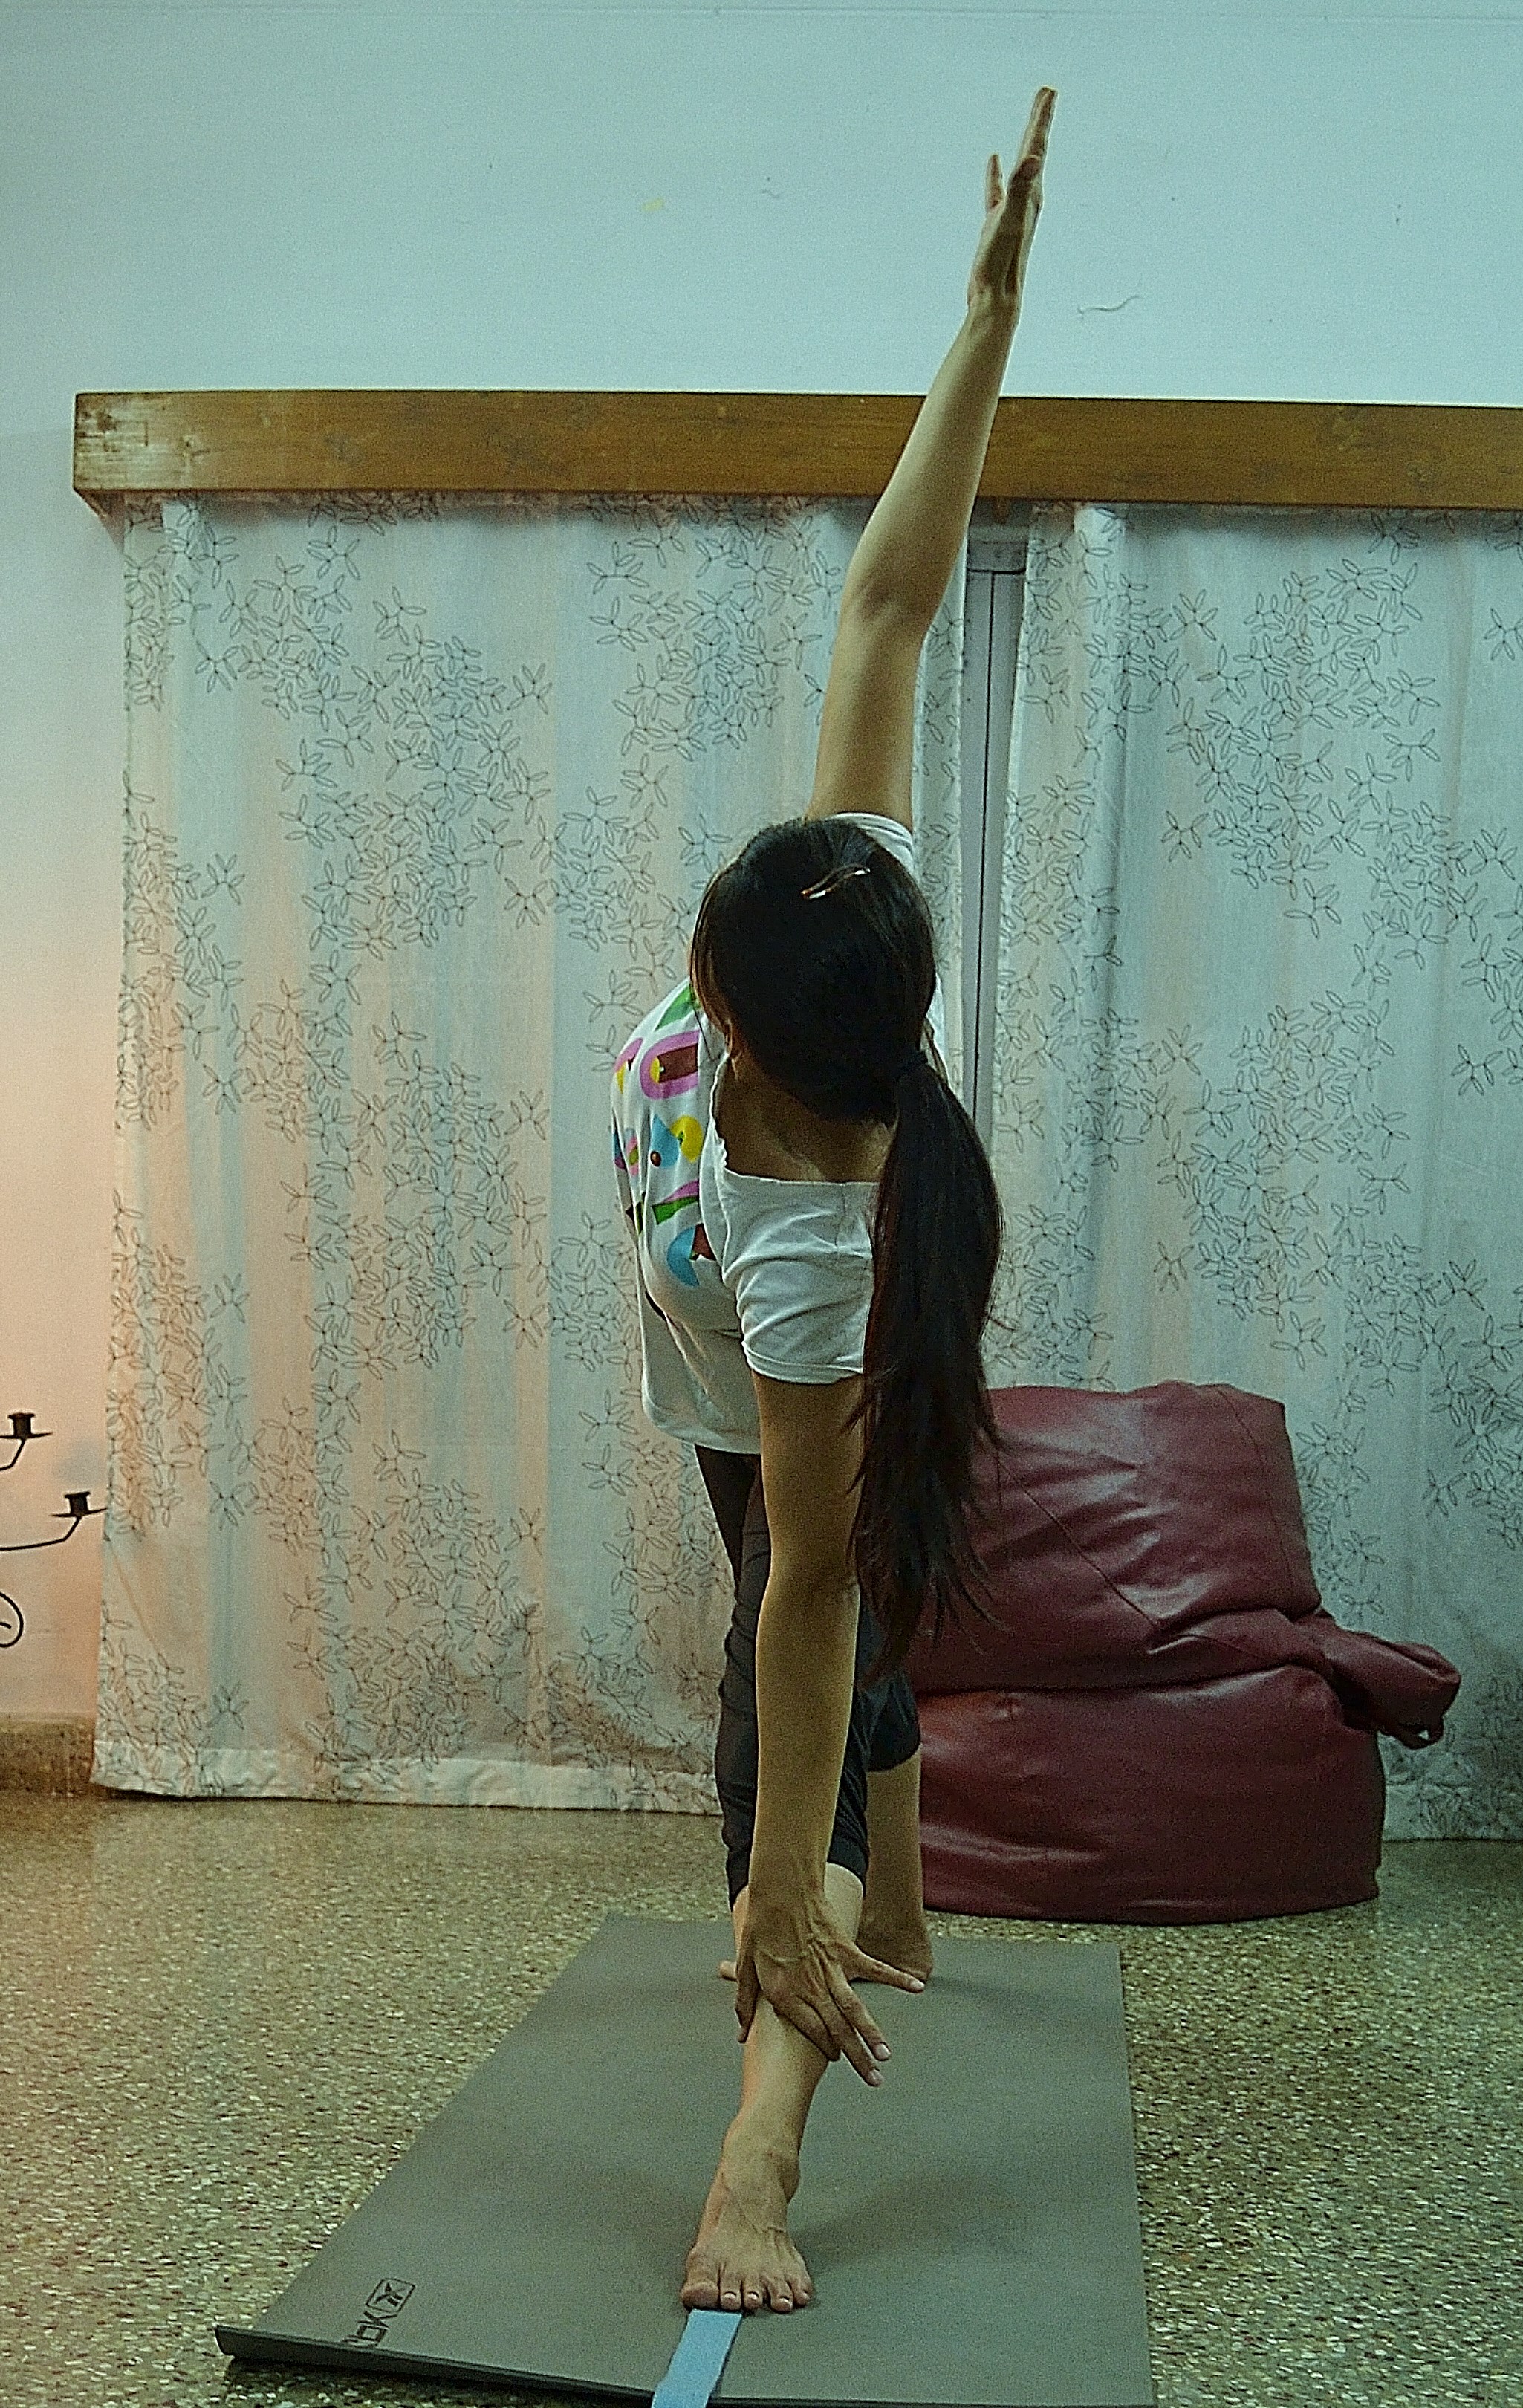
 There should be a uniform stretch along the side of your body. Make sure the side of your body doesn’t rest on the thigh. To ensure this you may want to slightly lift your hand off of the floor ensuring your core and your legs have to support your body weight. Look up at your finger tips. Relax your neck and face.
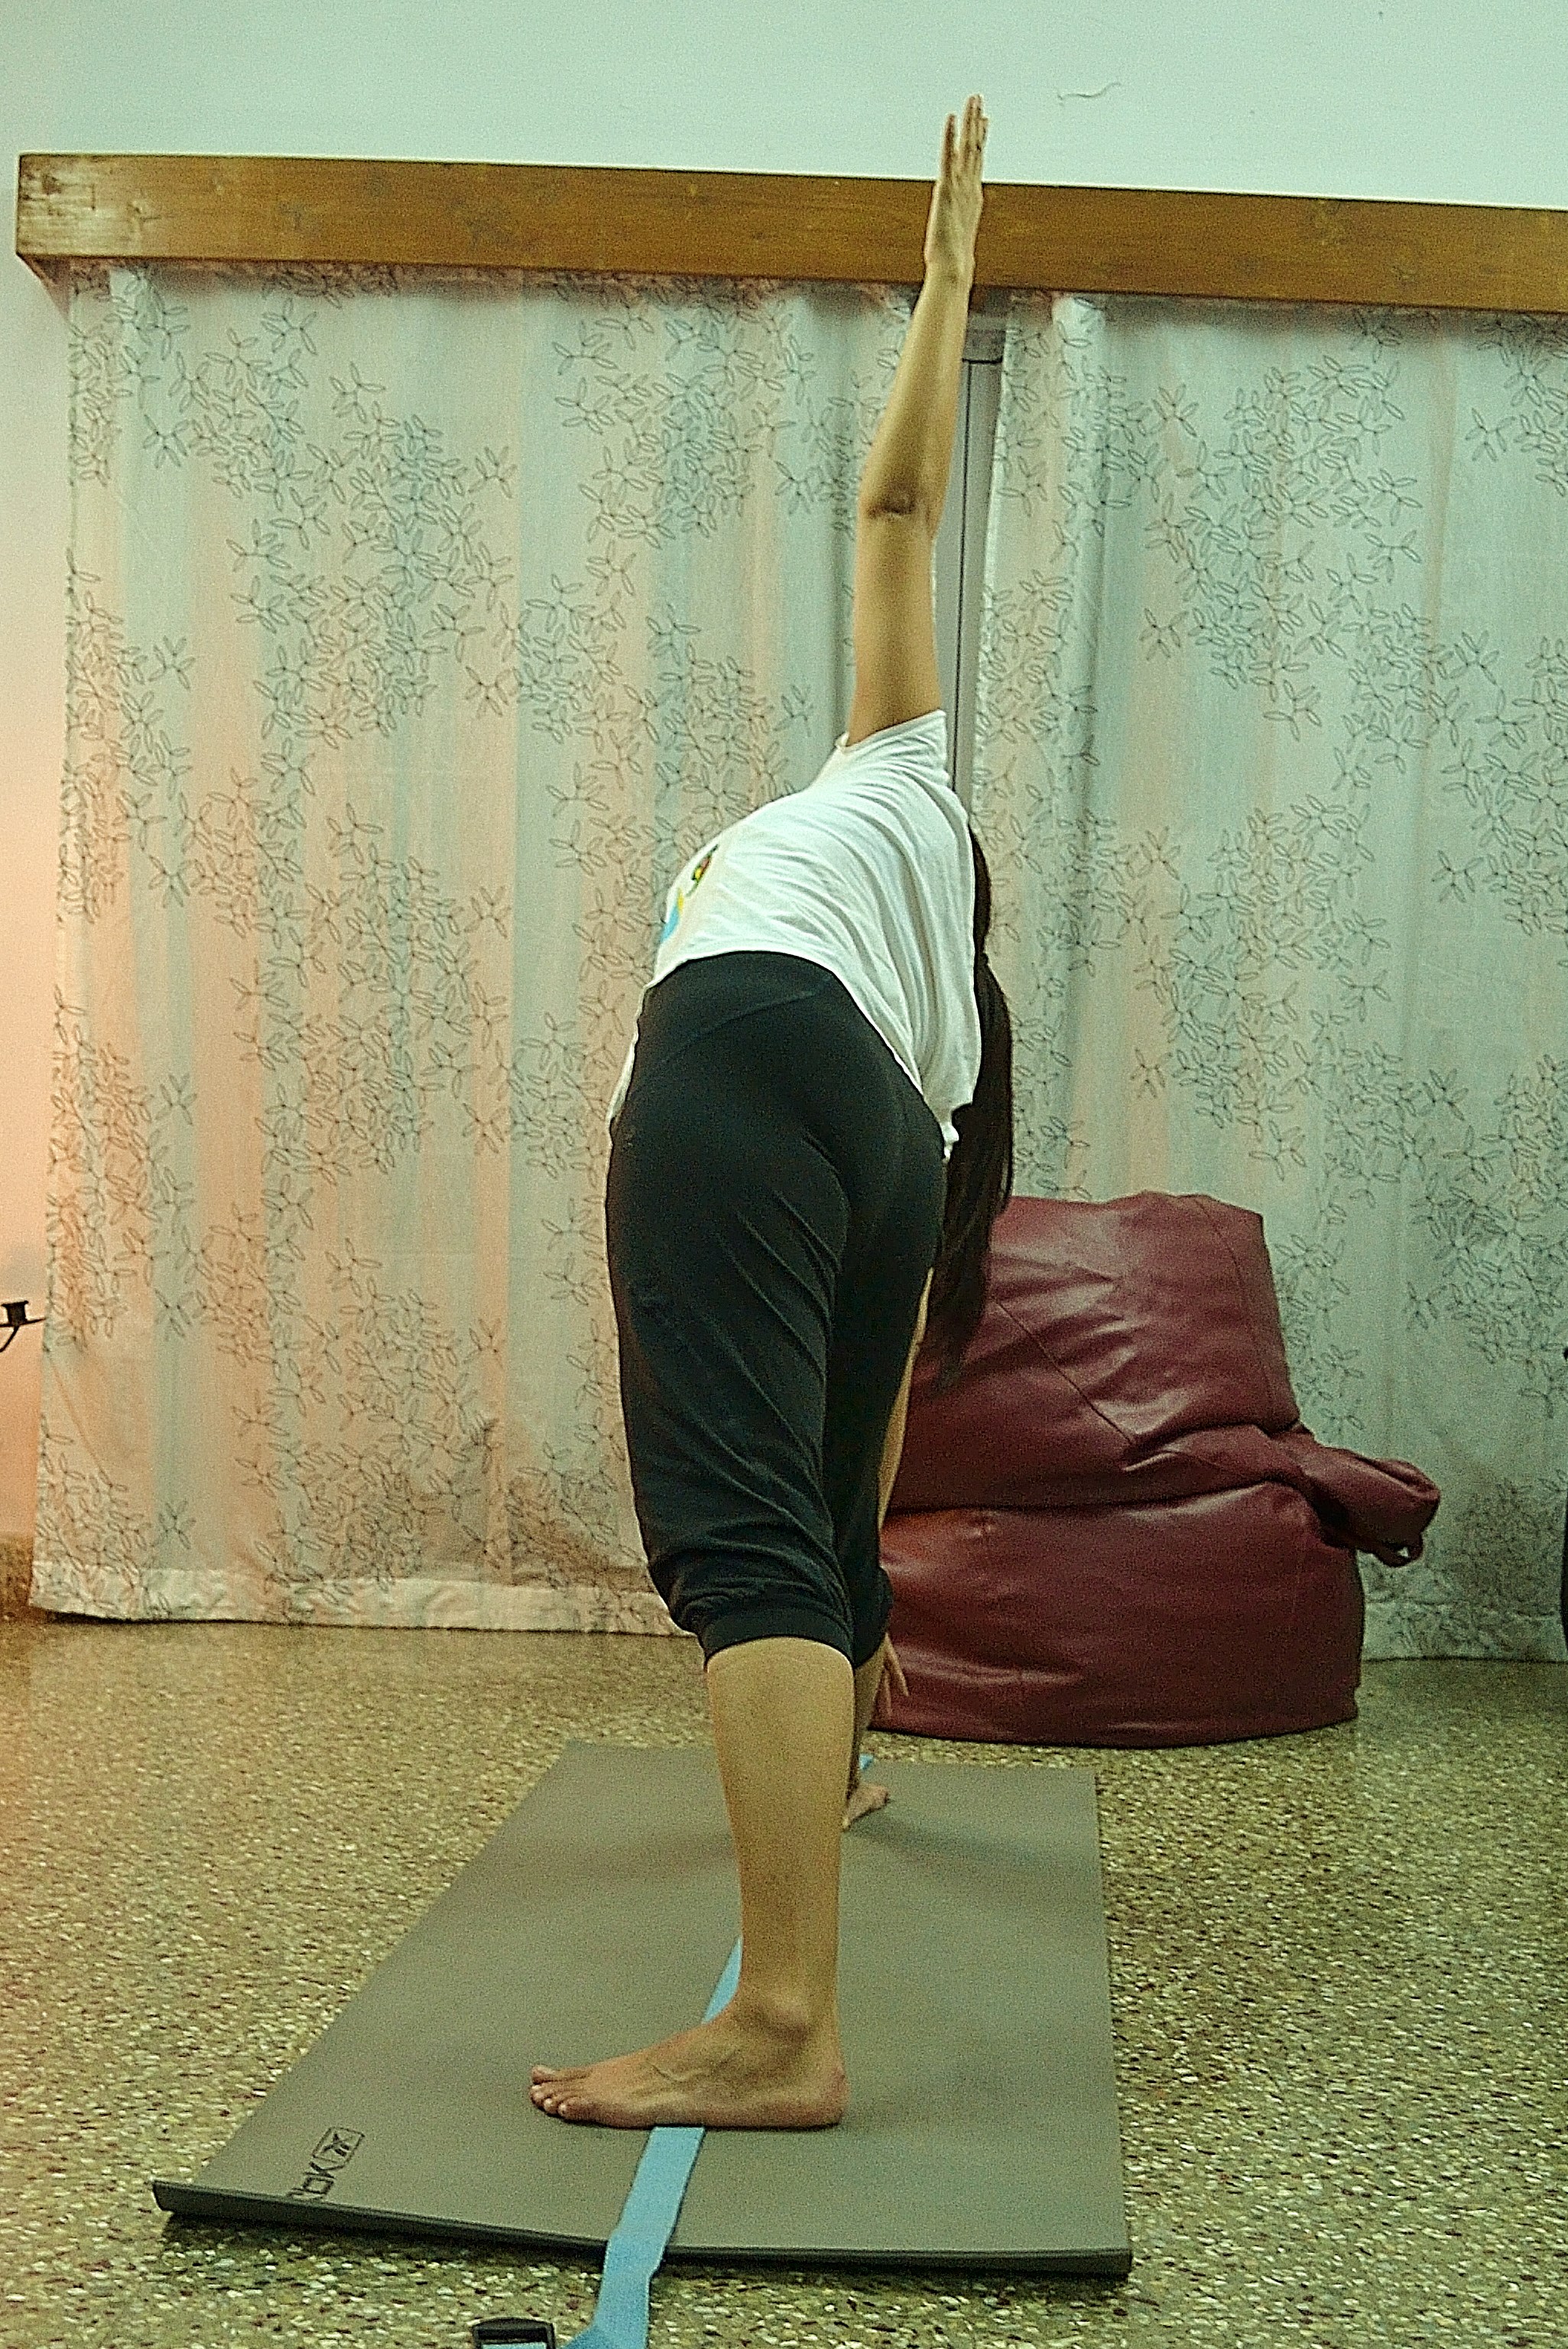
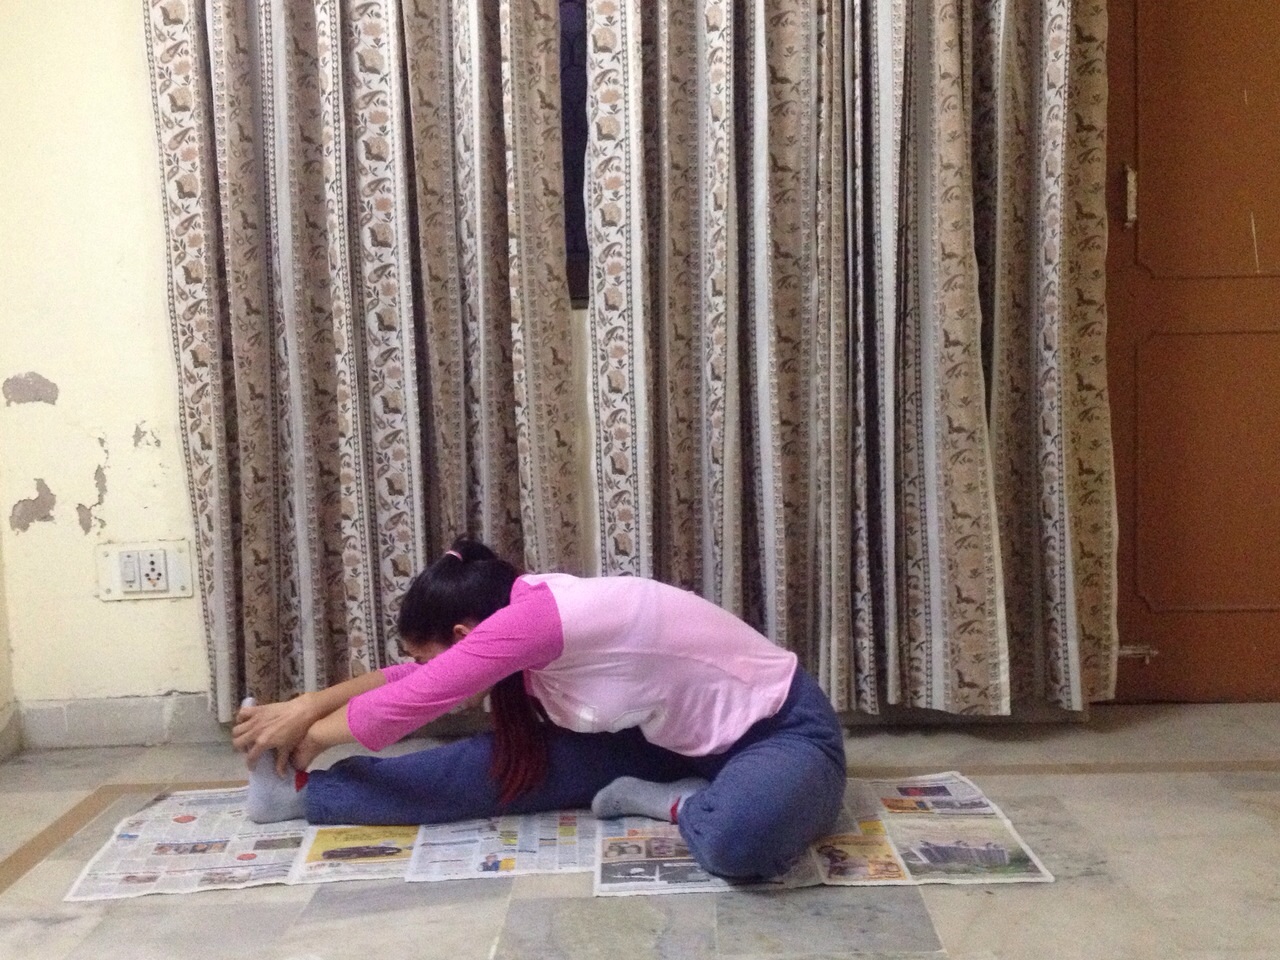 Do this pose in the end to stretch the back of your legs. However, in this pose, as in all other poses, pay attention to your core. You want to make sure that you pull your stomach in and extend forward keeping your back straight. This will ensure a deeper stretch. Aim to get your chin to the knee instead of forehead to knee. Also, make sure you cross your arms when you reach forward. This ensures that the stretch on your back is even.