Browsing Tag

triangle pose

Yoga

Pose #4 for Women – Trikonasana

March 4, 2016

POMELO_20160301144053_save

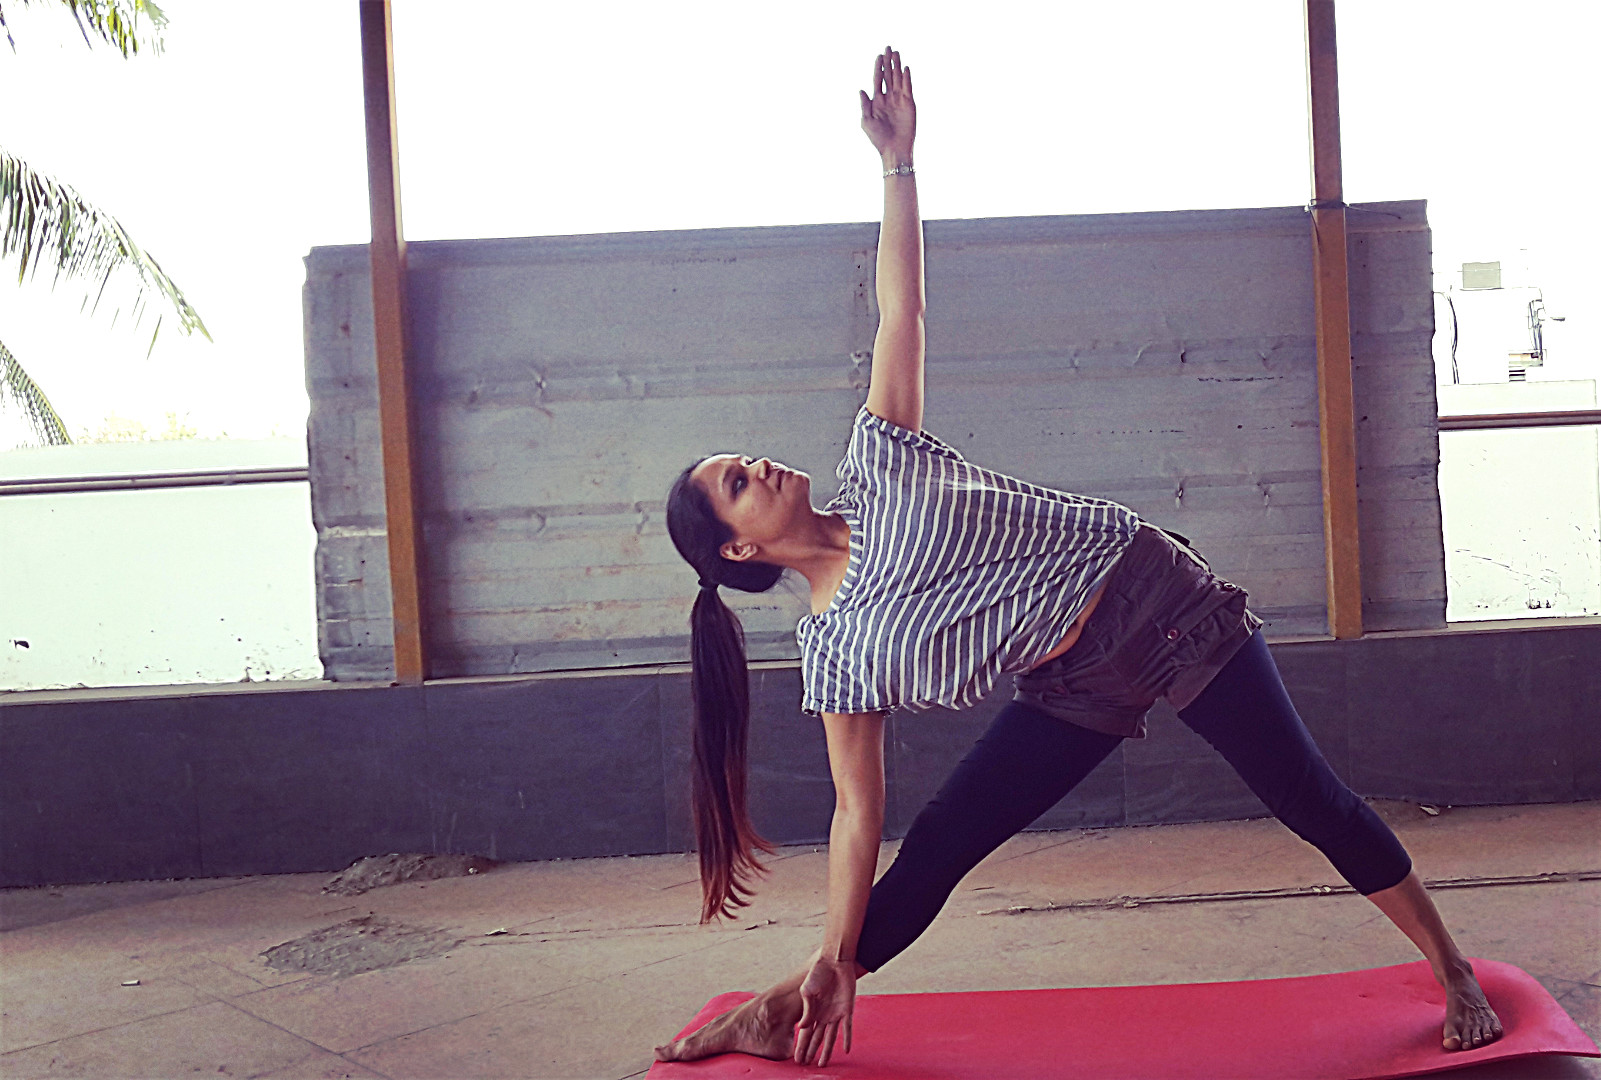
In an interview with Prannoy Roy, BKS Iyengar said that he was still working on his Trikonasana.  In my yoga class we work on Trikonasana every day and the teacher always frowns in disapproval.  In an interview I watched a couple of weeks ago Maty Ezraty talks about how she can judge the level of a student by how they perform the Trikonasana.  Personally, the Trikonasana has a heavy influence on my practice.  Some days I break into the asana with great ease.  Other days (like this morning) there’s some stiffness and soreness and I creak through the asana.  Maybe it’s a combination of shoulder and hip opening.  Or maybe it’s the stretch along the sides of the body or the release of tension from the shoulders….but this pose makes me want to linger.

Benefits

  • Great for the legs and torso.
  • Relieves pain and tension from the lower back.
  • Maintains the flexibility of the spine.
  • Provides a great massage to the abdominal organs and stimulates them.
  • Good for digestion since it provides a massage to the abdominal organs.
  • Relieves backache, especially through second trimester of pregnancy
  • Helps in managing flat feet (I’ve seen it even reduce the condition).
  • Helps in managing and preventing osteoporosis and sciatica.


When practicing the Trikonasana, remember to:

  • Keep the legs straight.
  • Keep the chest open.
  • Keep the spine long and strong.
  • Bend the torso laterally (from the hip).
  • Keep the hip joint open.
  • Reach out with both hands.
  • look down if you get migraines or have a BP condition.
  • look down if you have a heart condition or neck pain.

POMELO_20160304121812_save

Yoga

Week 2 Day 2 – Extend the Sides

February 11, 2015

Most gym rats will tell you that you should work on sides and abs on alternate days.  What makes yoga a great workout is that most yoga classes have varied routines and you will end up engaging different body parts even if you attend the same class 5 times a week.  Some days it may be abs intensive, on other days, perhaps, arms.  But, for the most part, you will use your body as a whole instead of just working out isolated body parts.  So while you’ll work on sides pretty much in all your yoga classes, there are a few moves that you can do with a bit more awareness next time so that you can get the most out of them.

The Side Plank or the Vashishtasana

Most people tend to put most of their body weight on their arm and wrist when they do the side plank.  Are you one of those?  If your wrists hurt when you do this move, then the answer is yes.  The key to improving your form and increasing the amount of time you can hold this move is in how you engage your arms.  Tightening the musIMG-20150209-WA0016[1]cles of your arms helps in taking the pressure off of your wrists.  To do this you can try and spread your fingers out wide on the floor.  And the  push your shoulders away from your ears.  So on hand reaches all the way up to the sky and you stretch your shoulder blades as well.  The other hand pushes into the floor, so you try and dig your fingers into the floor also.  The neck should be relaxed.  Sometimes you may not realize that your neck is strained.  A good way to ensure that your neck is easy is to smile and allow your face to relax.  This relaxes the neck as well.

Once your arms take on the proper form, you can start to work on your sides.  Keep your stomach tight at all times and then gently push your hips up towards the sky.  This gives you a little elevation and also ensures that you keep your awareness on your core.  That little lift makes a huge difference, else you may tend to sag down closer to the floor, which will put more strain on the shoulders.  Finally, keep your knees locked.   This will ensure that you are engaging your legs in maintaining the balance as well.

The Trikonasana or the Triangle Pose

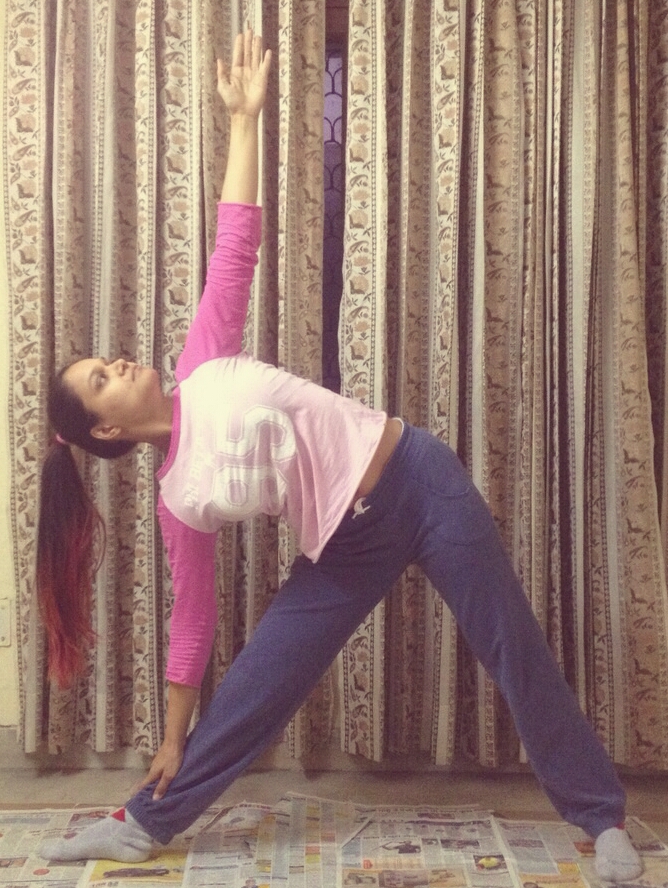
Despite years of practice, I feel that it is only now that I’ve really started appreciIMG-20150209-WA0003[1]ating this pose.  All yoga poses give you a sense of release and relaxation post the practice.  If you don’t feel it now, with consistent practice, you eventually will.  The key to the Trikonasana is doing it step-by-step.  Many students go into the pose with the end picture in mind.  Yes, many experienced students as well.  But that just leads to a compromise with the geometry of pose.  Do it stepwise and when you finally bend down make sure you bend from the waist.  Your torso should be parallel to an imaginary wall.  Try and get both shoulders in one line and reach up to the sky and down to the floor almost drawing your shoulder blades apart.  Make the pose active right through your fingertips.  Focus on your feet as well.  The inner edge of the front foot will go into the floor and the outer edge of the back foot will be pushed into the floor and this will give you stability in this pose.

Note on this pose.  Iyengar said in an interview that even after countless years of practice, writing books and articles, conducting workshops all over the world etc, he is still working on getting his awareness to his smallest toe in the Trikonasana.

The Parsvakonasana or the Side Angle Pose

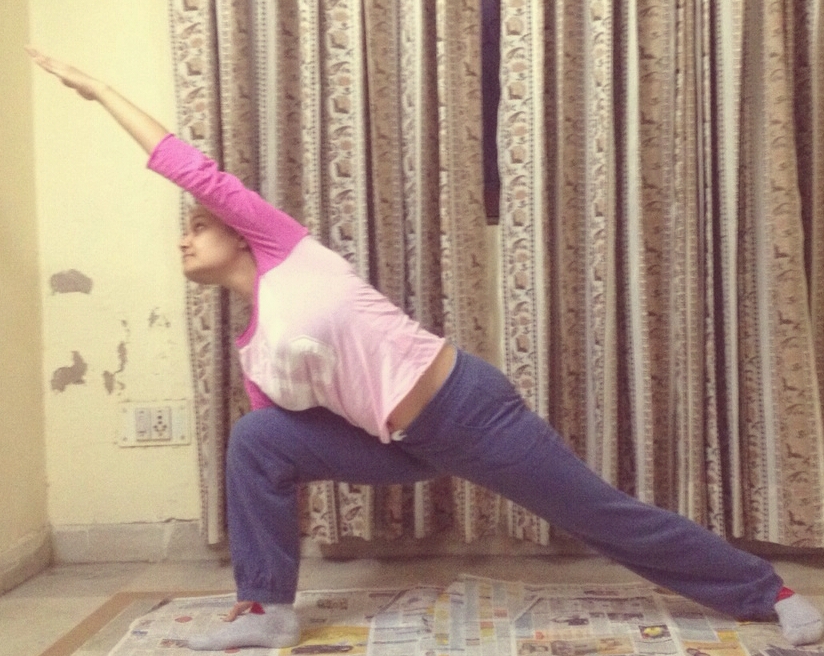
The base work in this pose is similar to the Trikonasana.  What you need to take care of most in this pose is that the knee is right above the ankle.  The inner edge of the foot should be strong on the floor.  Keep the thigh parallel to the floor.  Extend your arm out and keep it close to your ear.  Keep your gaze on your fingers but relax the neck.  Feel the extension on the side of the body, from your foot all the way to the finger tips.

IMG-20150209-WA0005[1]

Questions? Queries?  Let me know!

Yoga

Week 1 Day 1

February 2, 2015

I tried to update this blog from the airport in Dubai, but I was only able to connect for about half an hour and that wasn’t enough time for this post.  So, without further ado, let’s get on to the asanas for Day 1 of Week 1.  I’ve tried to put in all the cues that I give during class, but I think it’s always a good idea to get inputs from fellow practitioners.

On Day 1 start by practicing asanas to strengthen your legs.  You can do the Utkatasana (Chair Pose) and squats as well until you feel your quads on fire.  After that do the following stretches.

Trikonasana (The Triangle Pose)

2015-01-31 20.05.01Remember this asana is not about grabbing your ankle.  It’s all about the spine.  Visualize an imaginary wall in front of you and try and get your torso as flat against this wall as you can.  This will ensure that your spine is extended.  Use your core to help extend the spine.  Make sure you don’t rest your hand on the leg, but just rest it gently on the leg.  Your neck and face should be relaxed.  Make sure to push the inner edge of the front foot into the floor and the outer edge of the back foot into the floor.


Parsvakonasana (The Side Angle Pose)

Next deepen your stretch by bending the front leg and getting into the Parsvakonasana. Your front thigh should be parallel to the floor and the arm should be extended out. 2015-01-31 20.03.49 There should be a uniform stretch along the side of your body.  Make sure the side of your body doesn’t rest on the thigh.  To ensure this you may want to slightly lift your hand off of the floor ensuring your core and your legs have to support your body weight.  Look up at your finger tips.  Relax your neck and face.


Janusirsasana (Head to Toe Touch)

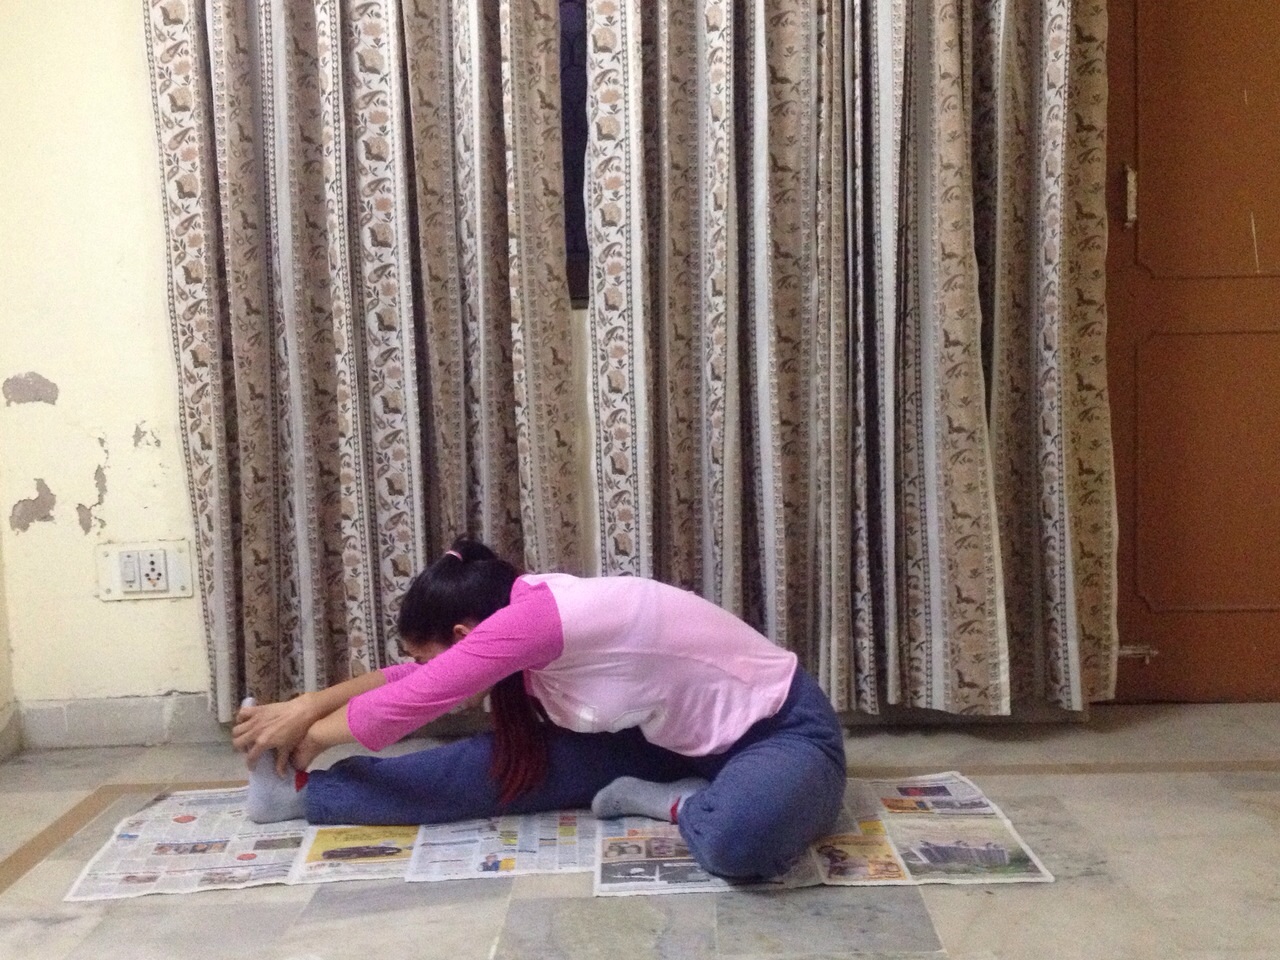
IMG-20150131-WA0017Do this pose in the end to stretch the back of your legs.  However, in this pose, as in all other poses, pay attention to your core.  You want to make sure that you pull your stomach in and extend forward keeping your back straight.  This will ensure a deeper stretch.  Aim to get your chin to the knee instead of forehead to knee.  Also, make sure you cross your arms when you reach forward.  This ensures that the stretch on your back is even.

Yoga

The Key to Your Balance

April 12, 2014

Frequently, the result of today’s lifestyle is a hunched back, back ache, problems with the curvature of the spine etc.  An imbalance in the spine results in an imbalance in the bone structure of the legs, feet and even arms and hands.  Which is why we frequently have a stronger right side than a left side.  This manifests in several ways, including (surprisingly) in how you breathe!  The key to balance is proper alignment.  Alignment is an integral part of a yoga practice.  It’s great if you’re able to go to yoga class regularly, but what about when your favorite teacher takes a holiday?  How can you practice at home without compromising your alignment and balance?

This is where yoga props come in handy.  Various standing poses can be practiced using your yoga belt and blocks to guide your alignment.  Here’s how.

Start with placing your belt flat across the center of your yoga mat.  The belt should be in a straight line, parallel to the edges of your mat.  Keep a block handy for asanas where you need support.

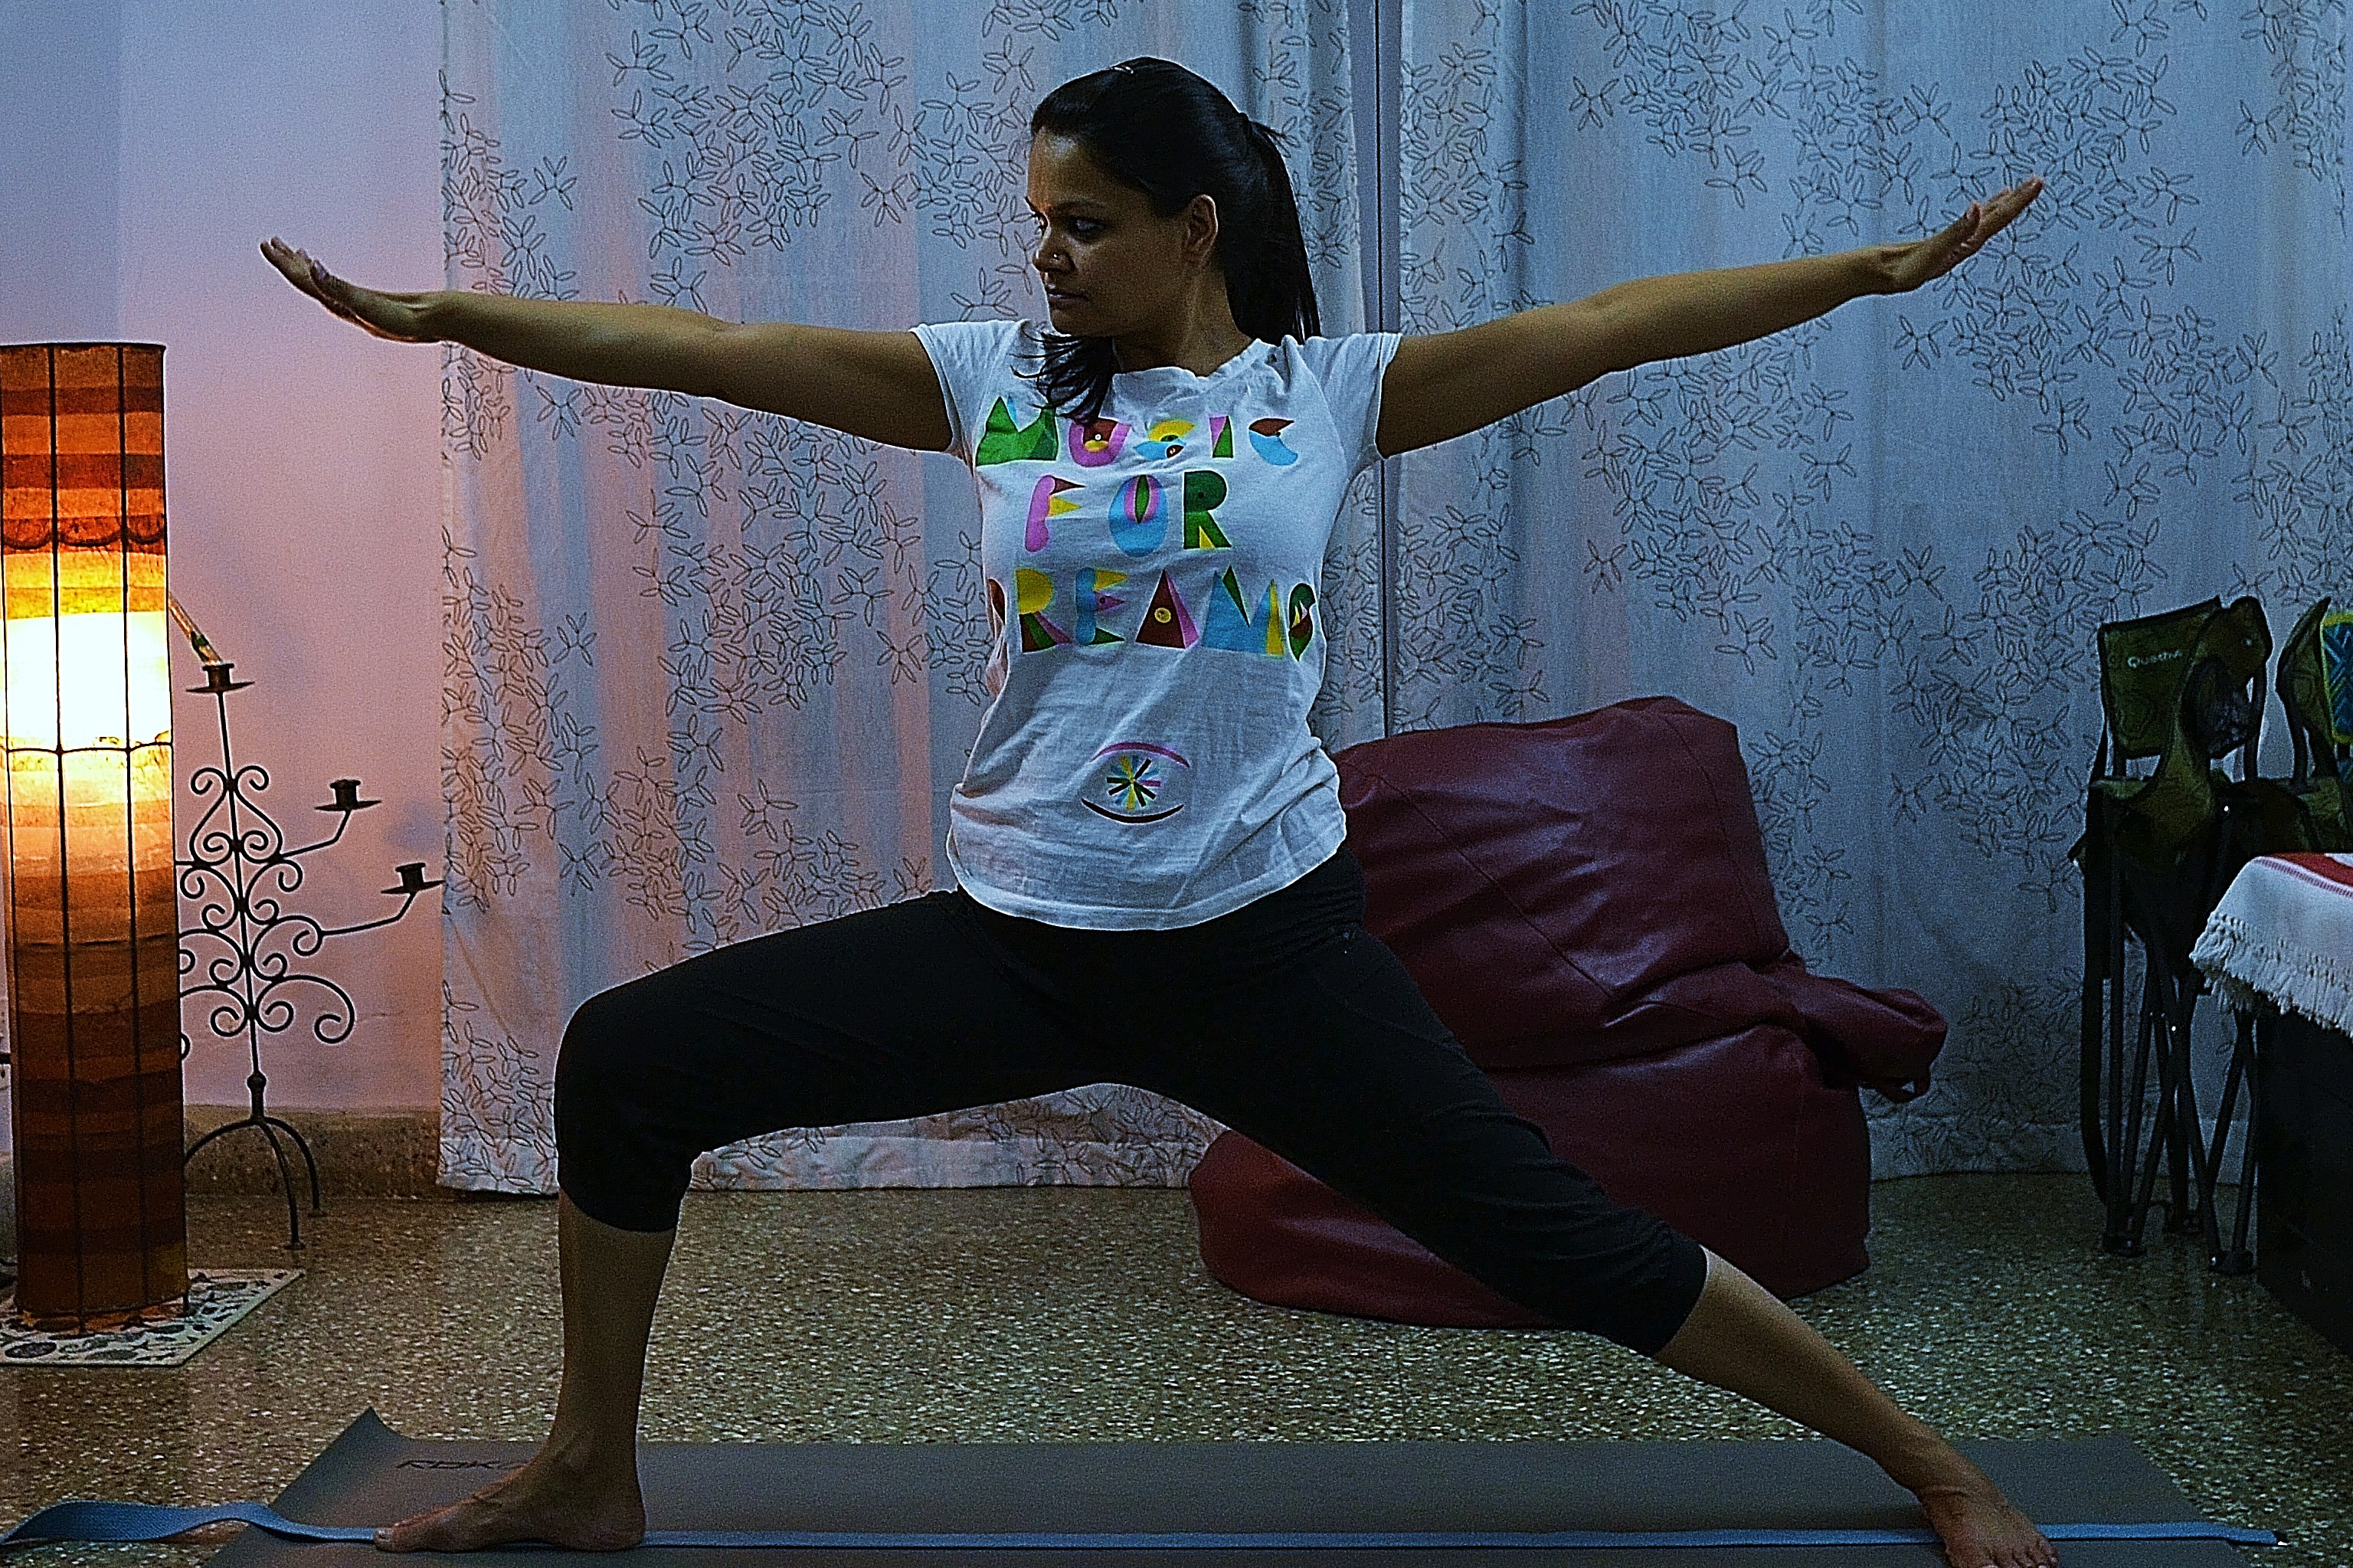
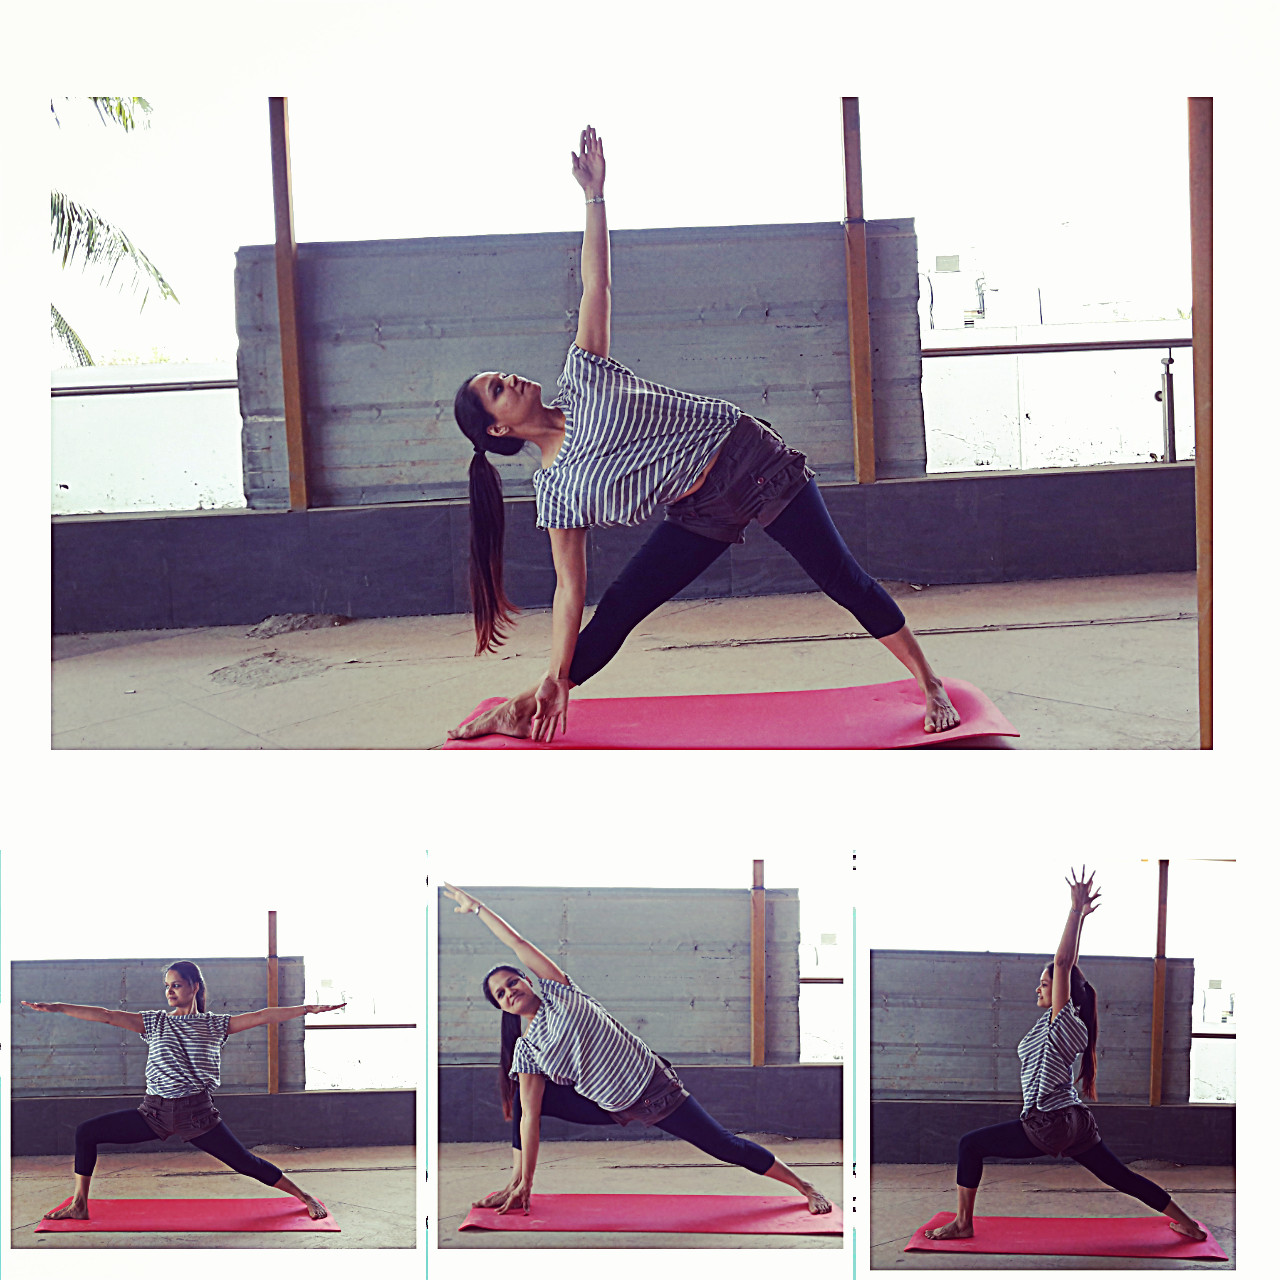
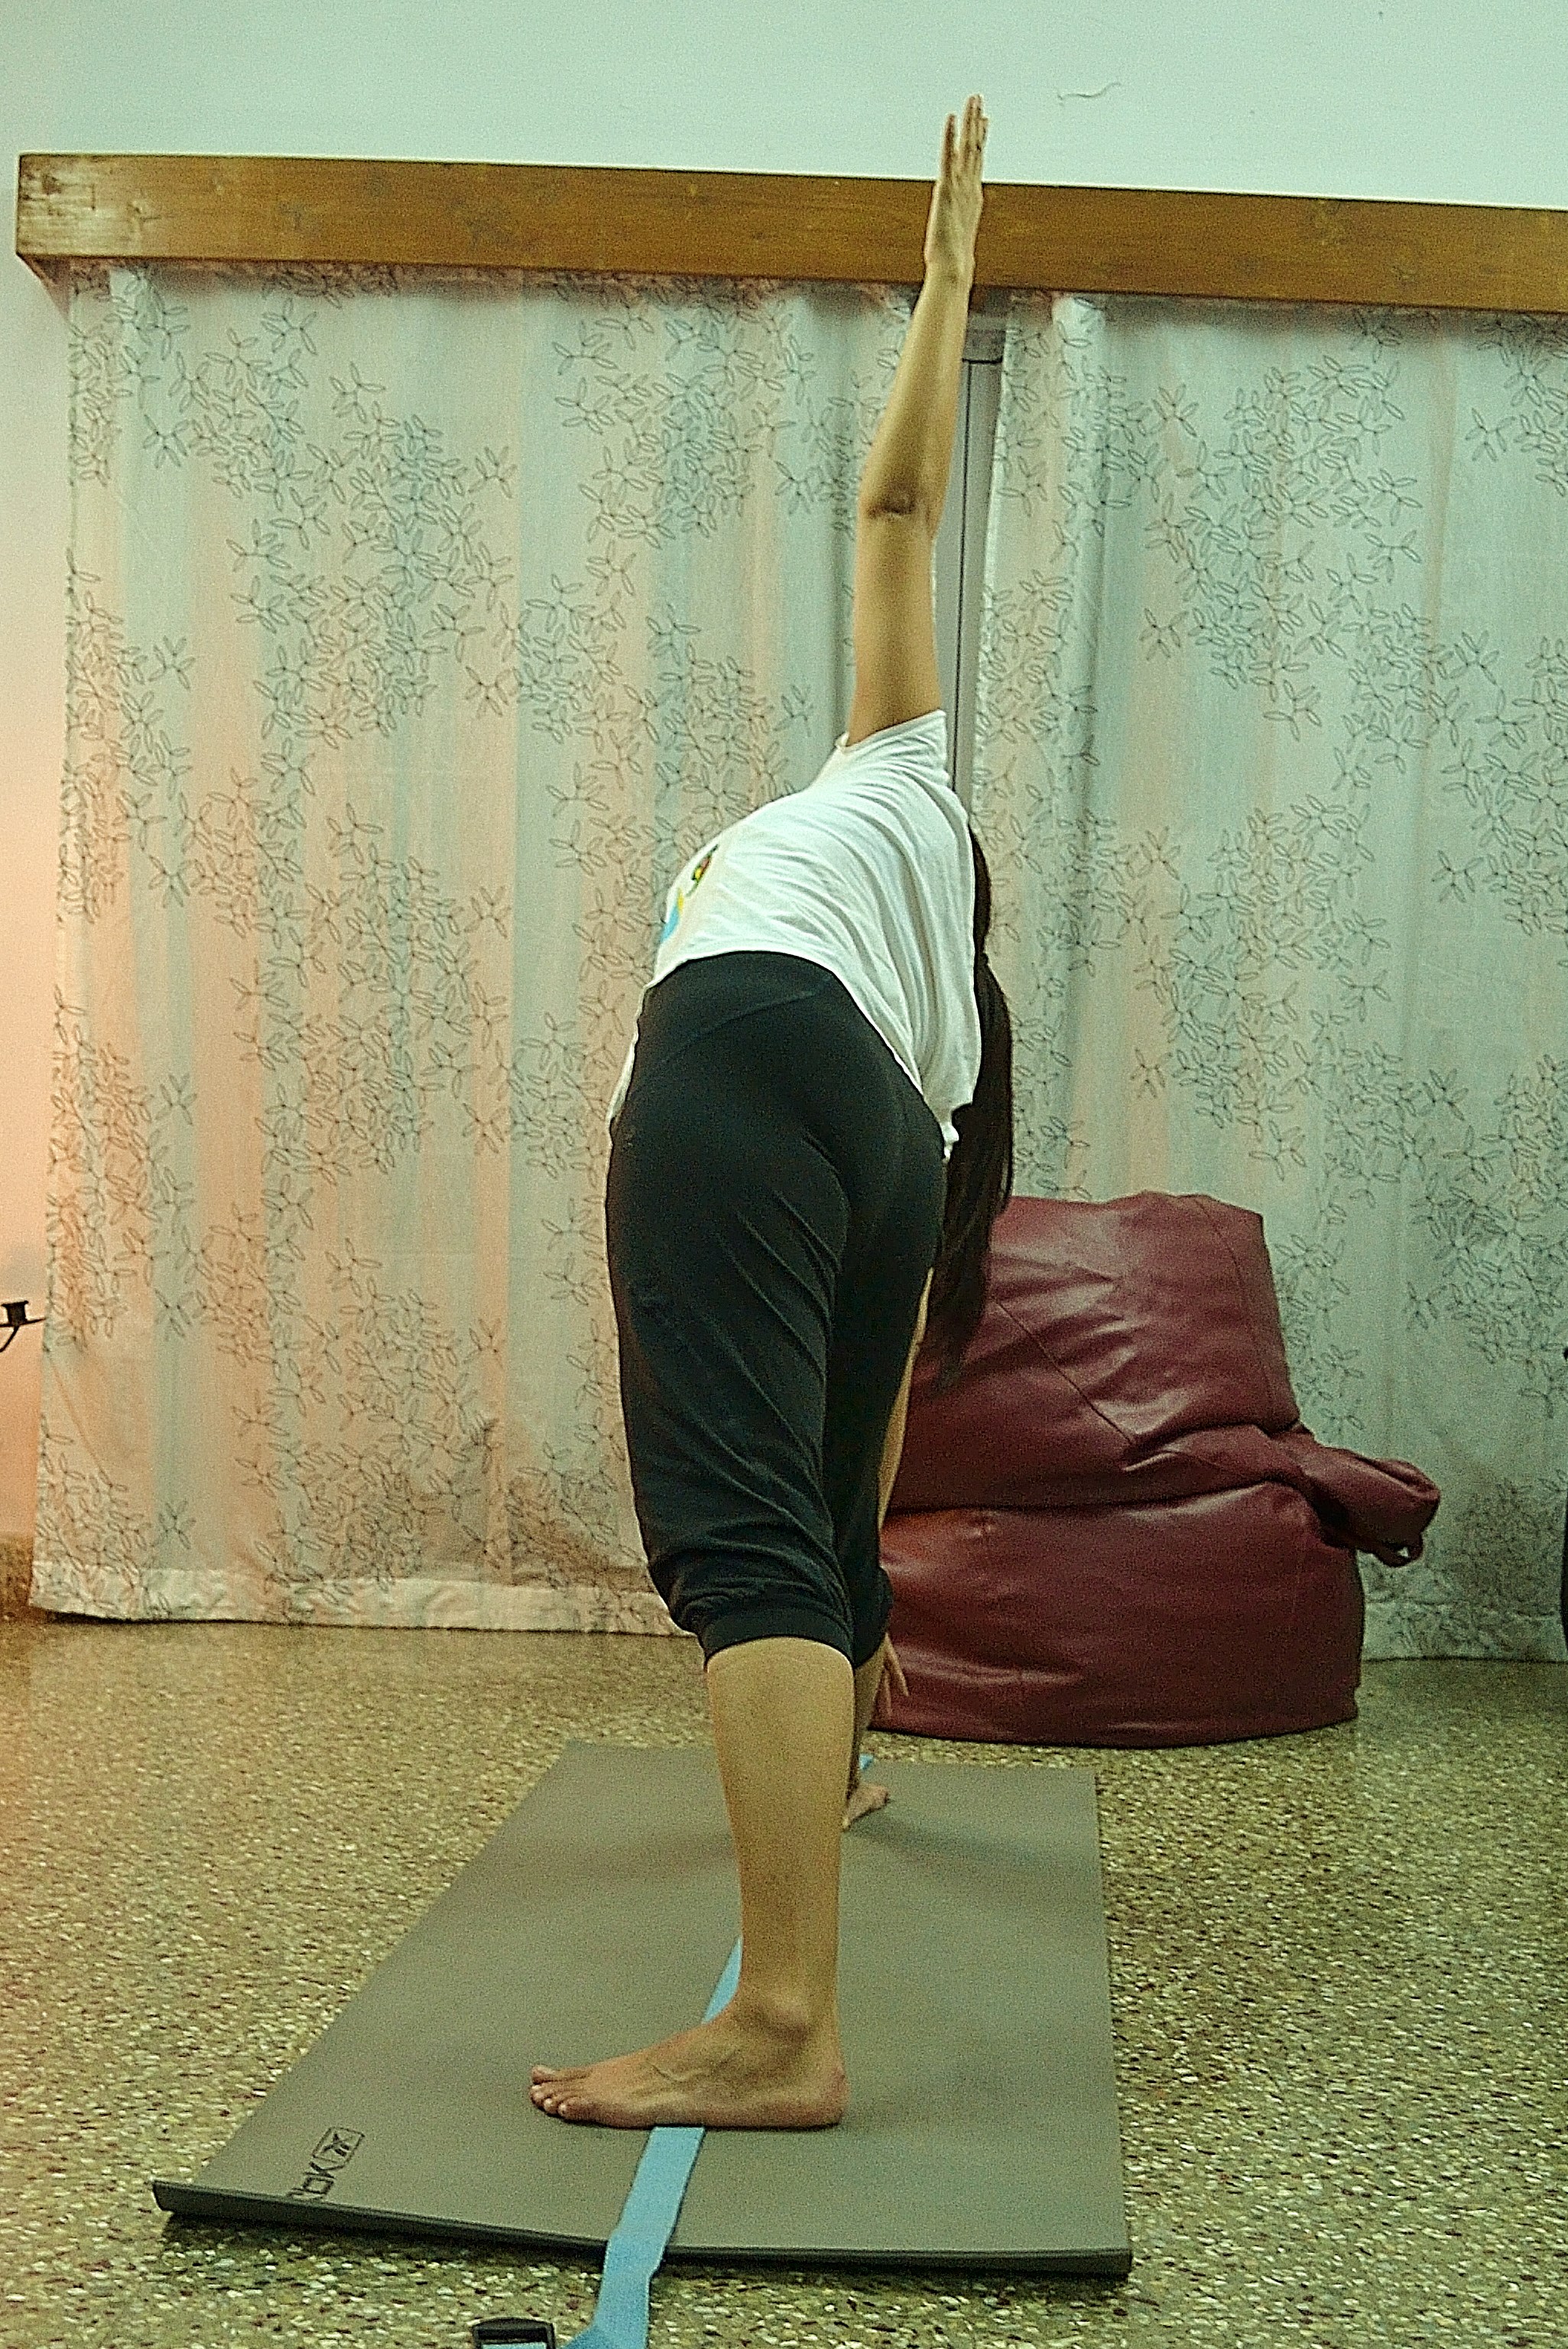
Trikonasana (Triangle Pose)

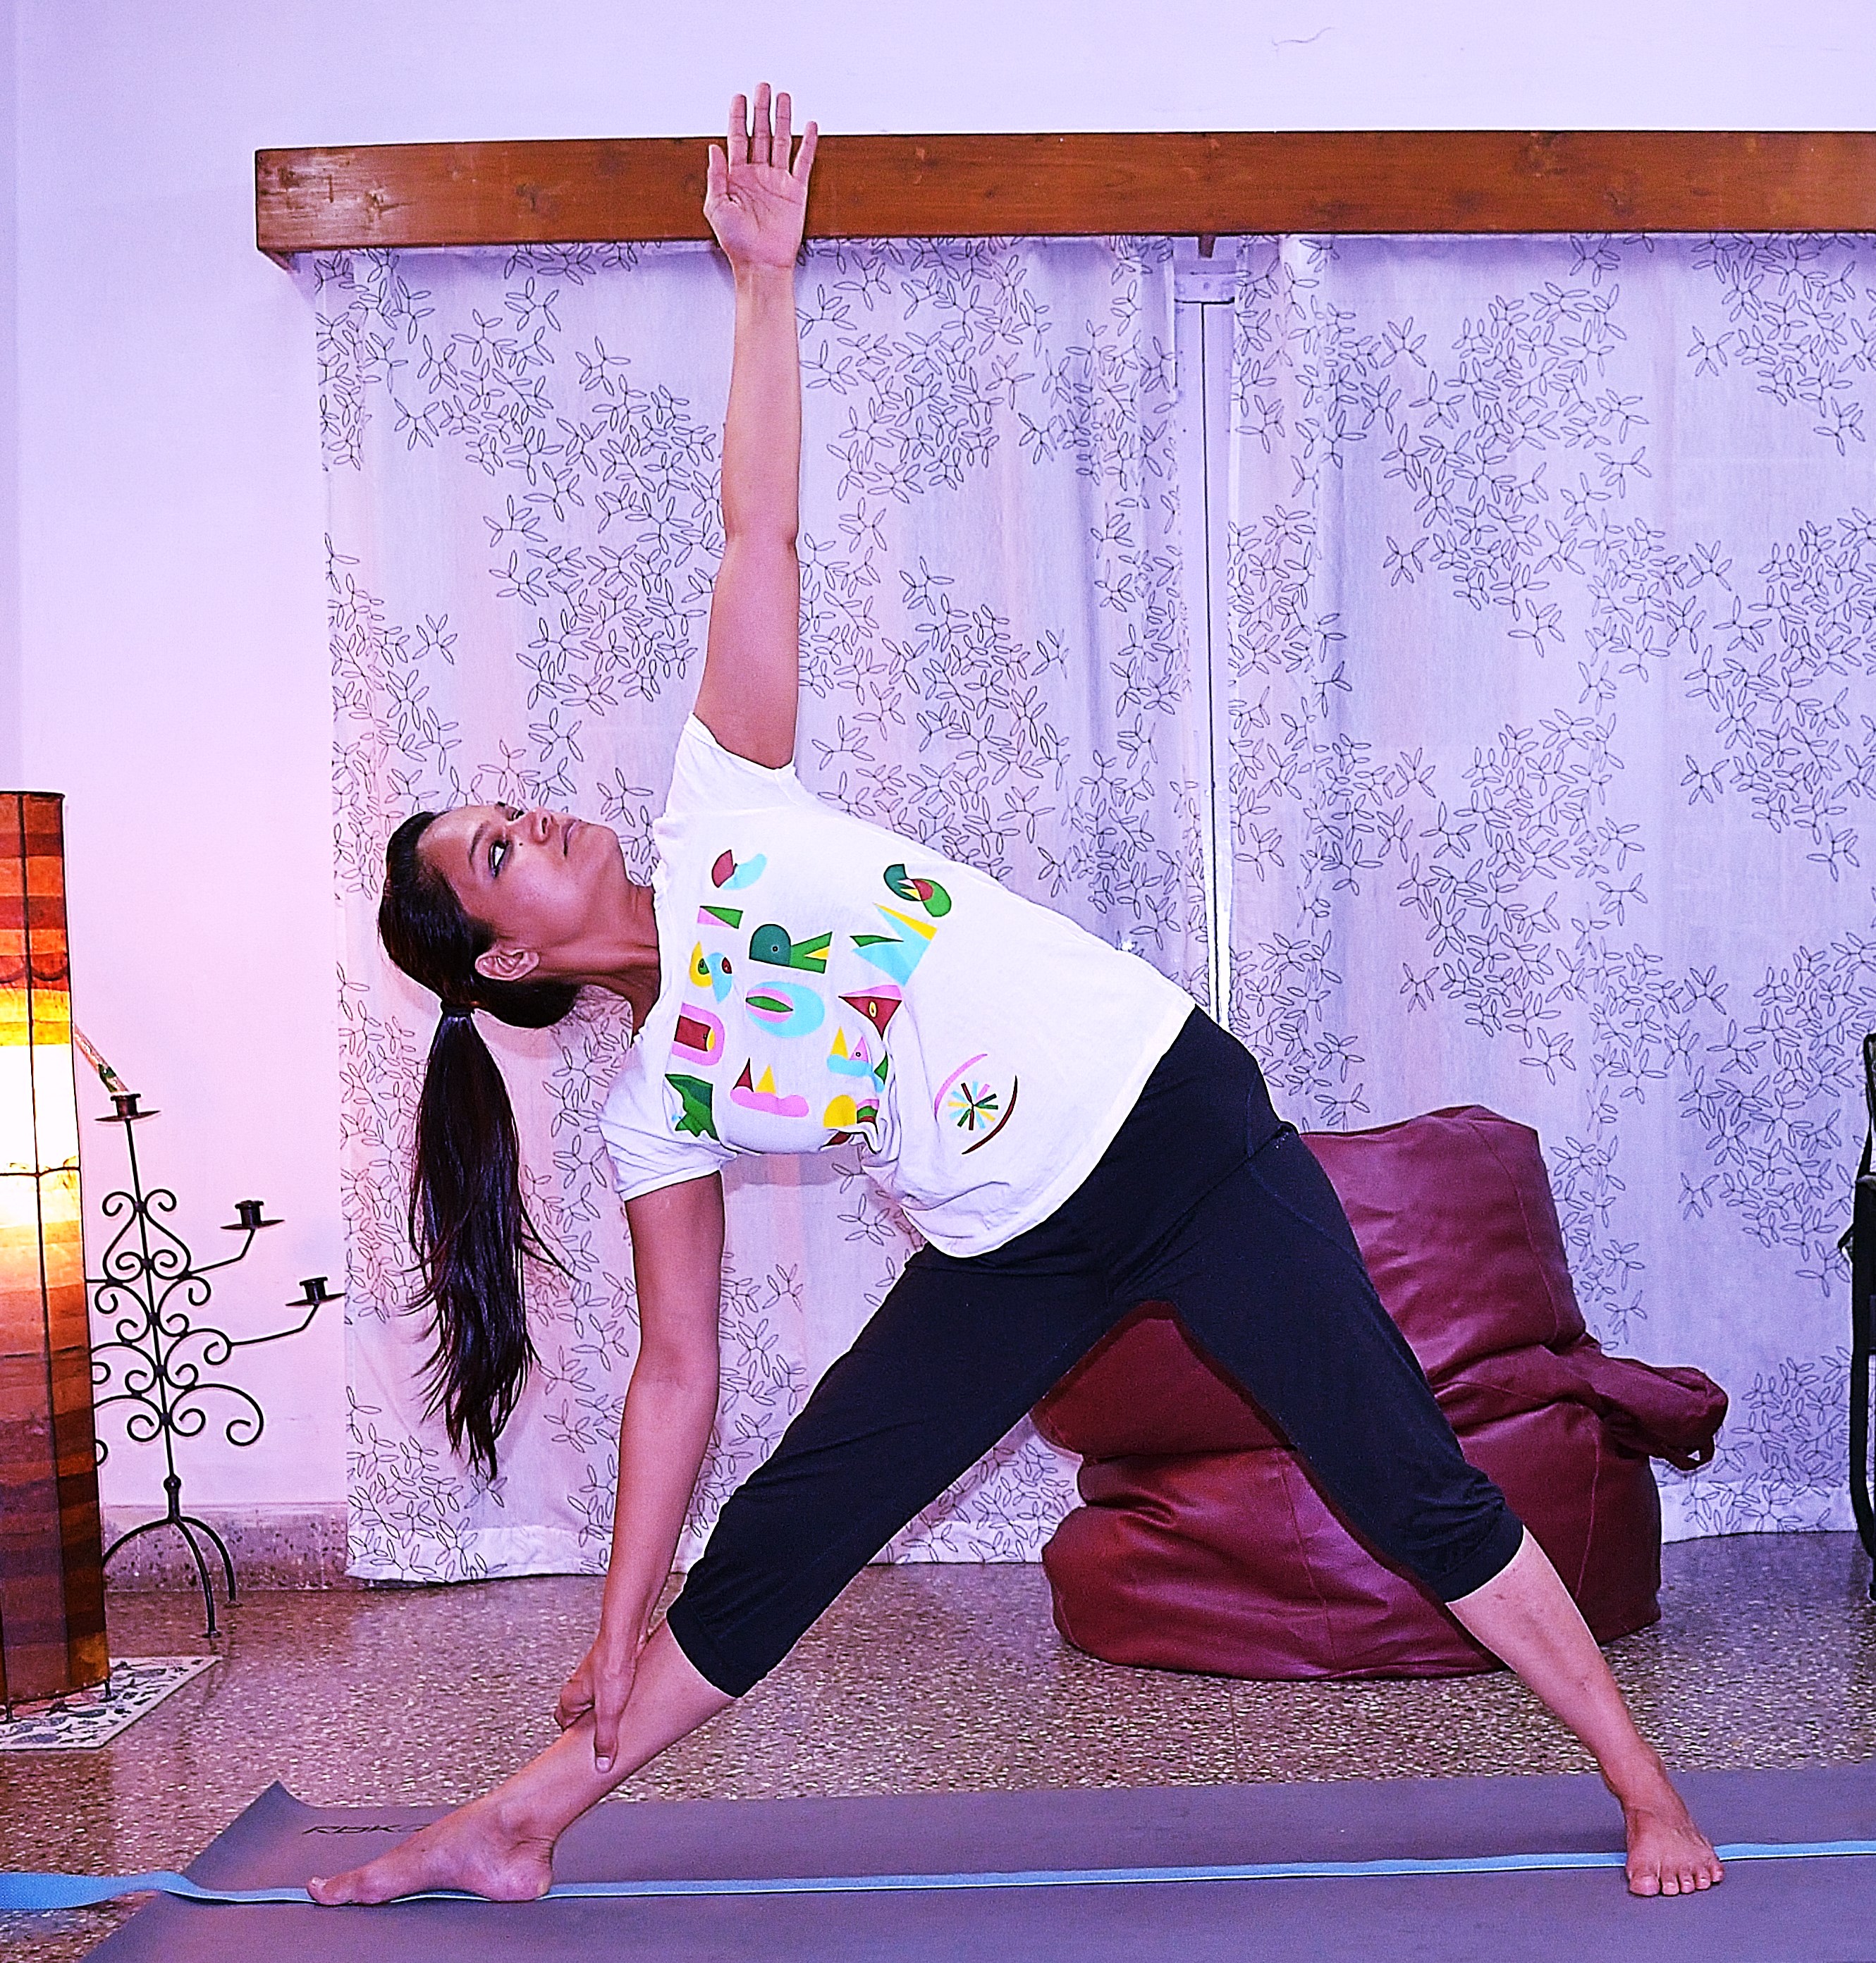
1.  Start with placing your right foot directly above the belt so that its parallel to the belt.

2.  Place the left foot so that the center of the foot crosses over the belt.  The foot should face forward.

3.  Raise your arms until they are parallel to the floor.  Inhale and lengthen your spine.

4.  Exhale and start to bend towards the right until you can place your hand on your right leg.  Make sure you do not bend your knees.  Do not collapse your neck or your chest.  Visualize your shoulders – they should be in one straight line.

5.  Take a look at your body with reference to the belt.  When you gaze down at your right leg, you should not be able to see the belt.  If you can see it, then your body is not aligned correctly.  Shift your body in such a way that you are unable to see the belt and the line of your body follows the line of the belt.
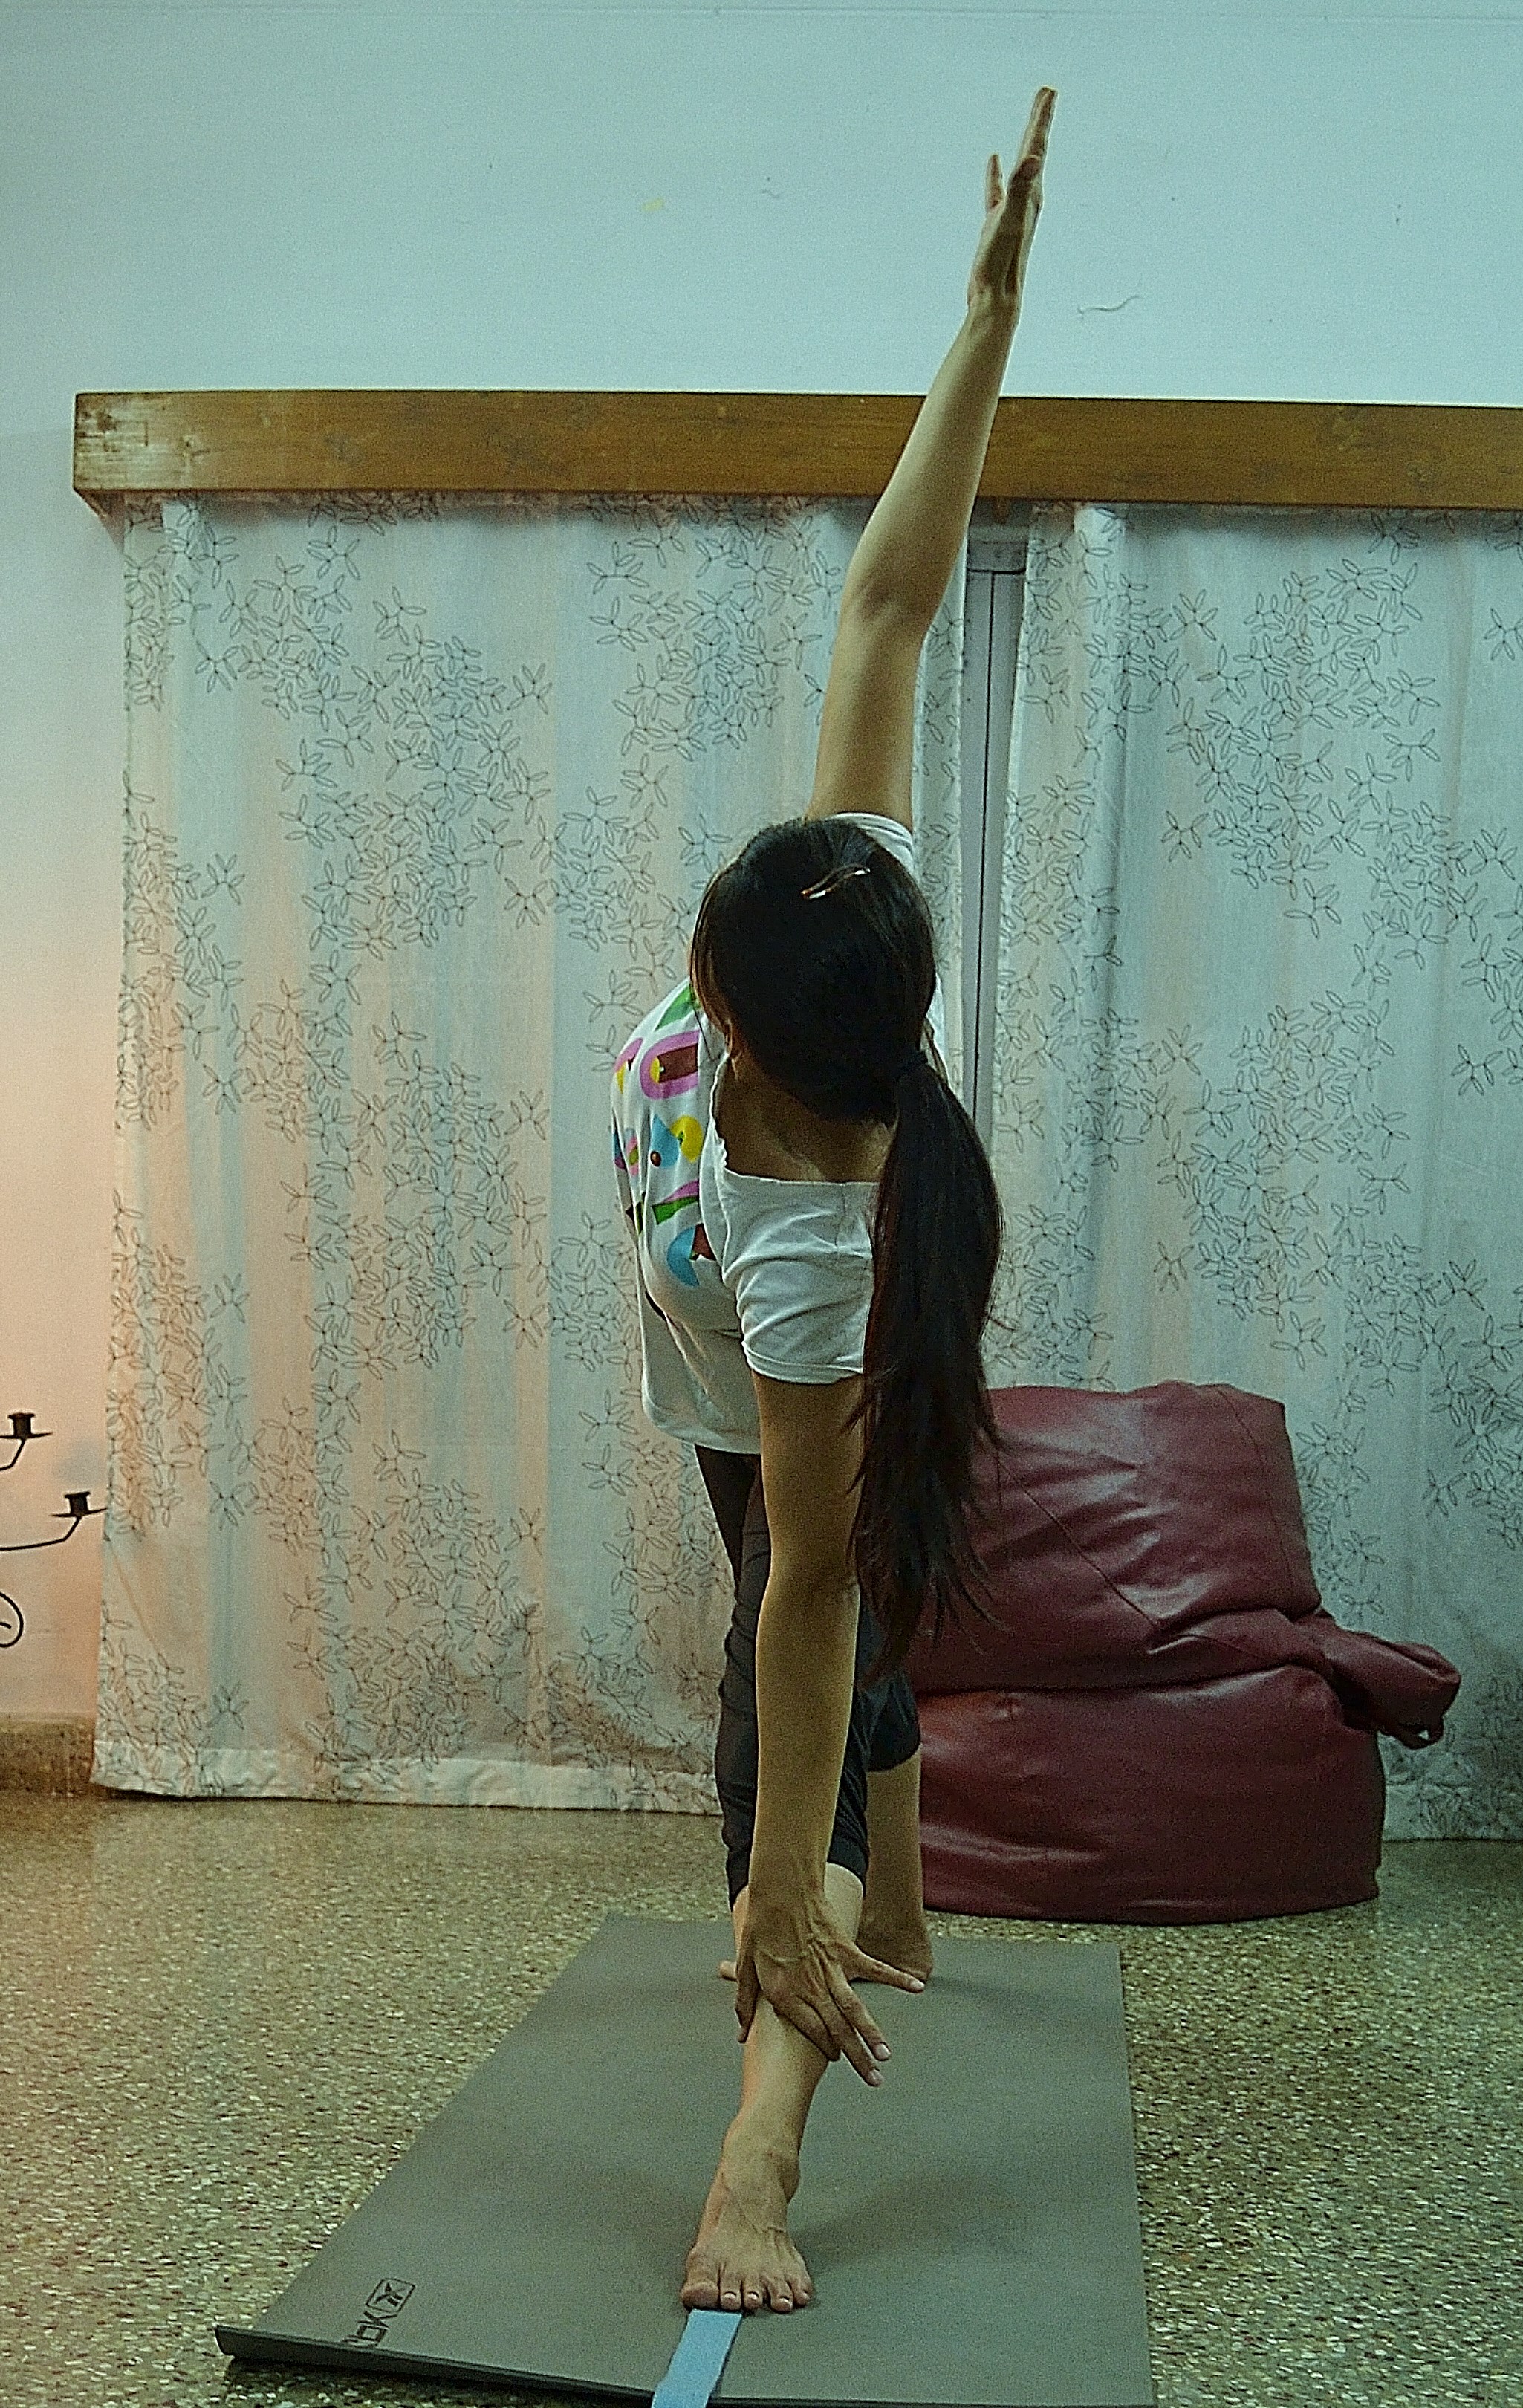
DSC_0107 DSC_0115 DSC_0114

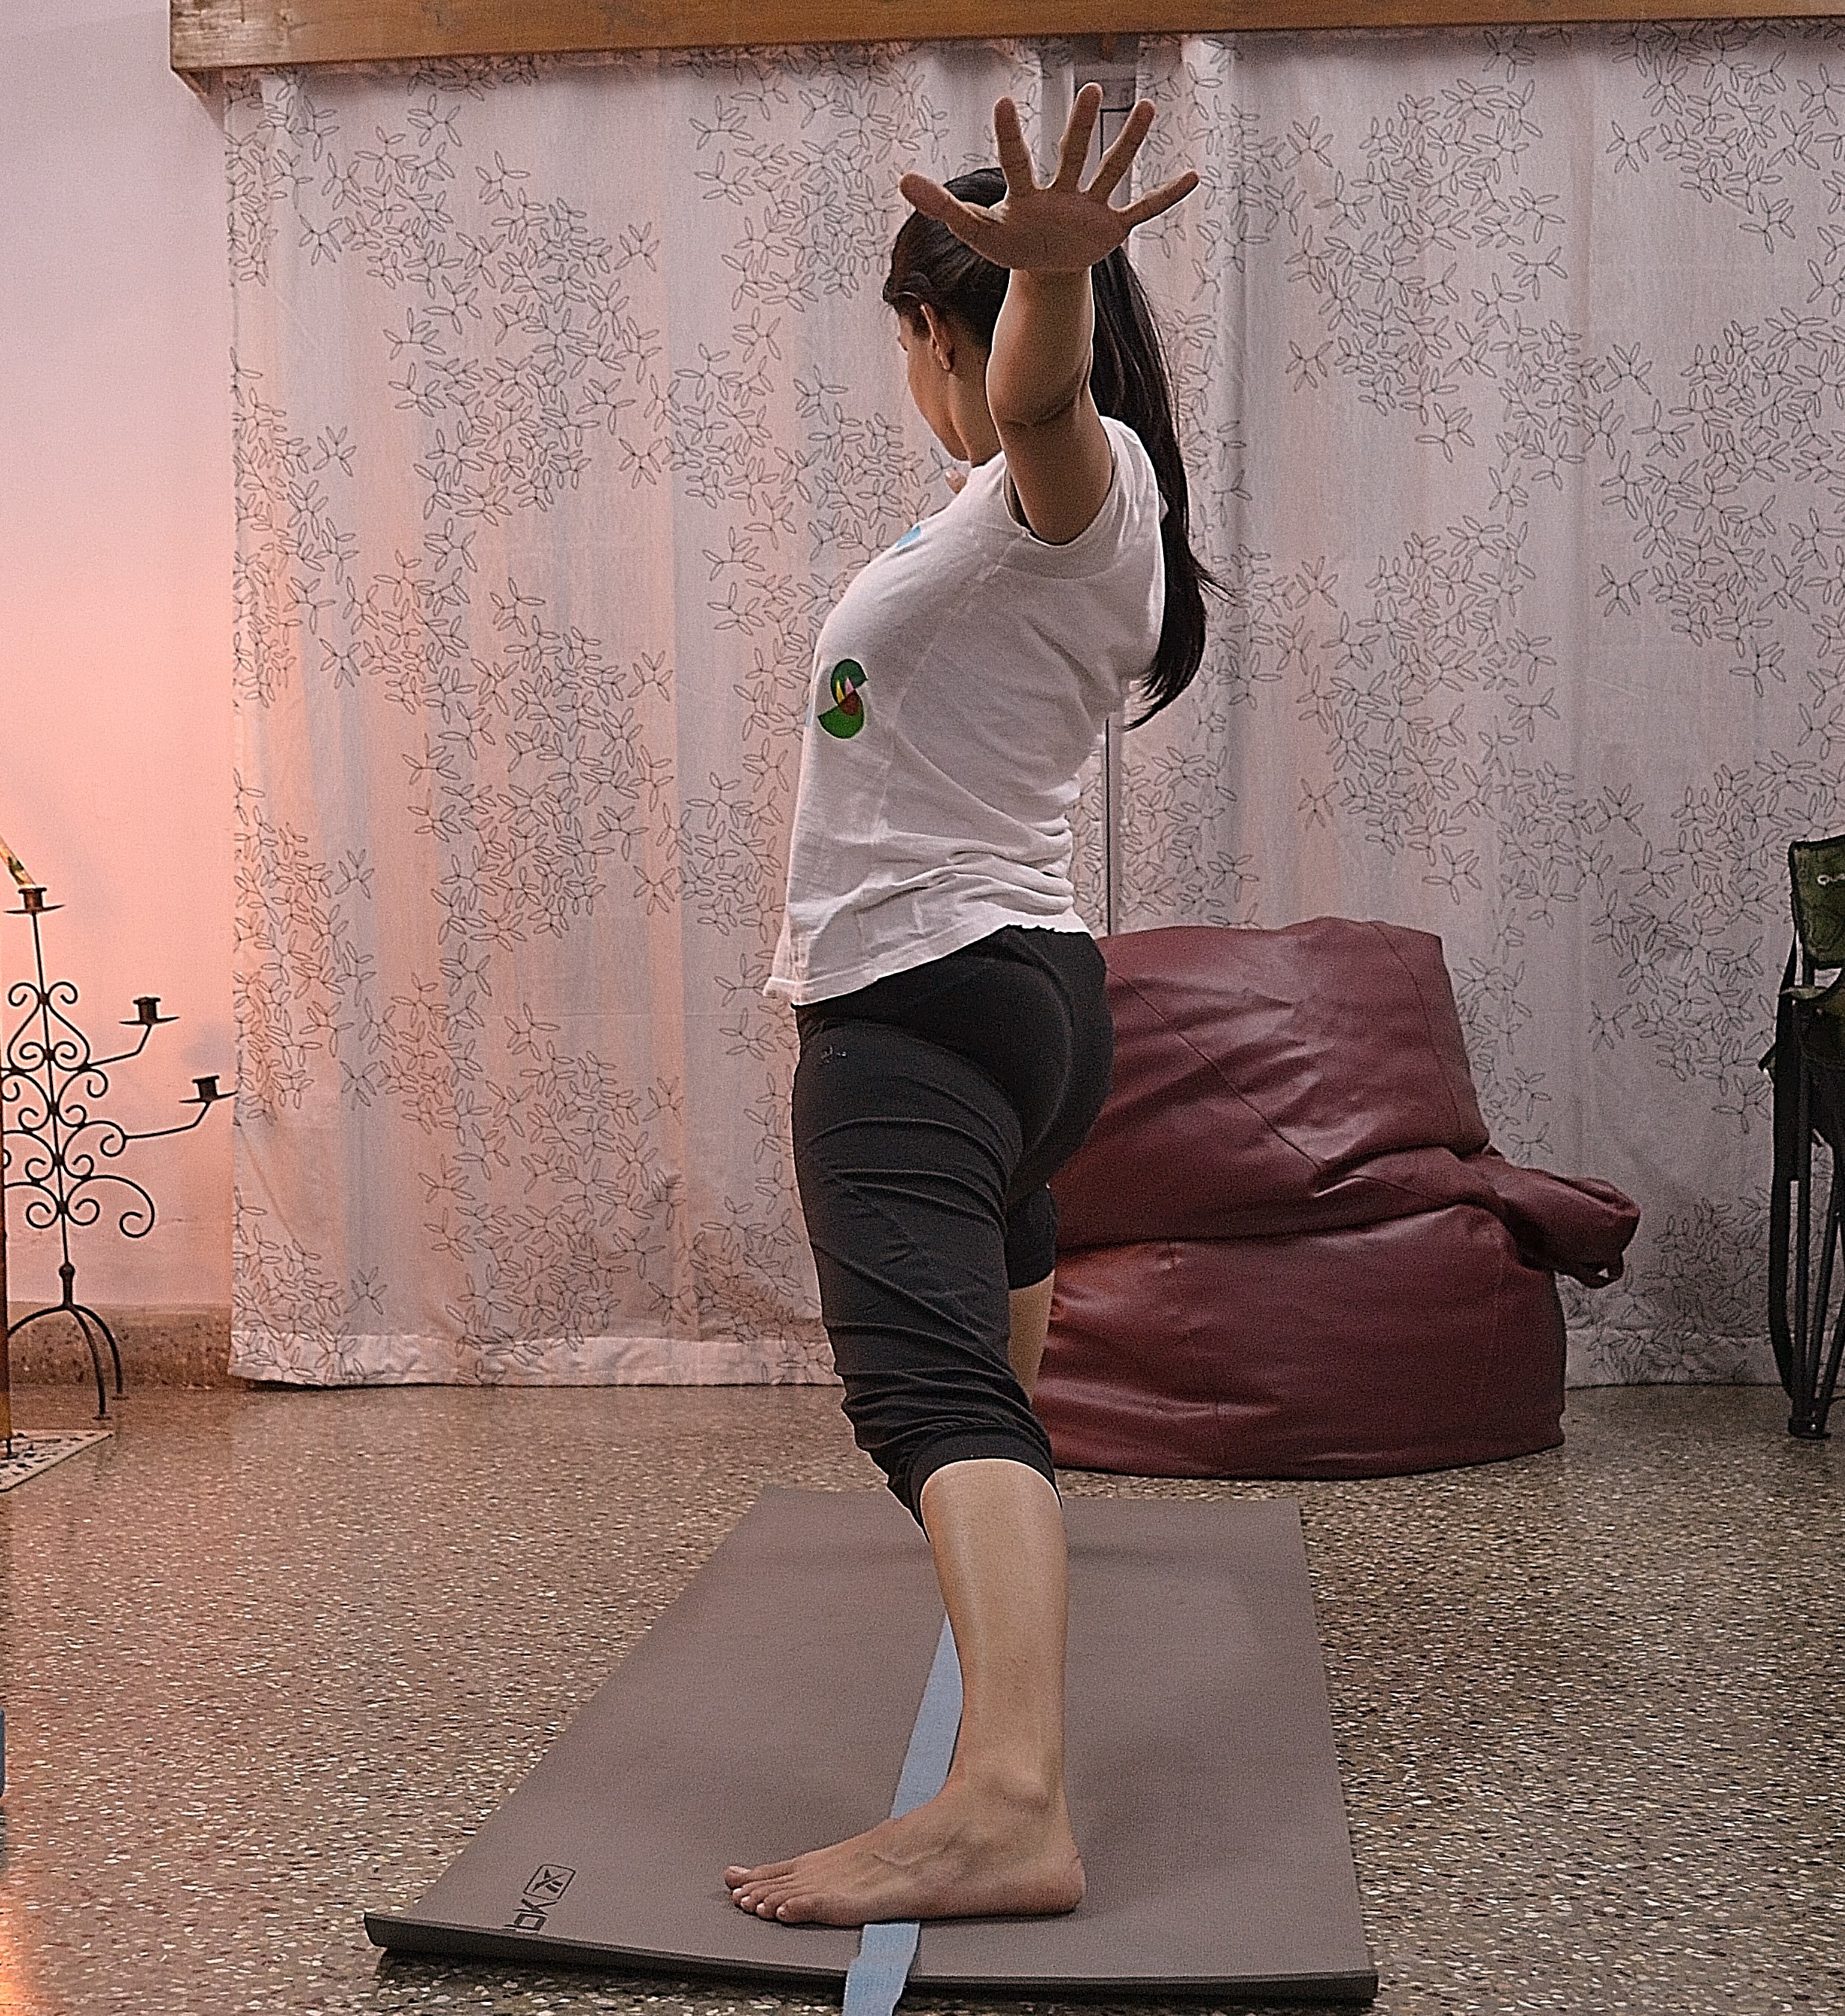
Virbhadrasana II (Warrior II)

Follow (1)-(3) of Trikonasana.

4.  Next, as you exhale bend your right leg until its parallel to the floor and the belt.

5.  In the final pose when you gaze down at your right thigh, you should not be able to see the belt.  If you’re able to see it, then you know that your thigh and belt are not in perfect alignment.  If this is the case, then shift your position so that you are aligned.

DSC_0109 DSC_0116

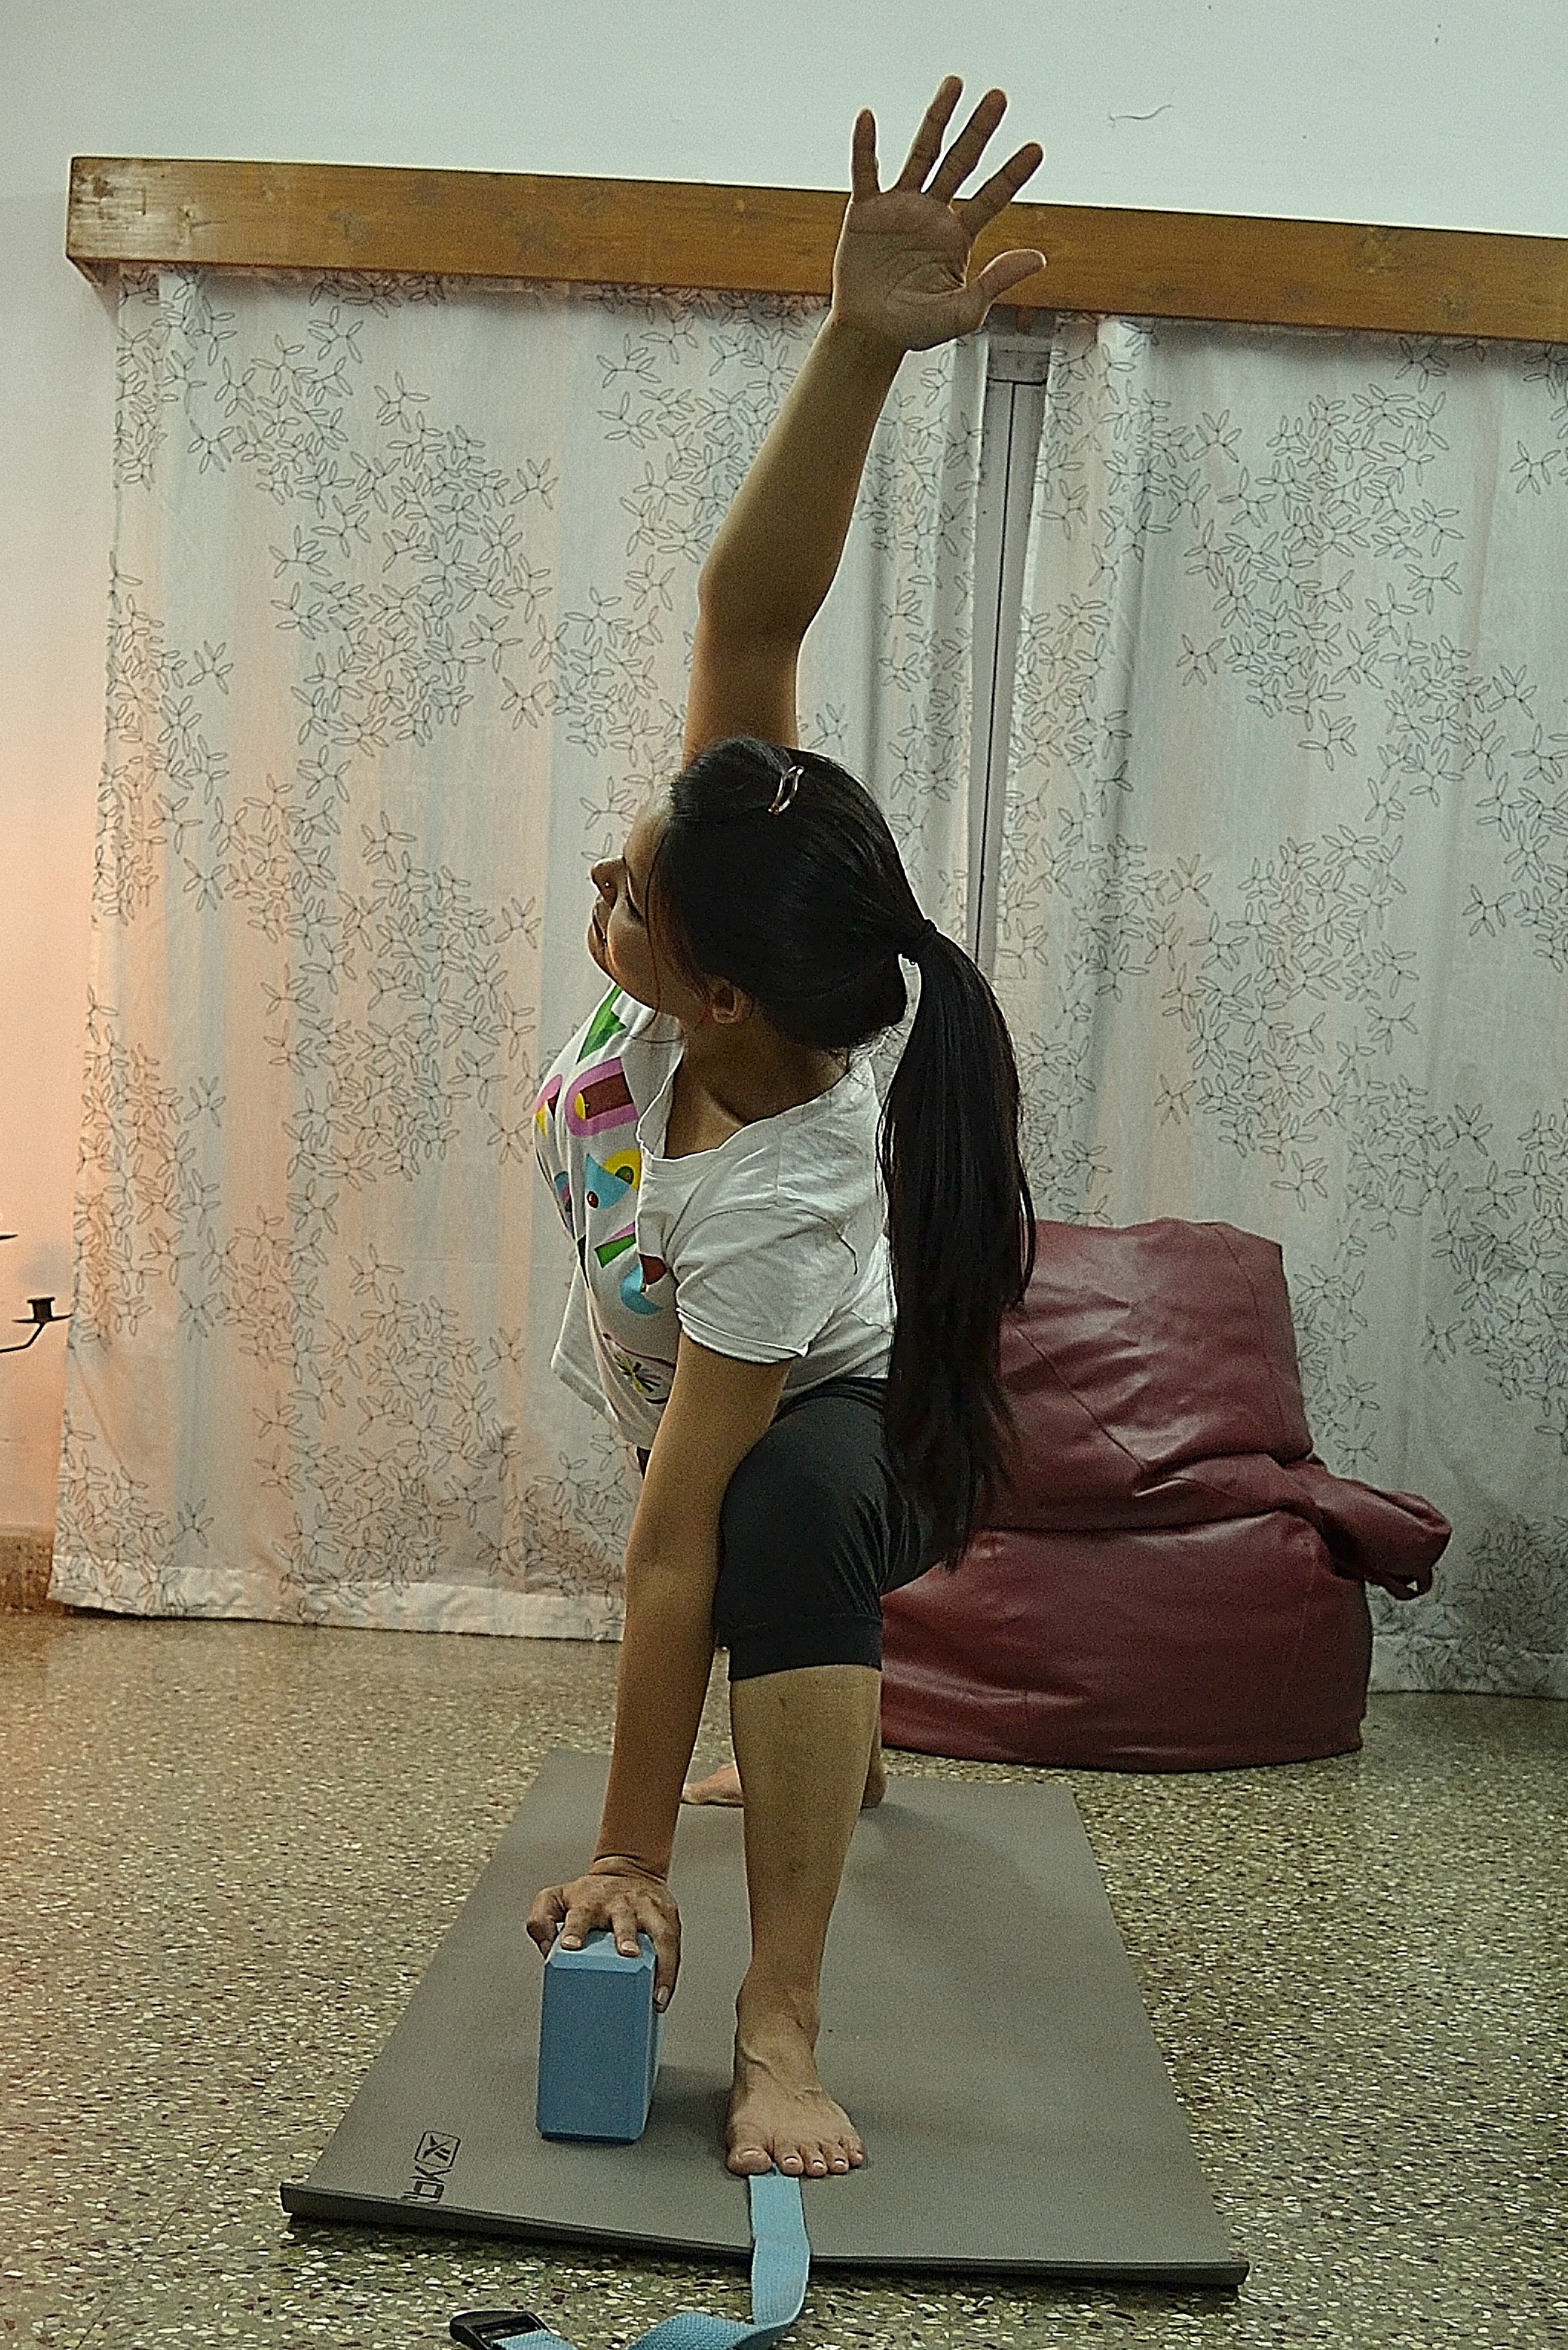
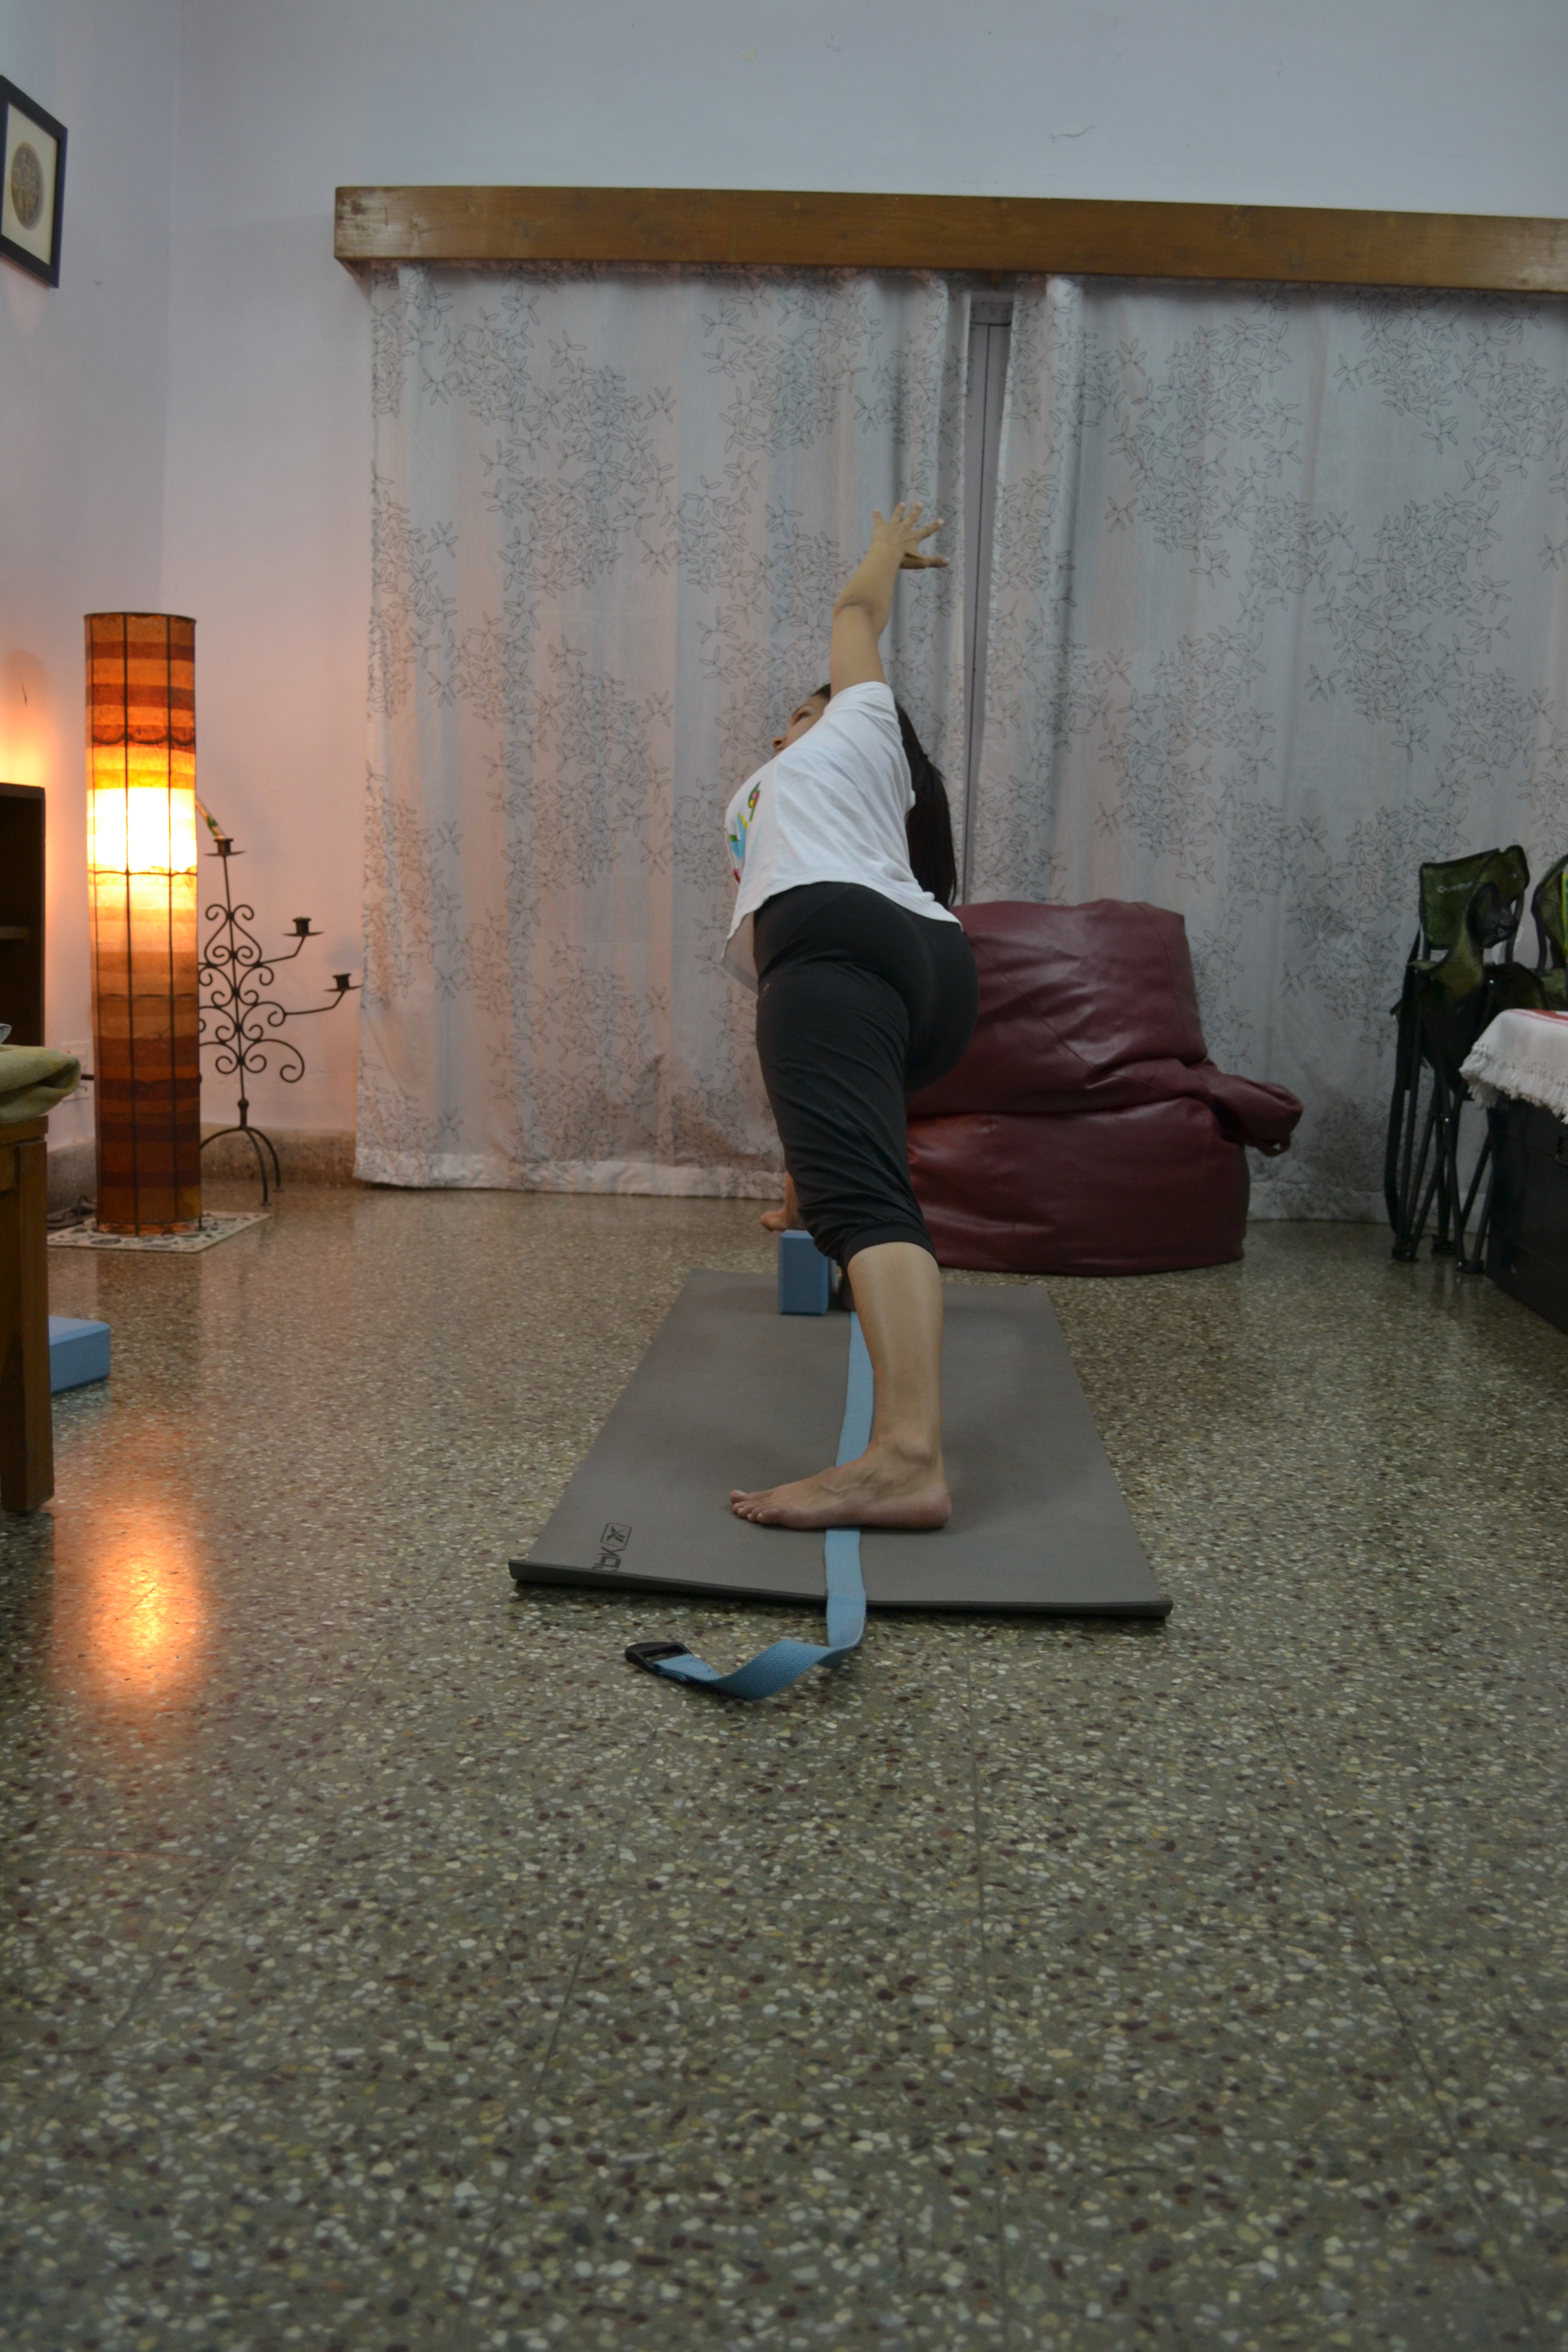
Parsvakonasana (Extended Side Angle Pose)

For the Parsvakonasana follow (1)-(3) of Trikonasana.

4. Now exhale and start to turn you torso so that your right hand reaches the floor.  Since you want to make sure that your shoulders are aligned, your chest open and there is minimum strain on your neck, you can use a block to give you a bit of elevation.  As in the Trikonasana, make sure that your spine is extended.

5. To make sure that your body is in alignment, turn your face and gaze down at your right thigh.  Is the right thigh parallel to and in alignment with the belt?  If yes, great!  If not then shift your body so that it is aligned keeping (4) in mind.

DSC_0112DSC_0119  DSC_0120

Ardhachandrasana (Half Moon Pose)

1.  Place the belt on top of your mat just like in all the previous asanas.

2.  Next, place a block about a foot in front and a foot to the side of the belt.  Since the Ardhachandrasana is about balance as well as an extension of the spine and torso, you will need the block for support.

3.  Now, perform the Virbhadrasana II.

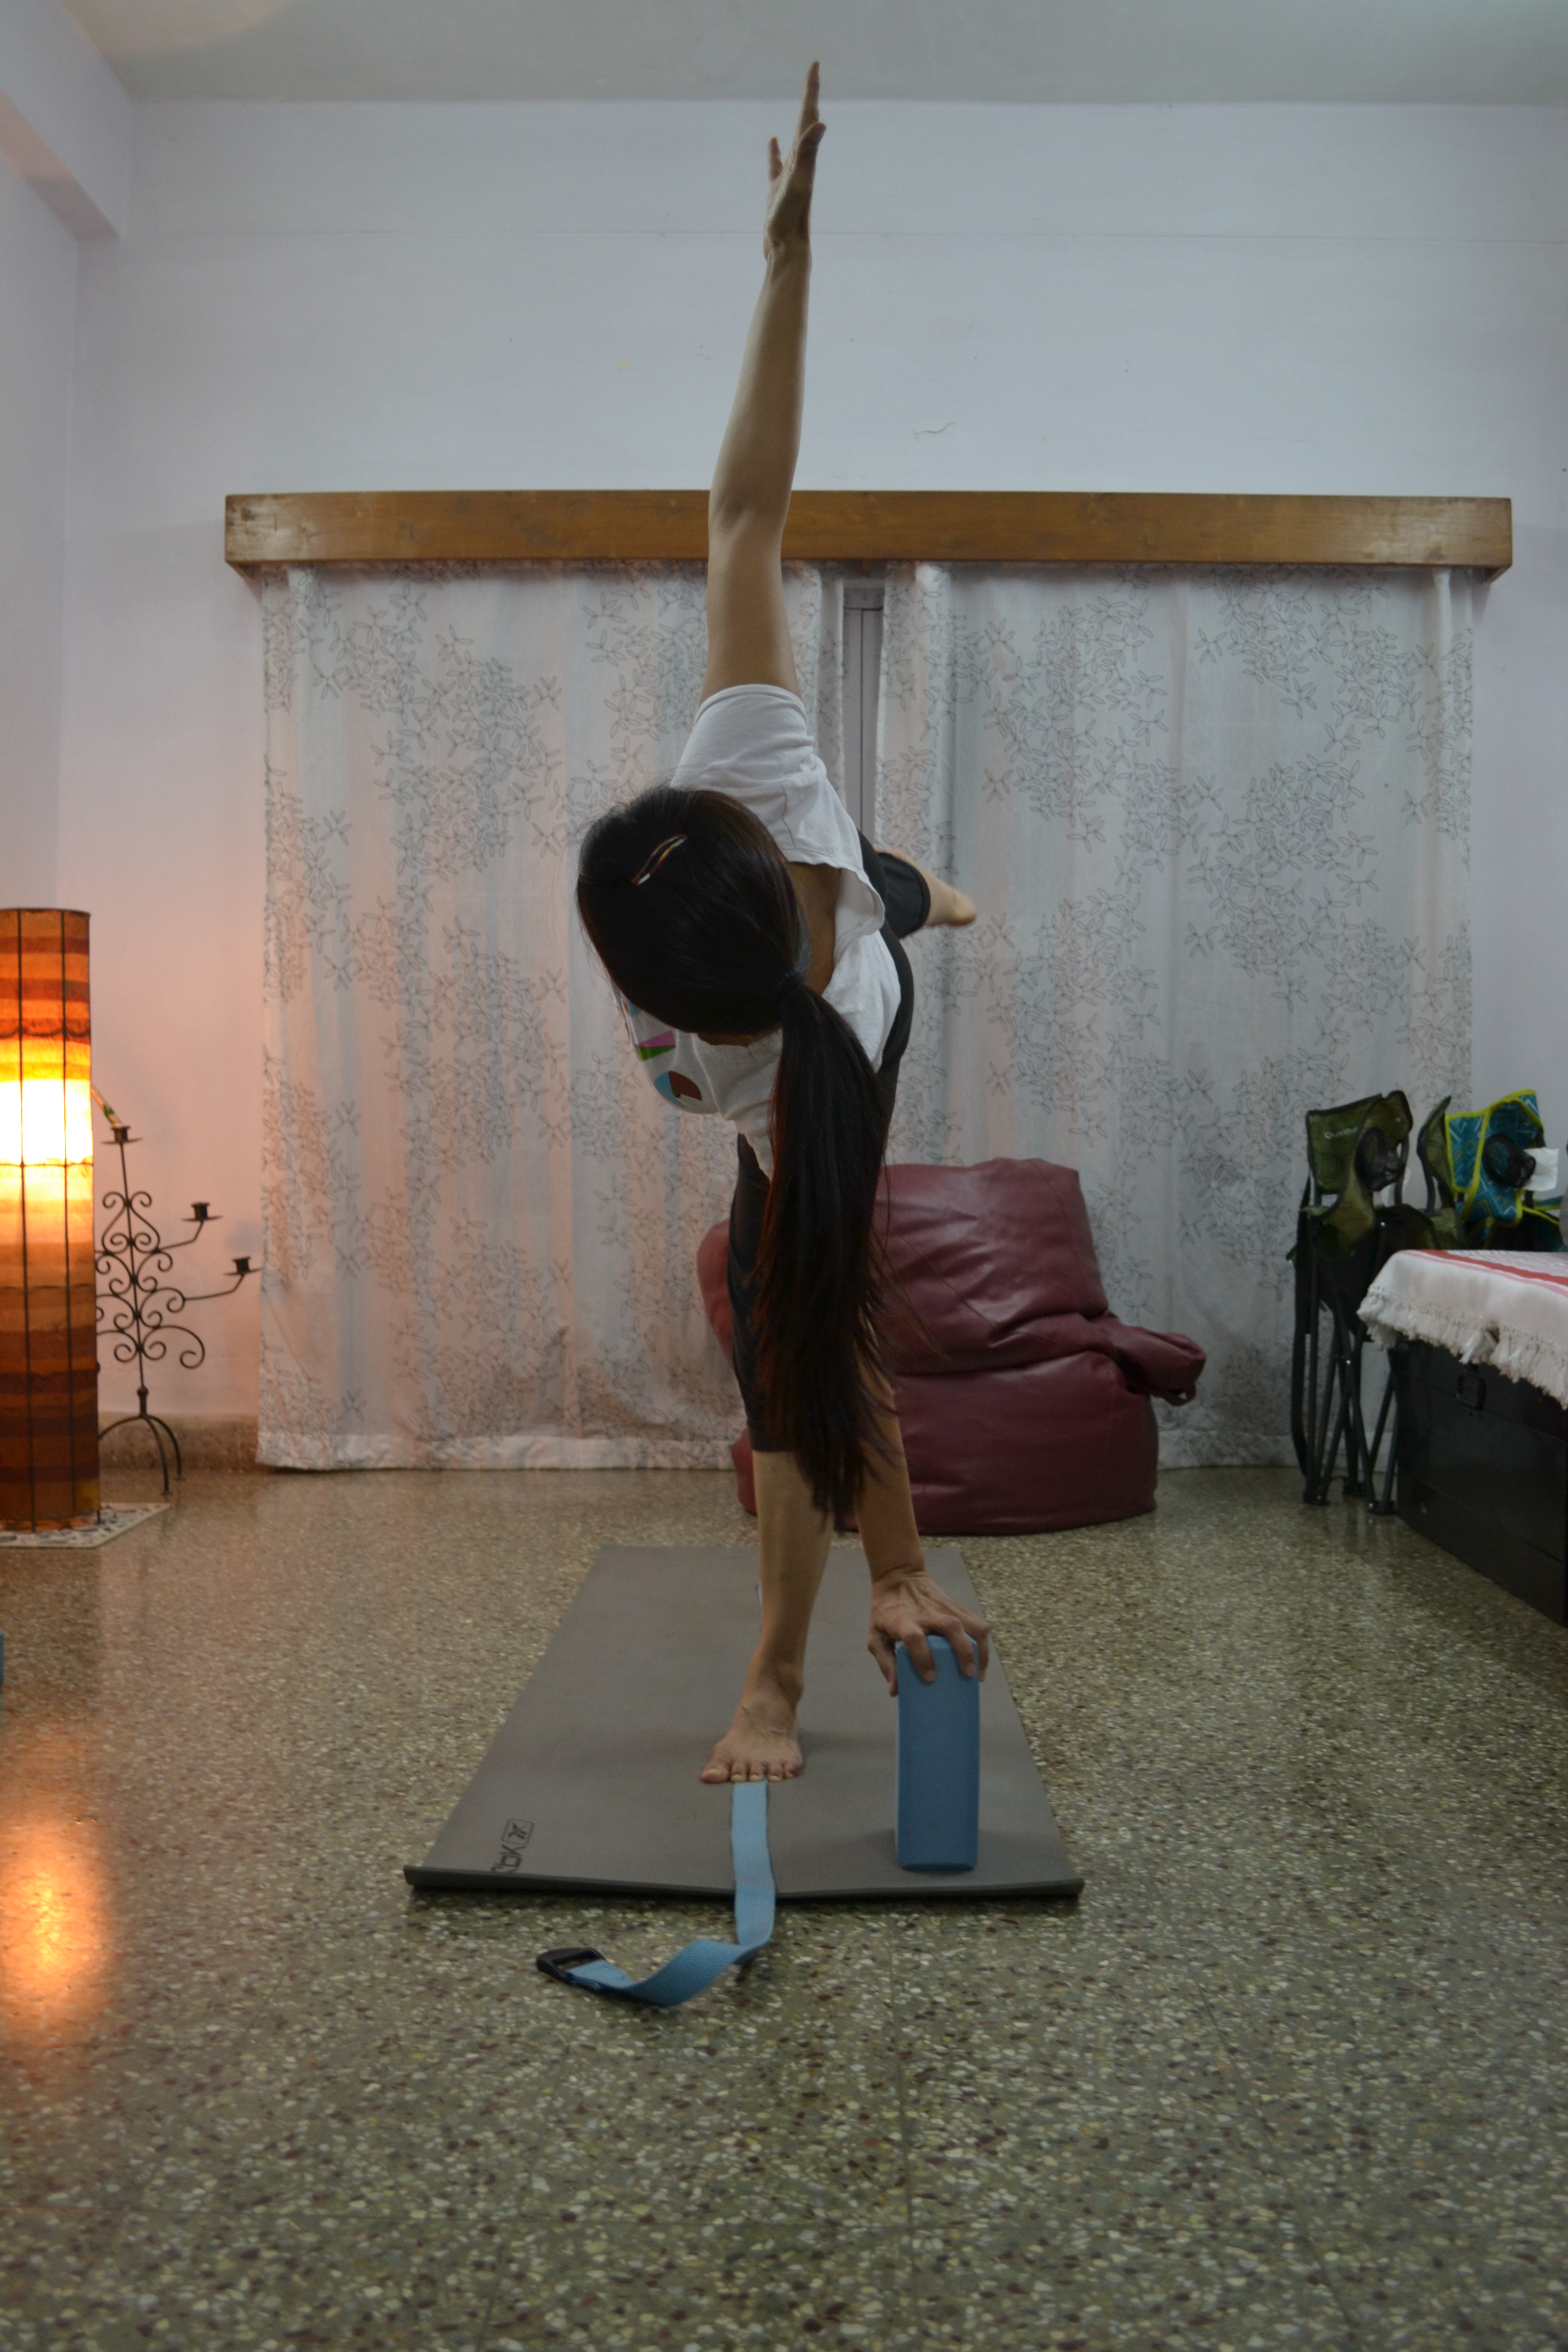
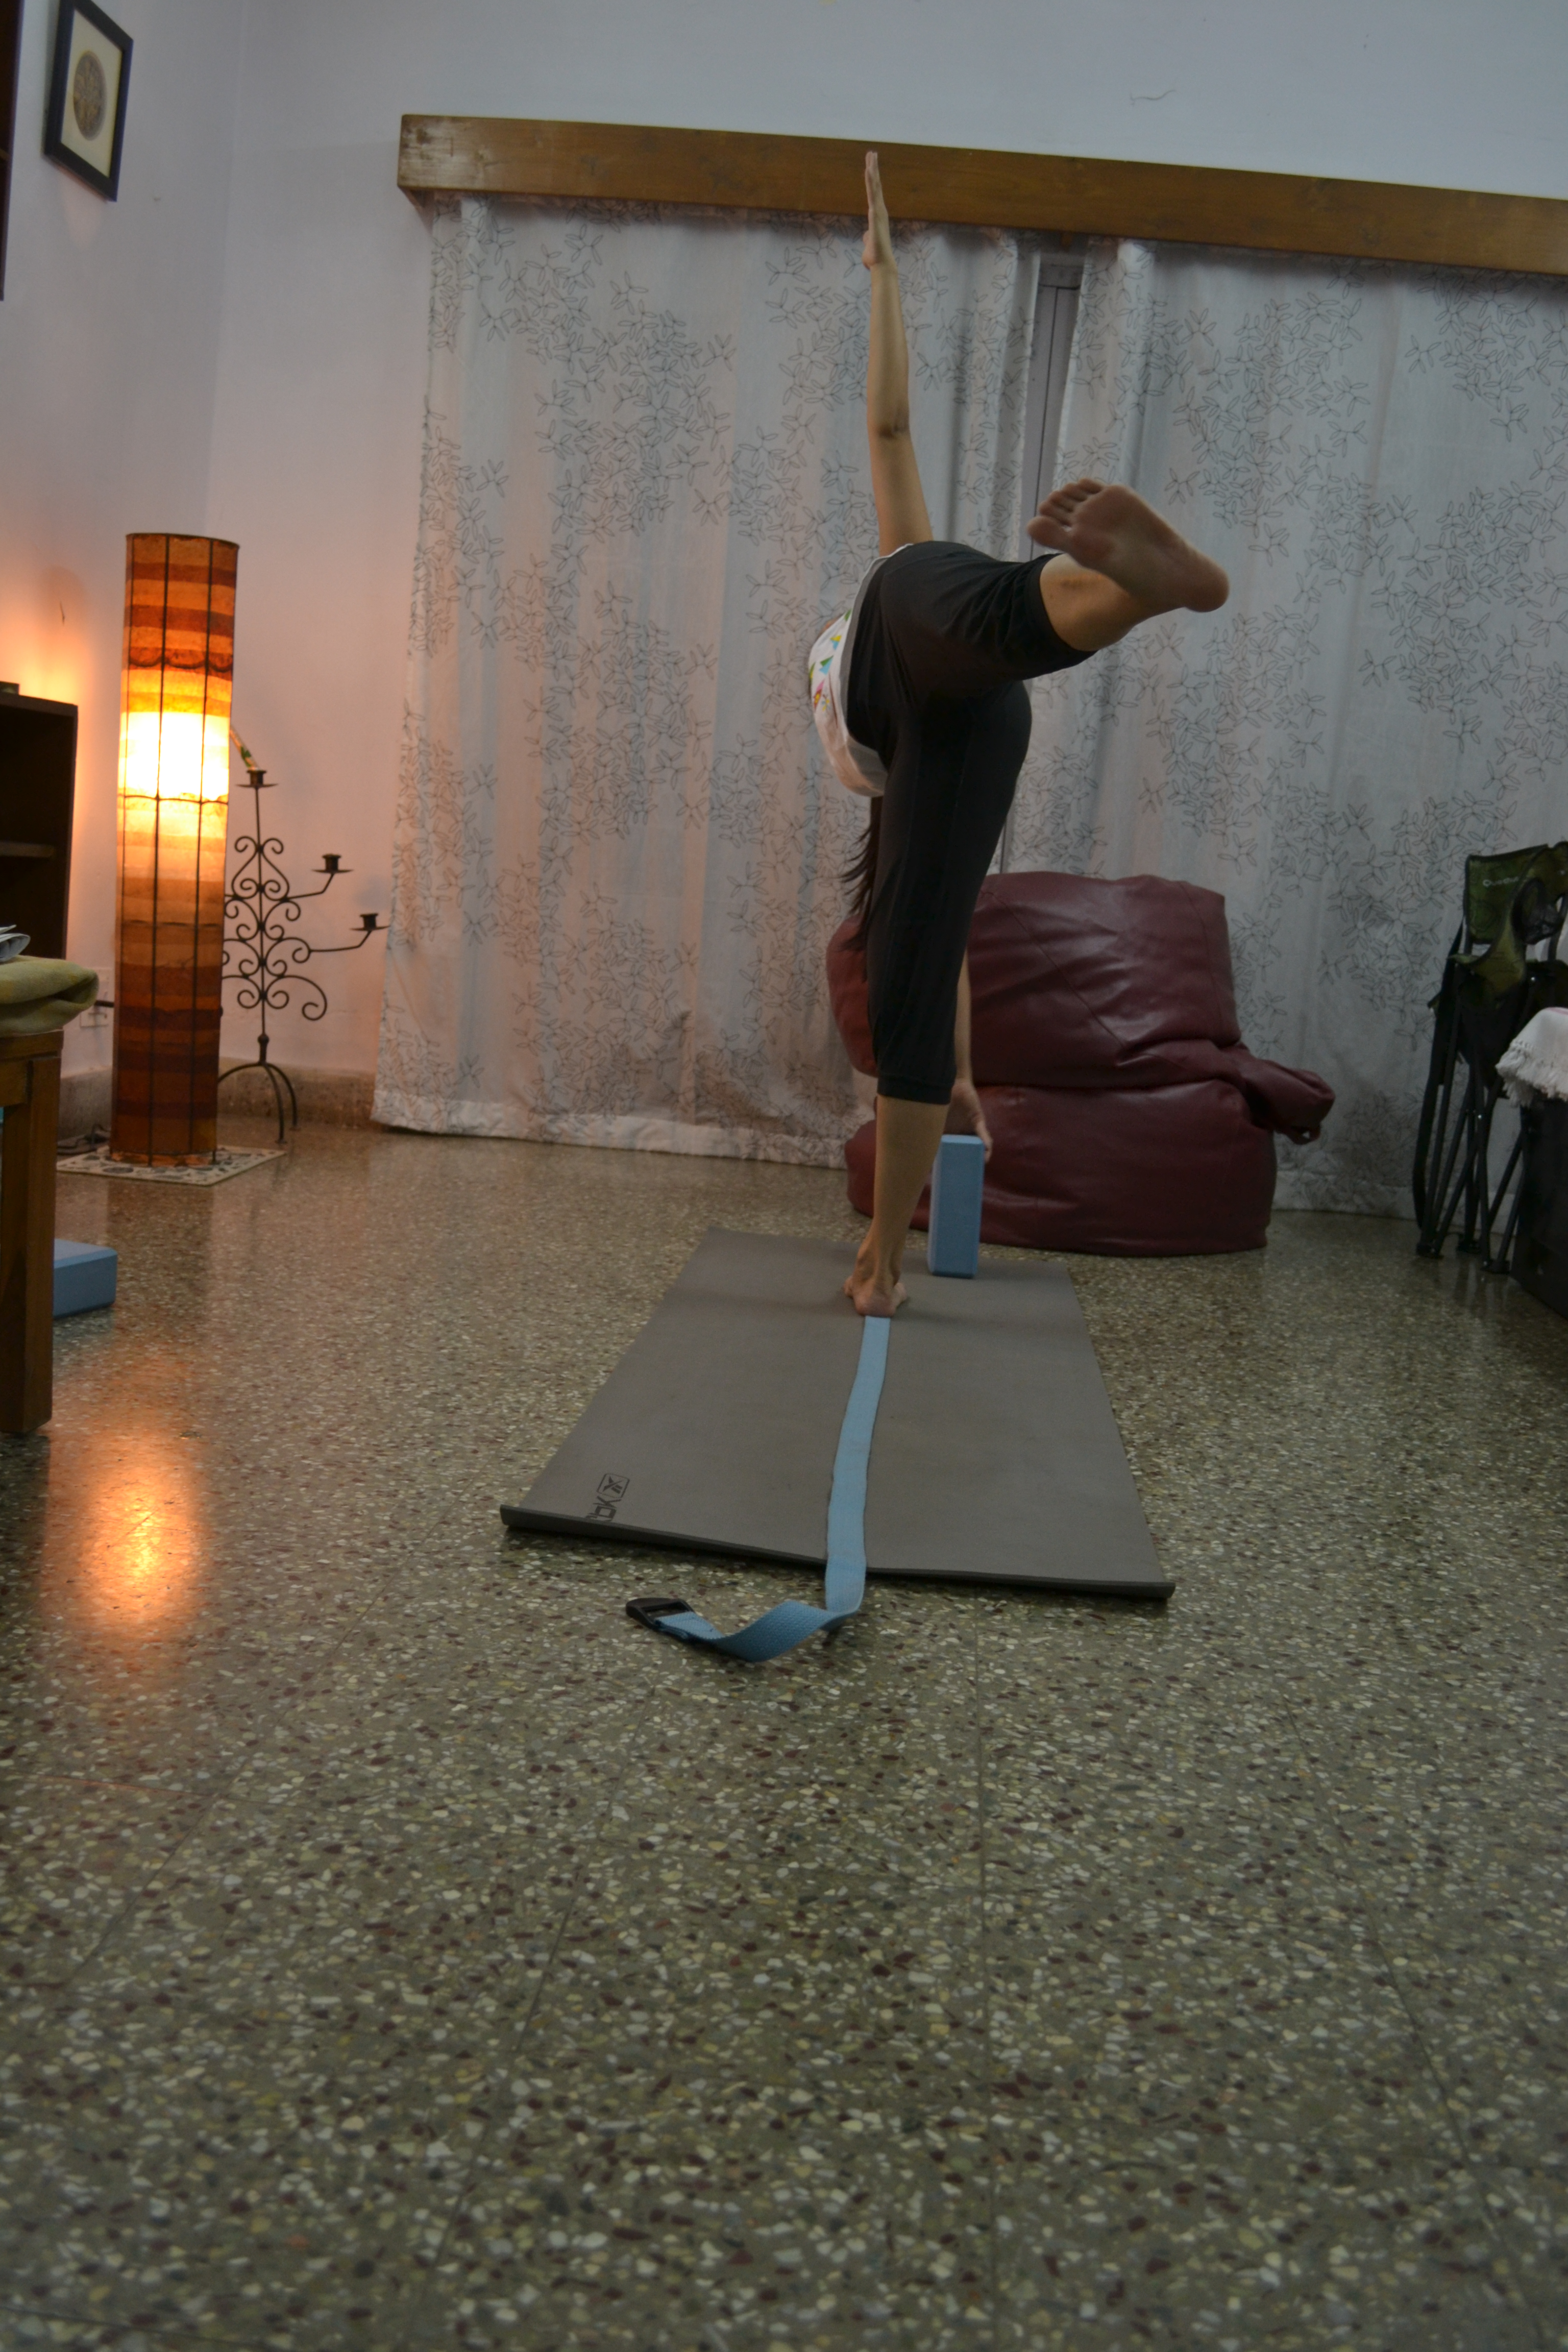
4.  From here extend your right hand and reach out for the block.  Simultaneously, push up with your left leg until this leg is parallel to the floor, and your right hand is on the block.  Gently straighten your left hand as well.  Your shoulders should be in one straight line, torso should be open, spine should be extended.  Extend the heel of the left leg out.

5.  To ensure proper alignment make sure your body follows the line of the belt.
DSC_0113DSC_0125  DSC_0124