My blog about how you can use a rope to manage, heal and even reverse causes of back ache has been hugely successful. It’s great that a lot of people with chronic back ache and even disc bulges and slipped discs have tried this blog and come back to me with positive reviews. In this blog I’d like to explore alternative asanas which also provide relief from back ache.
 1. Start with the Ashwasanchalanasana, also called the Low Lunge. Ensure that your back knee is locked and try and push your hips as close to the floor as possible. This creates opposing forces within the body and this helps in easing out the kinks in your lower back. This also stretches the hip joint and strengthens the quads. When you focus on pushing your heel back, you will feel a stretch on the back of the calves as well.
2. Now place the knee on the floor and intensify the stretch a bit more. 
3. Now place your elbows on the floor and allow the hips to open up even more. This pose is called the Lizard pose.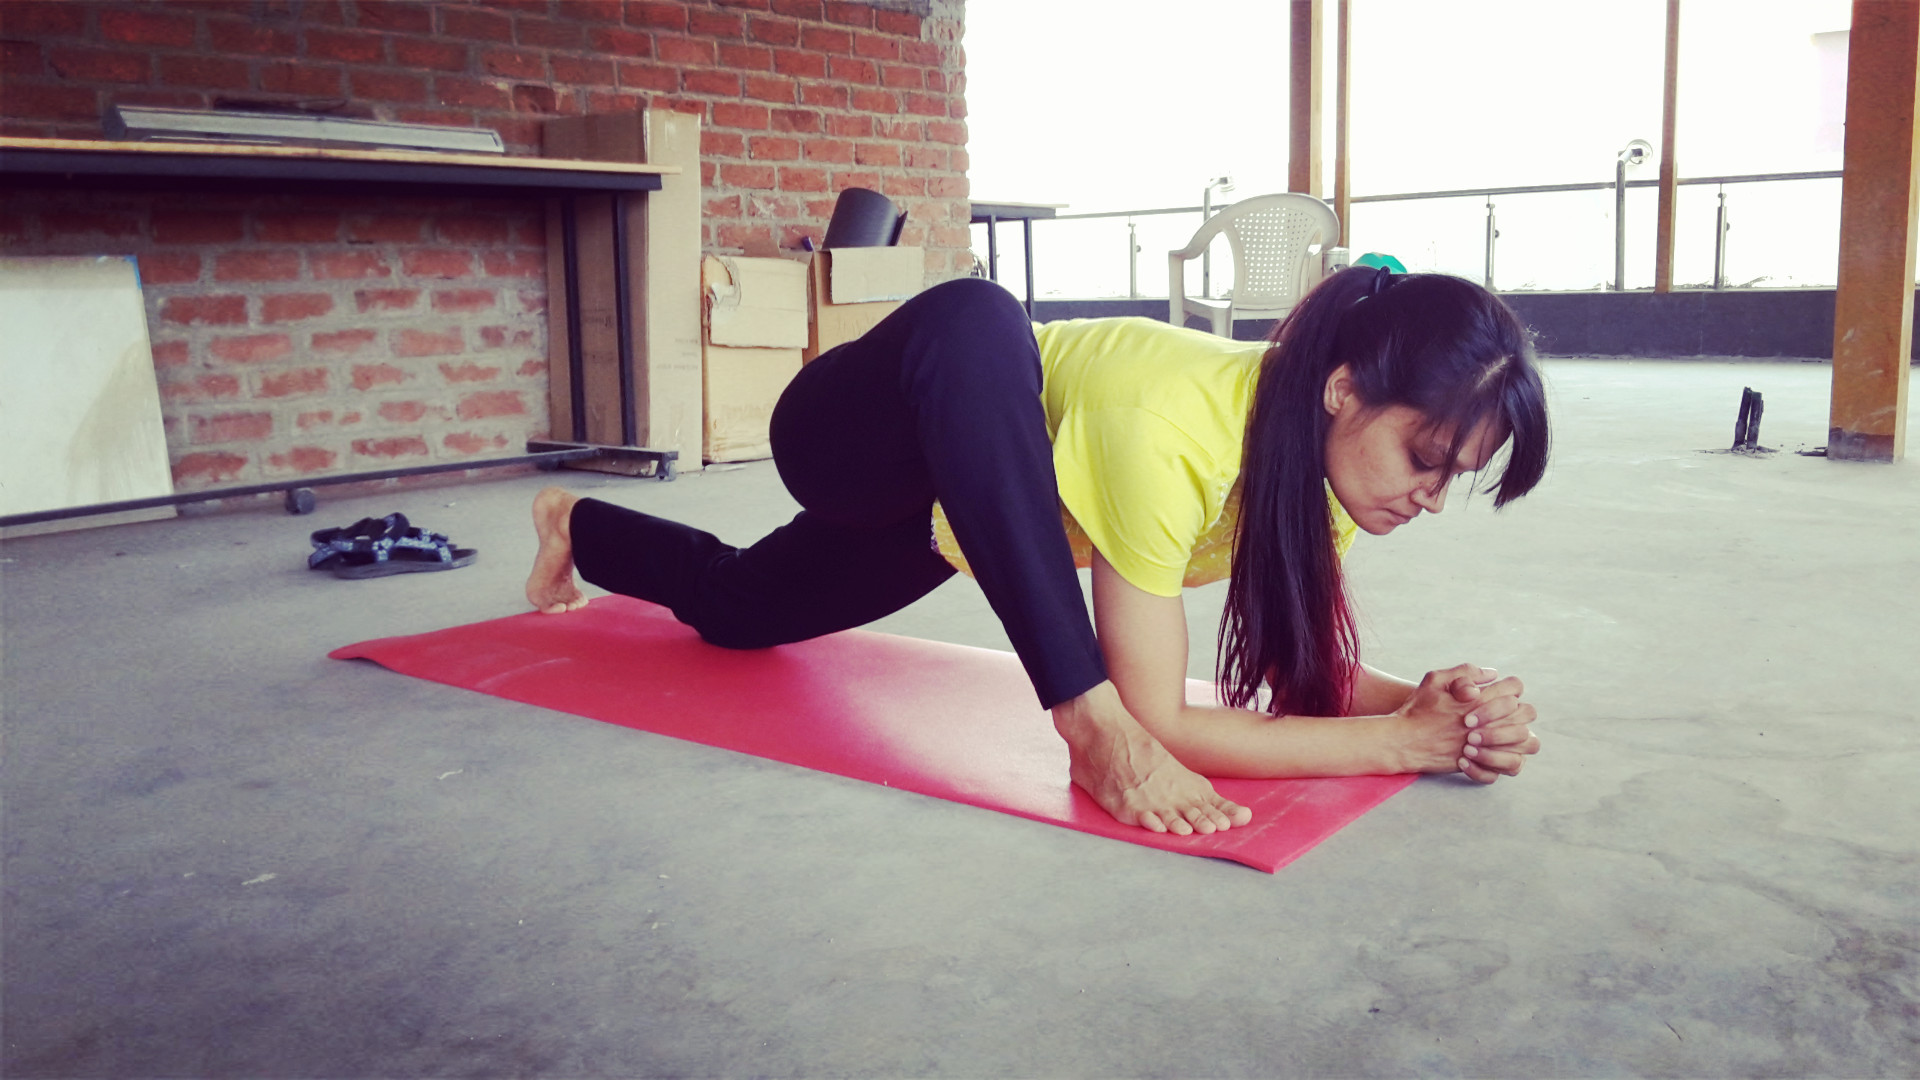

4. Next is the Pigeon pose. Place your knee on the floor and try and try to get the opposite thigh as close to the floor as you can. Do this by squaring the hips. The more you align the hips the better the stretch.
5. And finally for the Agnistambasana or the Firelog pose. I try and include this as much as I can in my classes. In this pose the point to remember is that the knee and the ankle should be directly on top of each other for both legs.

Hold these poses for as long as you feel like. If you have the time, even 2 minutes on each side would be great. Since I’m heavily influenced by the Iyengar style I would recommend you find out how to use props to do poses which are a bit challenging for you.
Practice these daily and even more than once a day to manage your back aches.
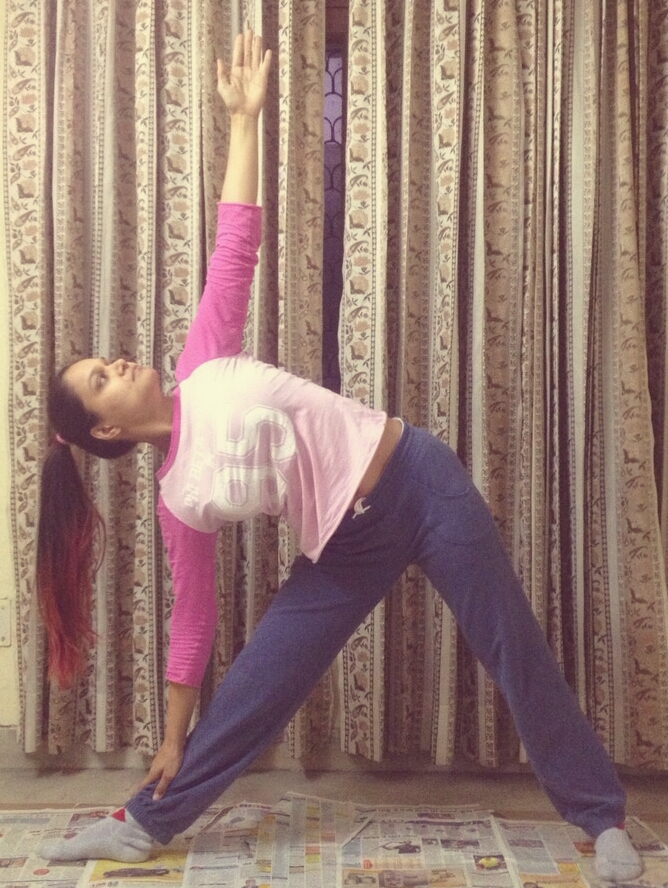
 There should be a uniform stretch along the side of your body. Make sure the side of your body doesn’t rest on the thigh. To ensure this you may want to slightly lift your hand off of the floor ensuring your core and your legs have to support your body weight. Look up at your finger tips. Relax your neck and face.
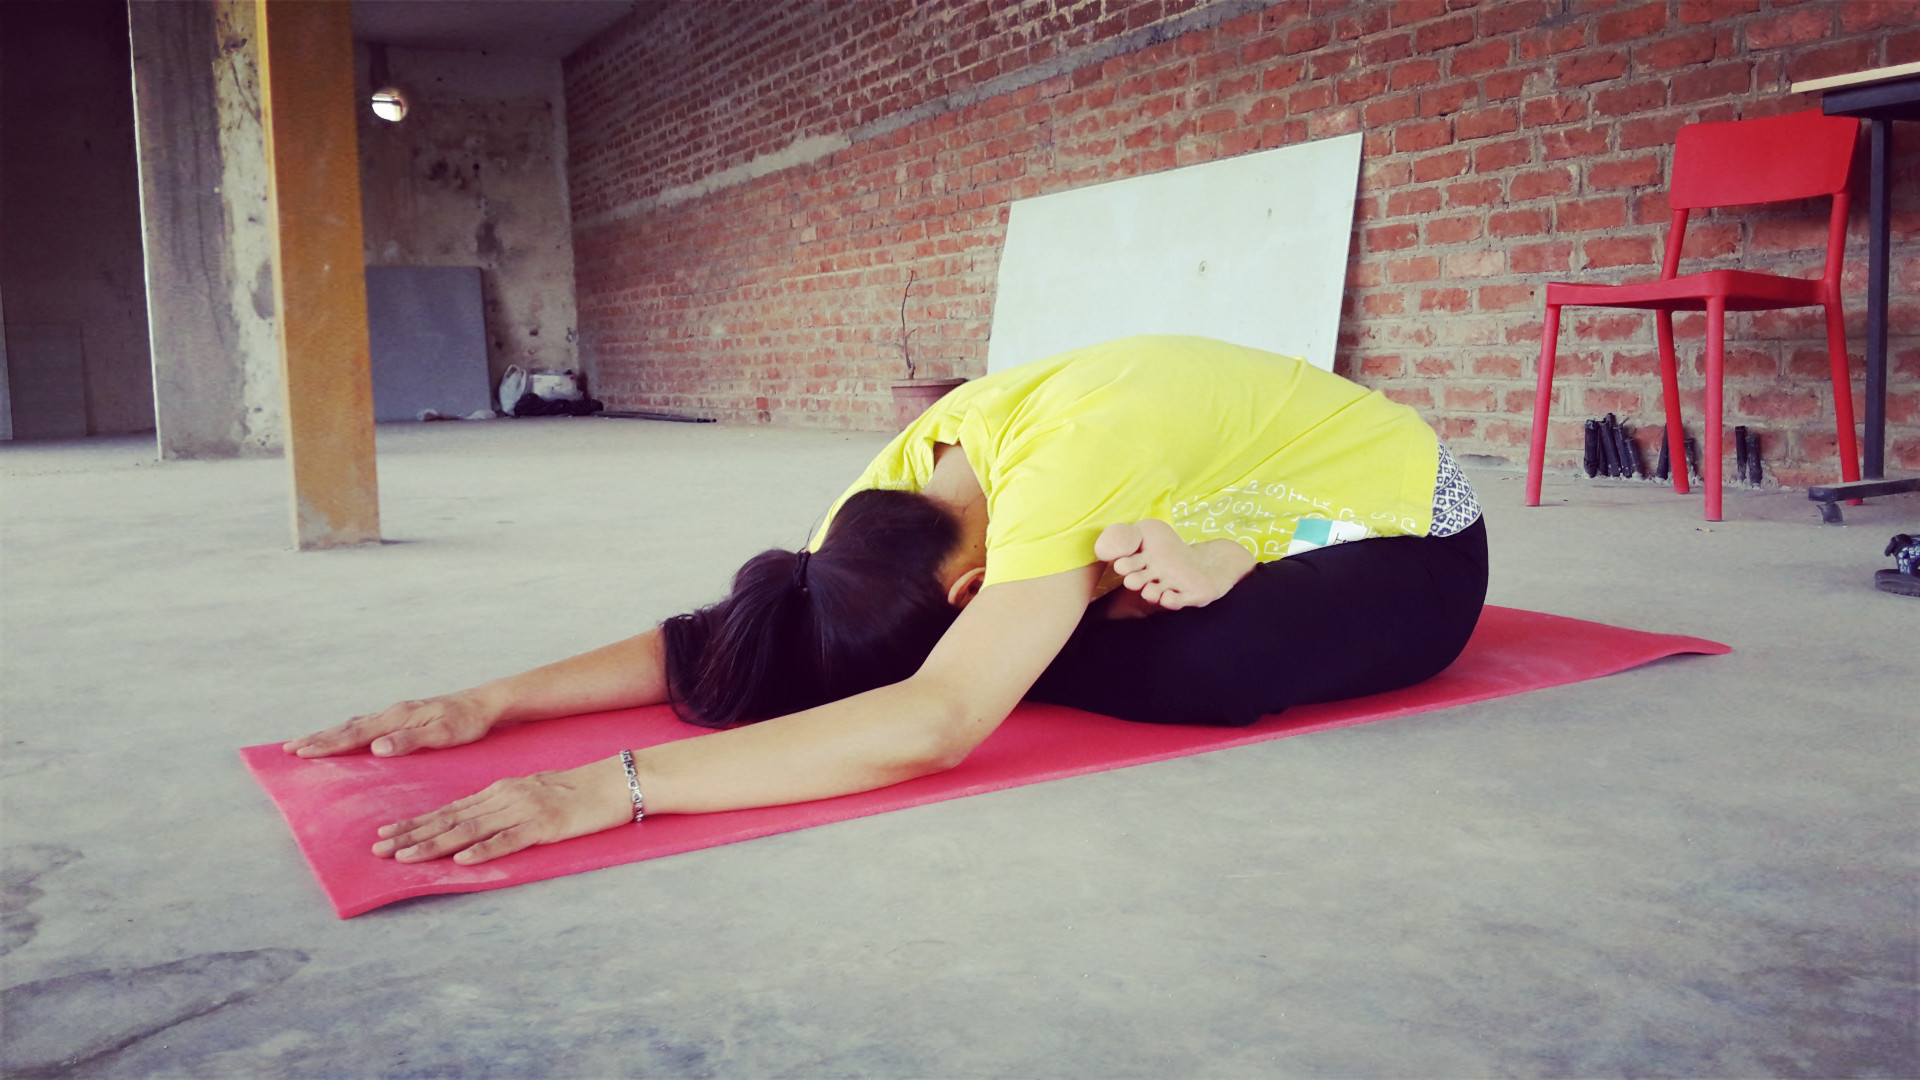
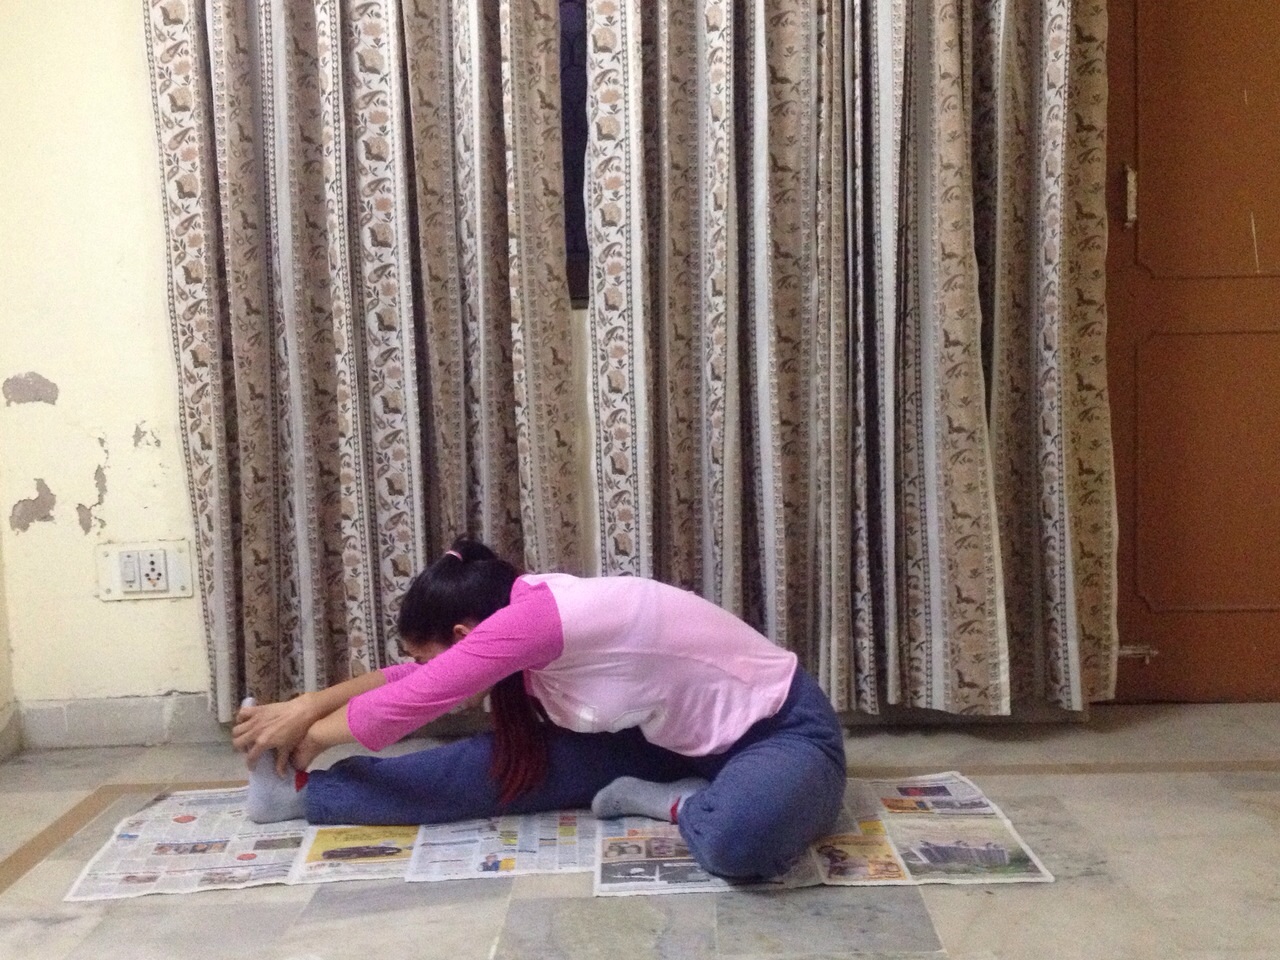 Do this pose in the end to stretch the back of your legs. However, in this pose, as in all other poses, pay attention to your core. You want to make sure that you pull your stomach in and extend forward keeping your back straight. This will ensure a deeper stretch. Aim to get your chin to the knee instead of forehead to knee. Also, make sure you cross your arms when you reach forward. This ensures that the stretch on your back is even.